Audit Log
The ExFlow Audit Log is built on top of the standard Business Central Change Log to provide an enhanced, user friendly log of changes made to documents in ExFlow. When activated, the Audit Log tracks all changes made to a document from import to posting. View document changes in either a summary format based on invoice states and actions, or view changes in a detailed format that tracks changes at the field level.
Activate Audit Log
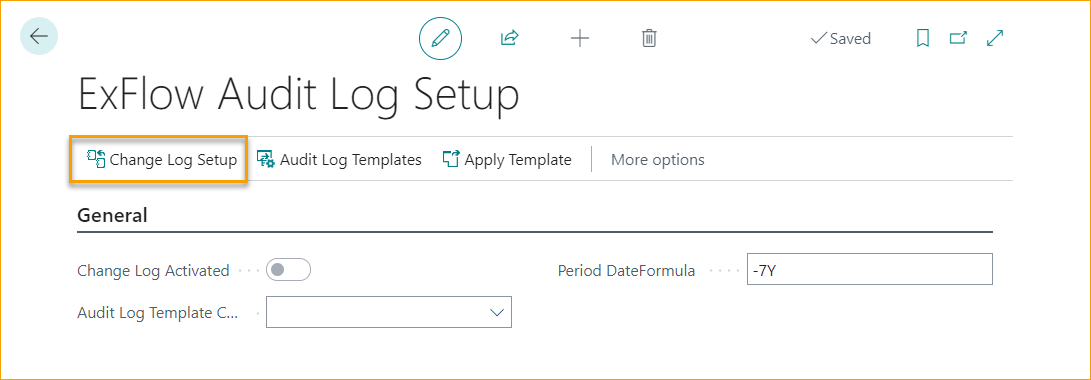
To Activate the Audit Log, search and go to ExFlow Audit Log Setup.
In the ExFlow Audit Log Setup page:
-
Select an Audit Log Template (see more information about audit log templates below)
-
In the ribbon, click on “Change Log Setup”
-
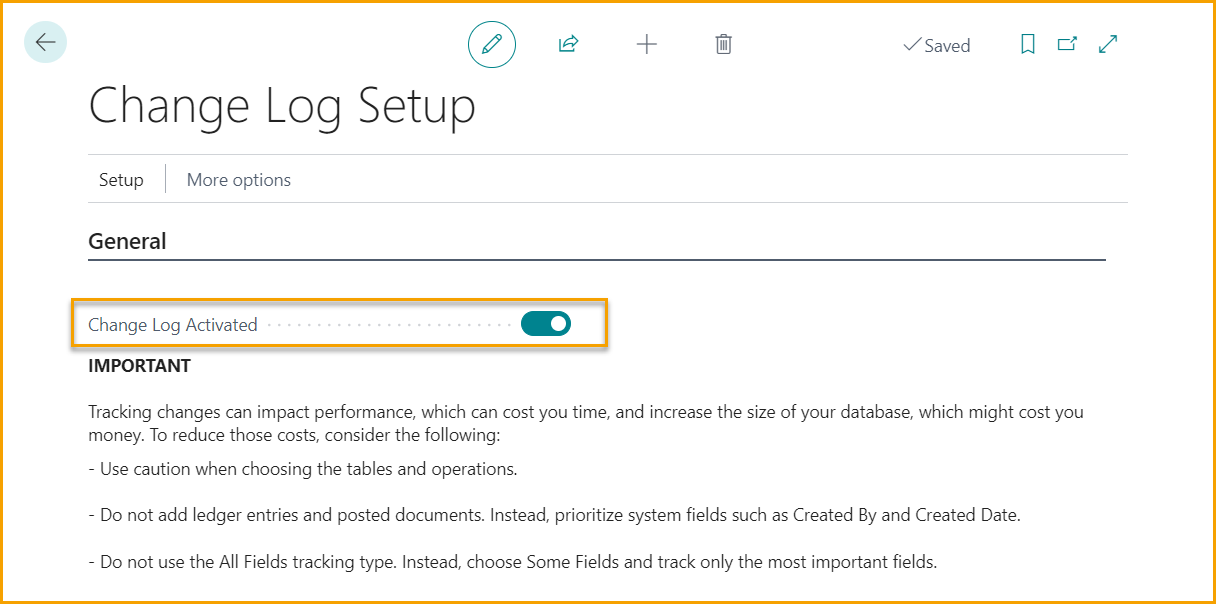
In the Change Log Setup page, toggle on “Change Log Activated”
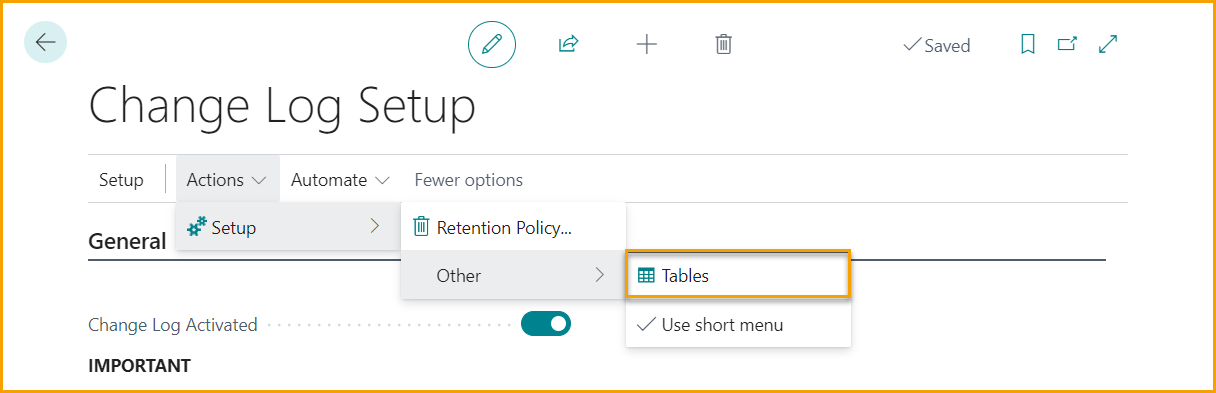
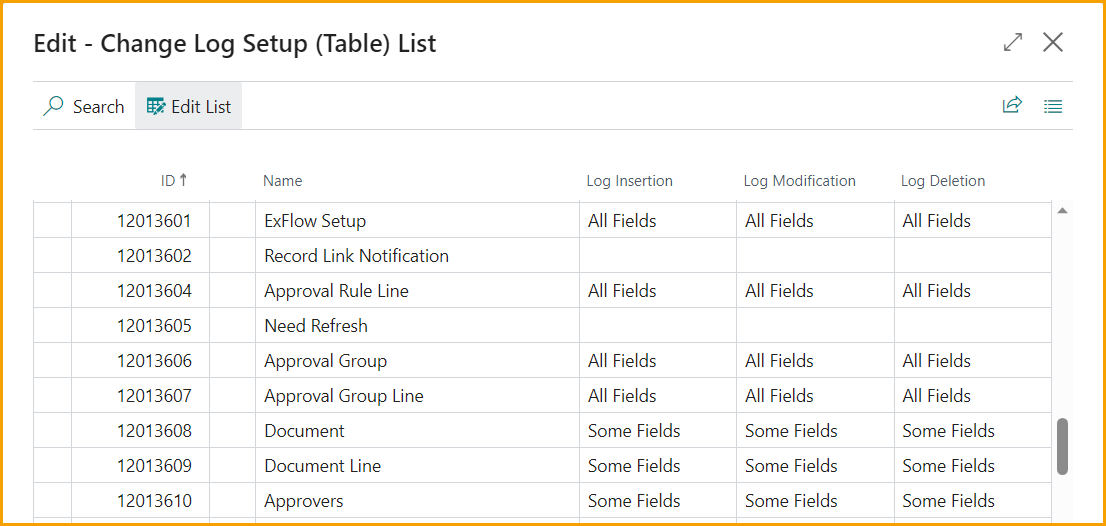
The configuration in the selected Audit Log Template will be applied to the standard Business Central Change log. To view the applied change log configuration, in the Change Log Setup page, first click on “More options” then select Actions --> Setup --> Other --> Tables.
Audit Log Templates
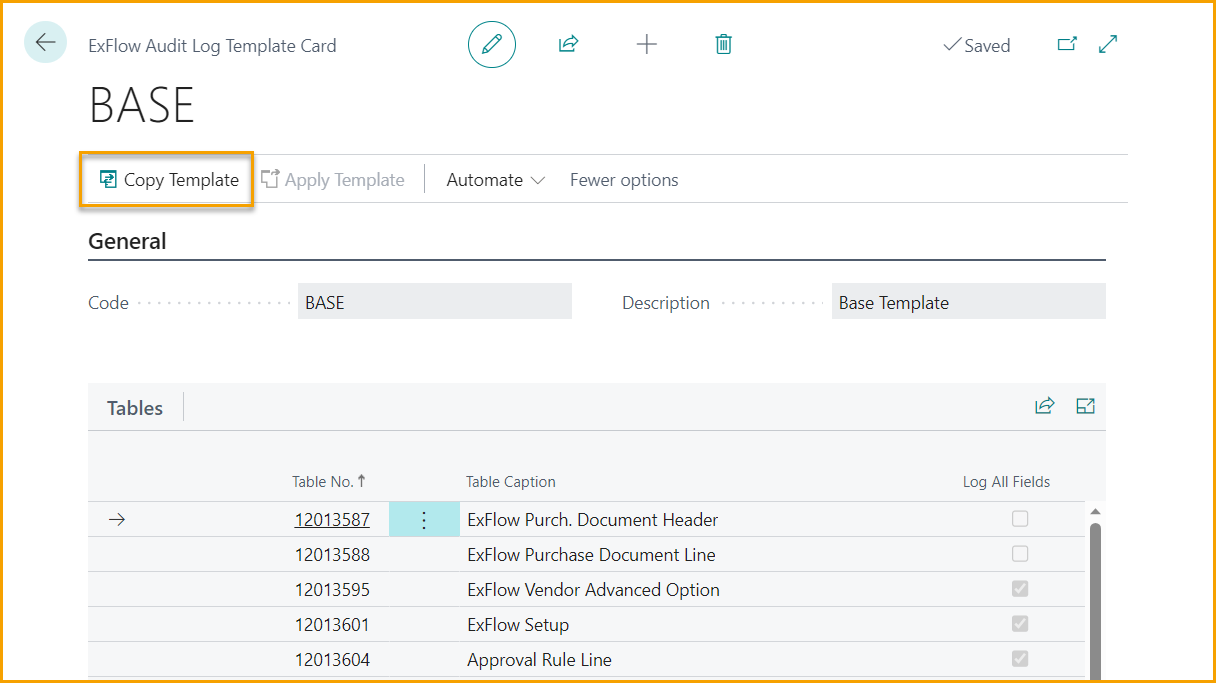
An Audit Log template defines the tables and fields that will be tracked in ExFlow Audit Log. A default template “BASE” will be available for use, but additional custom templates may be created. Open the BASE template to see tables and fields included:
-
Search on and go to “ExFlow Audit Log Templates”.
-
In the ExFlow Audit Log Template list, click on the Code to open the template.
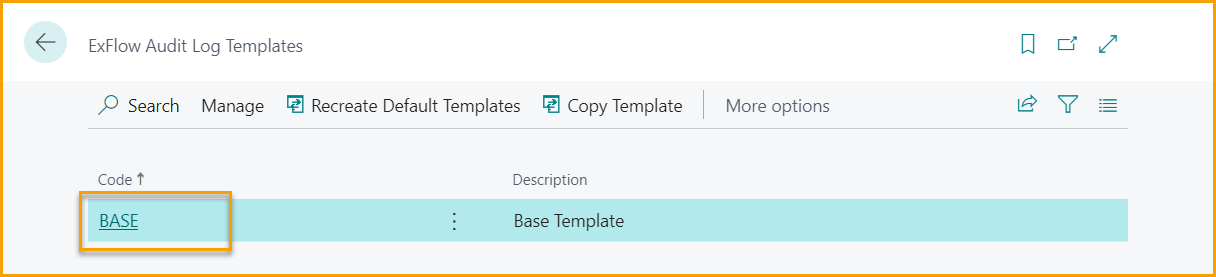
The “BASE” template cannot be changed but it can be copied to create a custom template.
Create a custom Template
To create a custom Template, the Base template must first be copied, then changes can be made to the newly created template.
- Open the “Base” Template
- Select “Copy Template” on the ribbon.
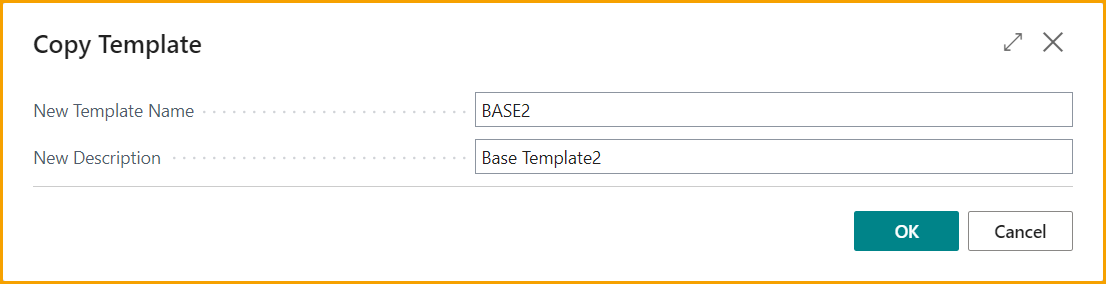
-
Enter a New Template Name and a description.
-
Open the newly created template.
To log changes to all fields in a listed table, Toggle on the “Log All Fields” option.
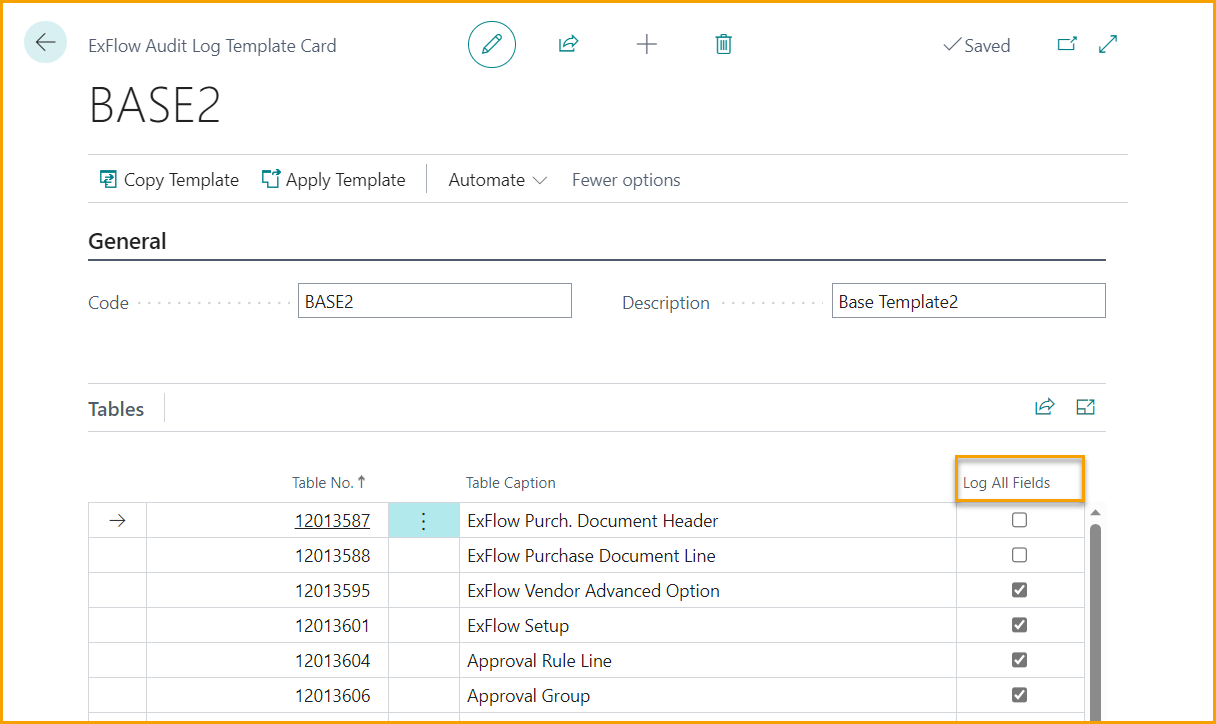
To select certain fields to be logged:
Select the desired table, making sure the “Log All Fields” option is unchecked, then update the “Fields” section (lower portion of screen) as needed:
To add a field, click on “New Line” then select the desired field on the newly created line.
To remove a field, select the desired field then click on “Delete Line”.
View the Audit Log for an ExFlow Document
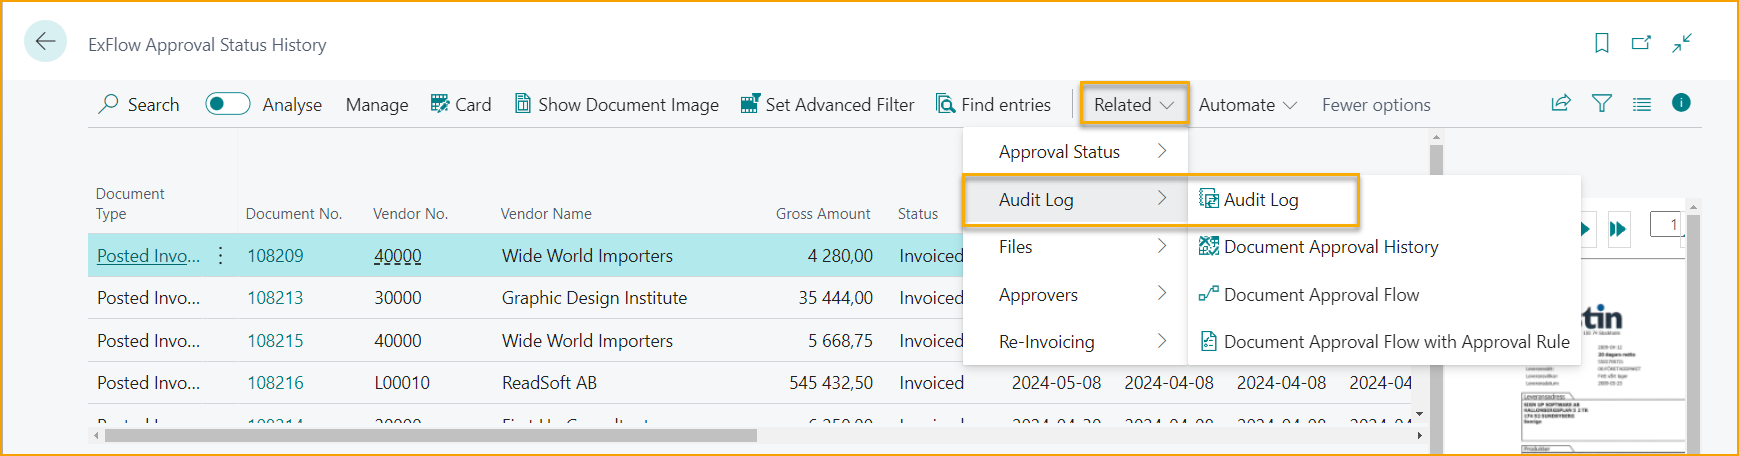
Go to: ExFlow Approval Status History --> Related --> Audit Log
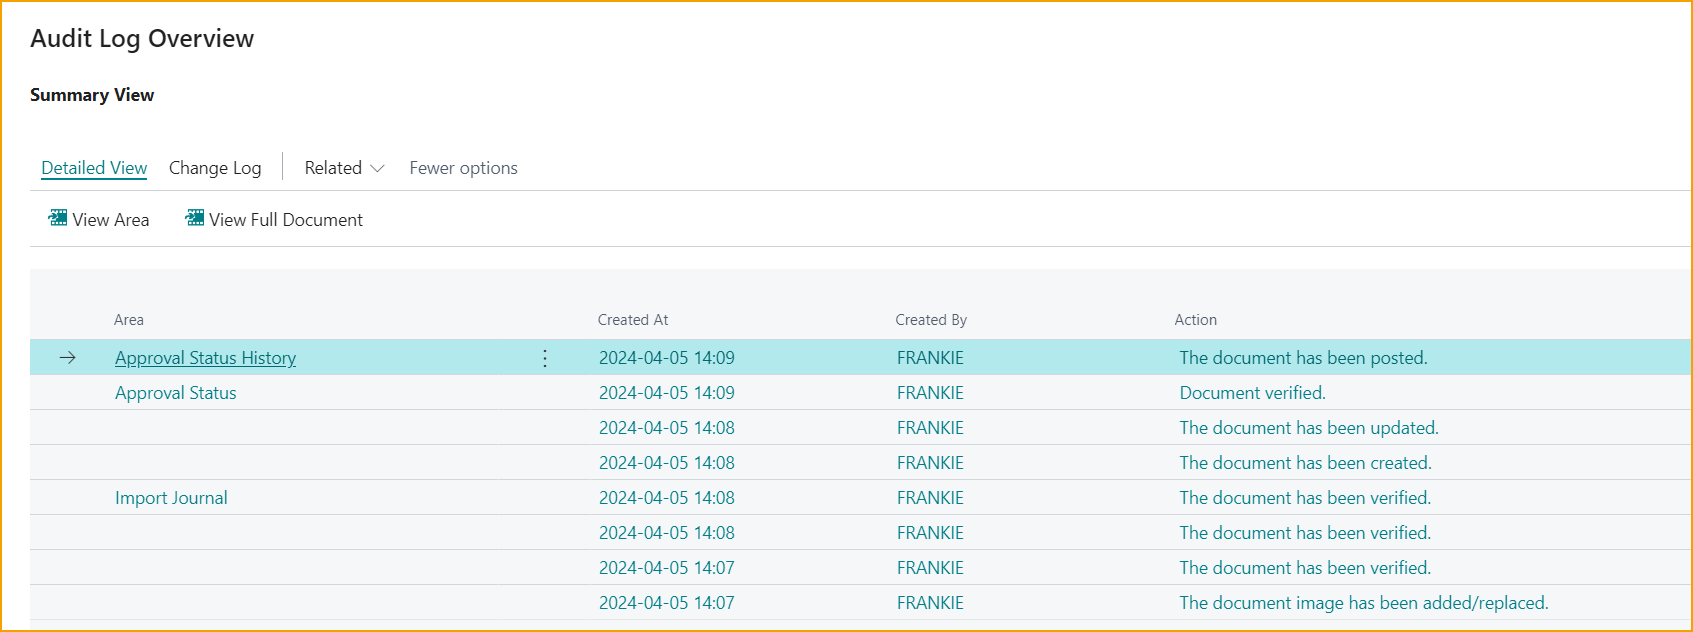
After a document has been posted, the audit log is accessible from the Approval Status History. At this point in the process, all actions from import through posting will be visible in the Summary View and all field level changes can be viewed from the Detailed View.
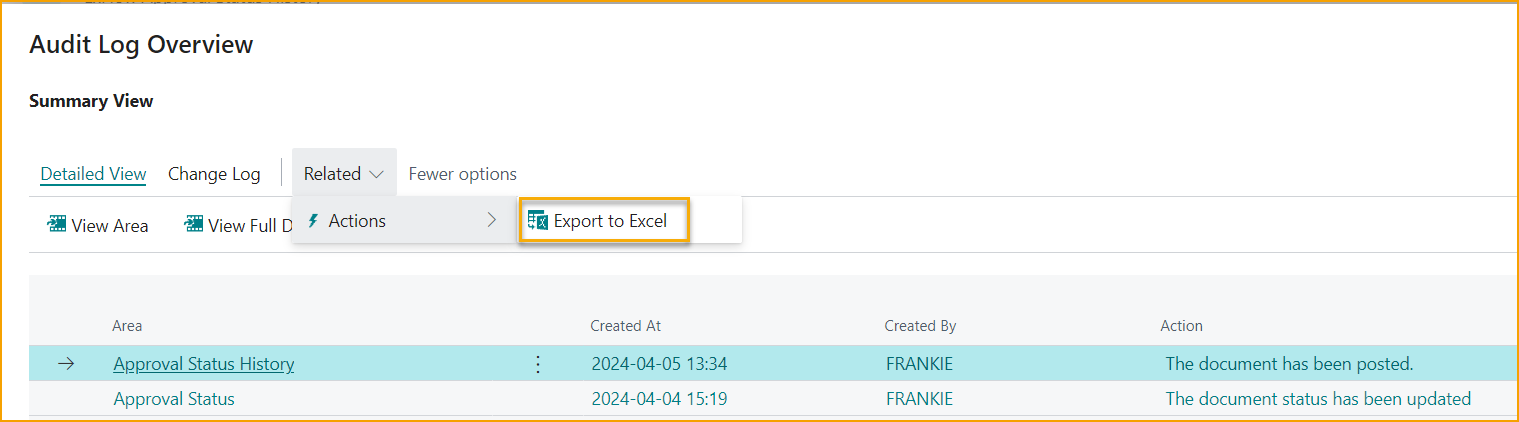
The Audit Log will be opened in Summary View where you will see a list of the document actions that have occurred since the document was imported (imported, verified, matched to receipt, etc.) with a date and time stamp indicating when the action occurred. The Area indicates where the document was in the ExFlow process when the action occurred.

The information in this view can be exported to Excel by selecting the “Export to Excel” action in the ribbon.
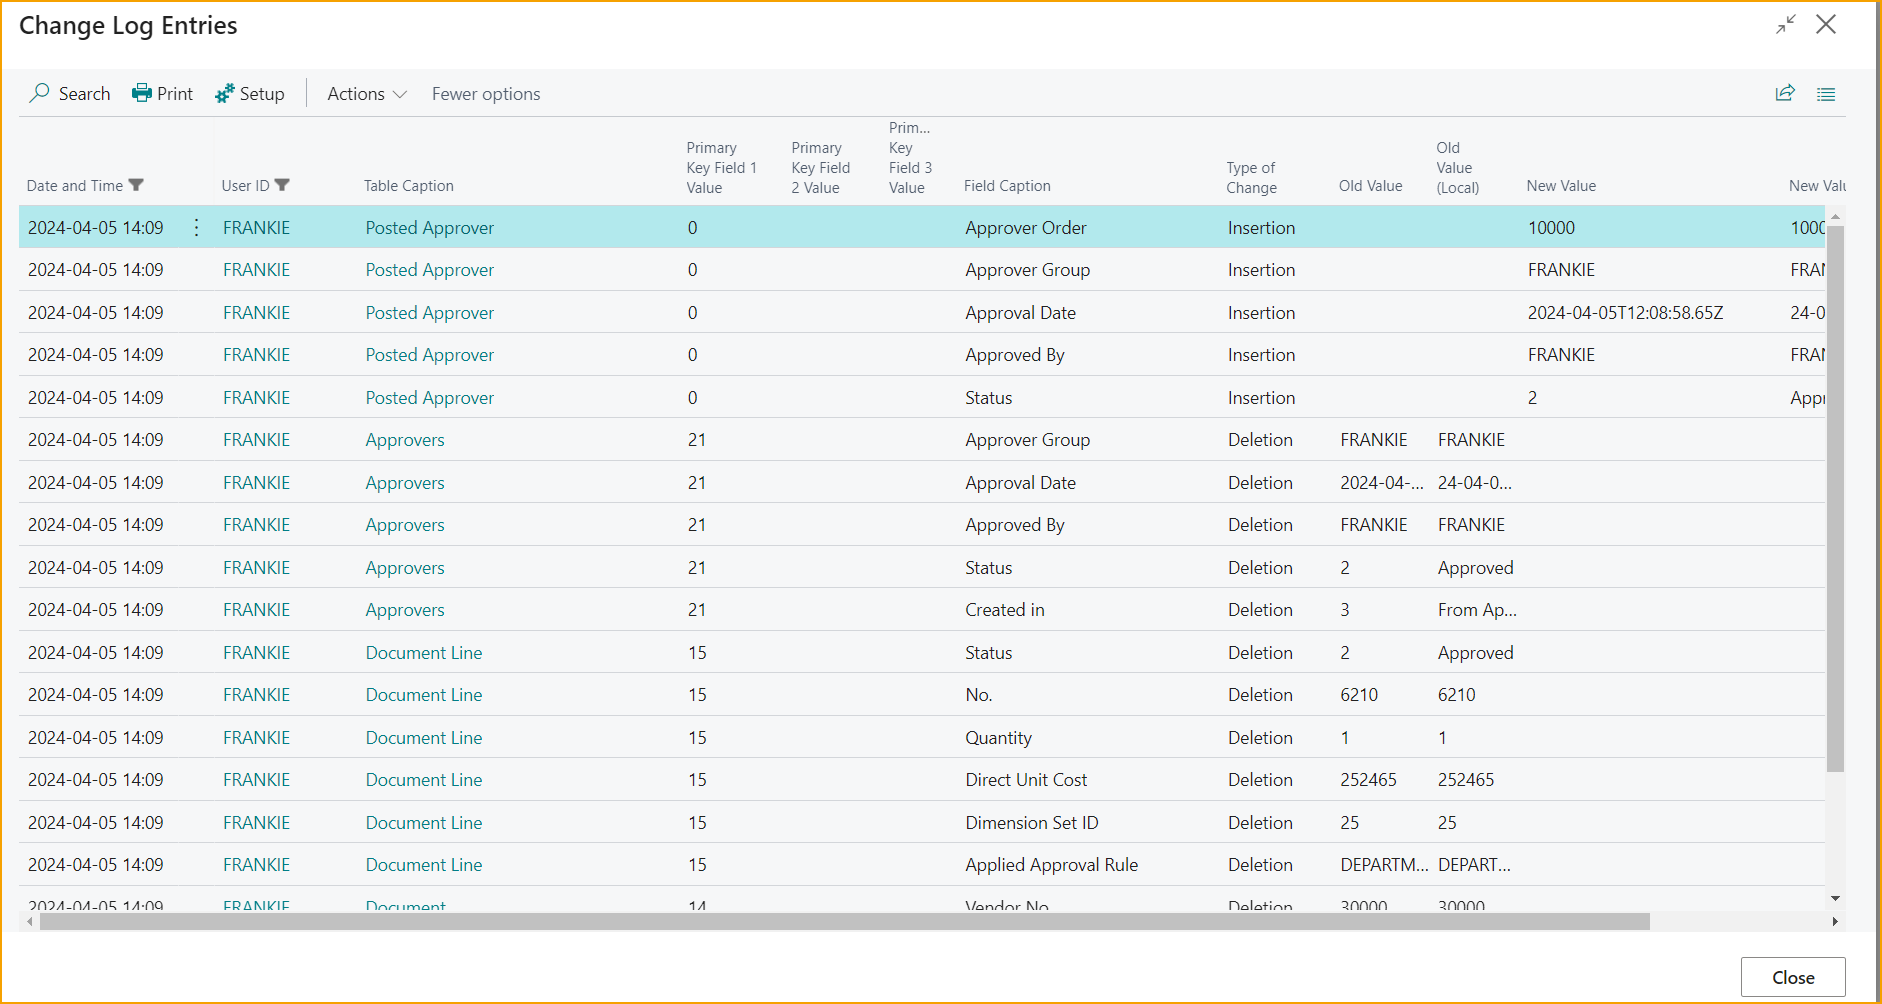
To view all standard Business Central change log entries for a single action line, drill down on the line by clicking on any field value in the line. If there were no changes recorded for the action, you will receive a message “No changes found.”
To see all changes made to the document, from the Summary View page, click on Detailed View --> View Full Document.
The Detailed View --> View Area will list all fields segregated into sections as follows:
- Header
- Lines
- Approvers
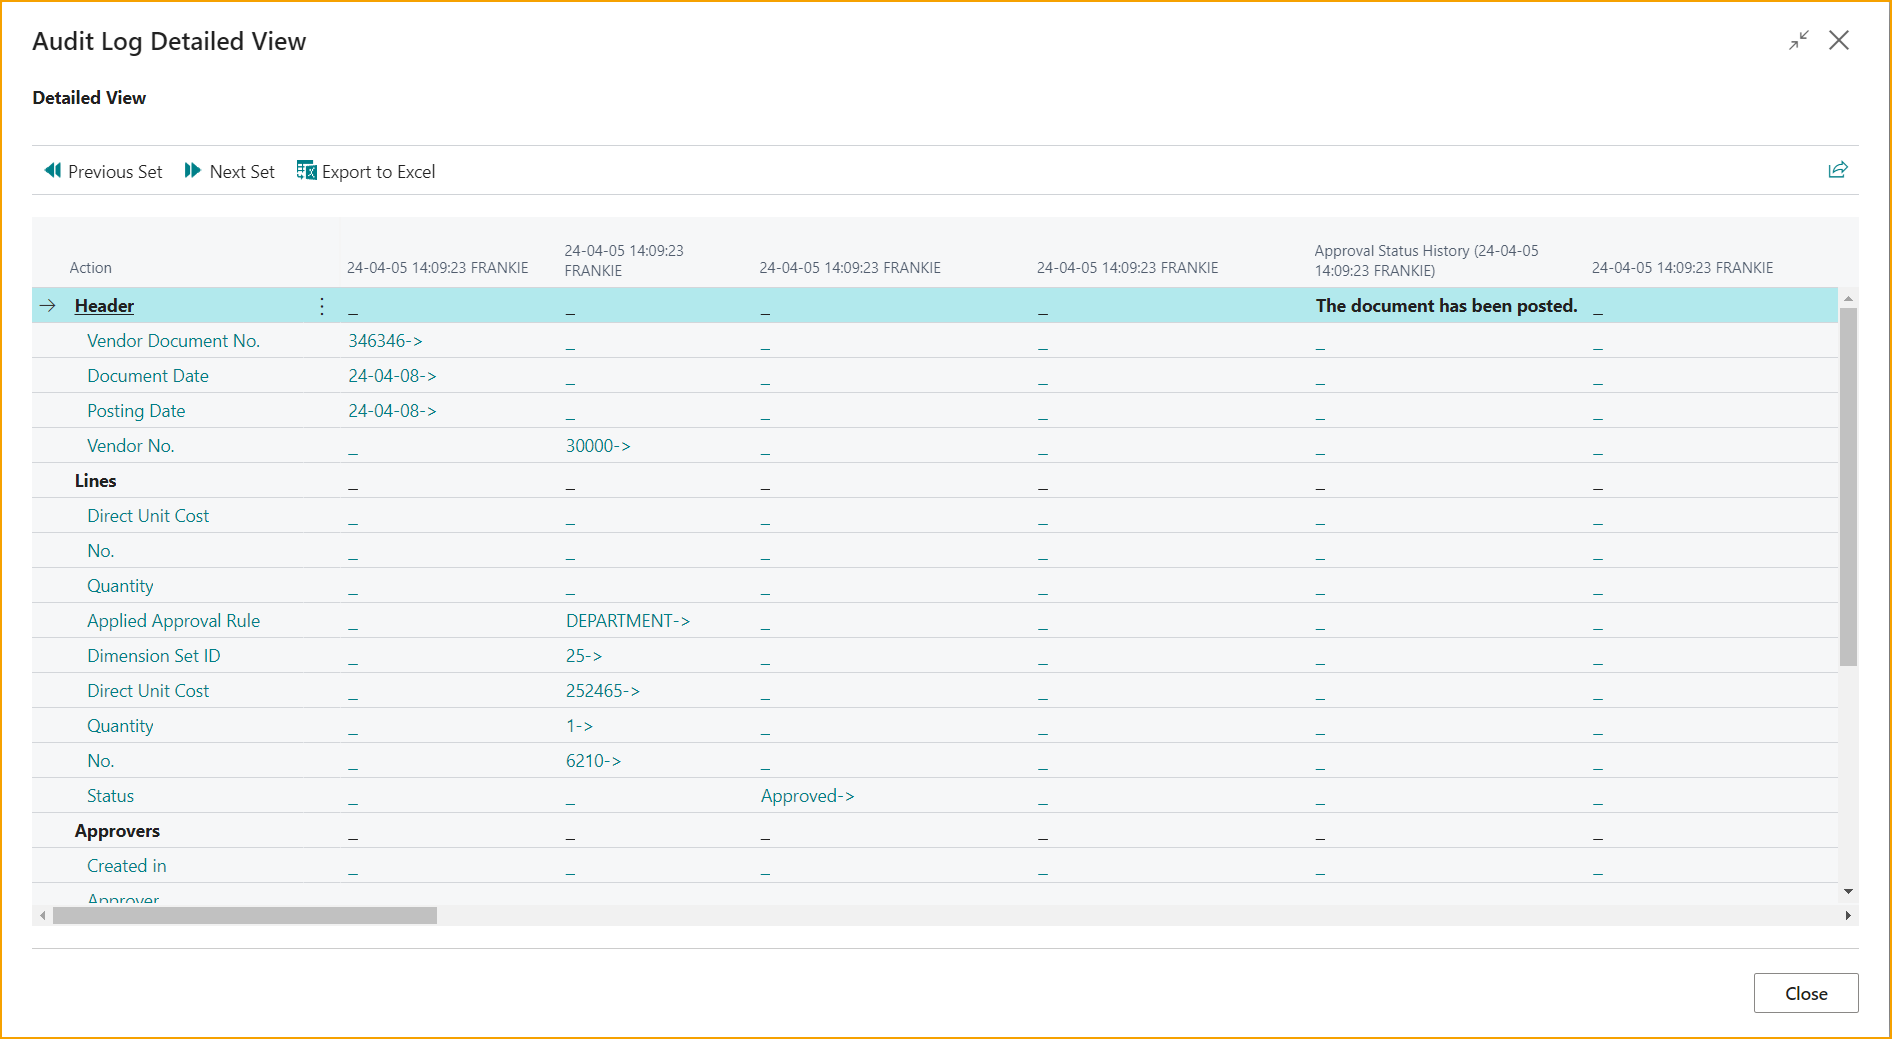
Each field will be presented as a separate line with columns that show all changes made to the field next to the action the change was related to. The most recent changes will be shown in the columns on the left. To view prior changes, scroll to the right to view additional columns. If there are a significant number of changes, click on Next Set to view additional changes.
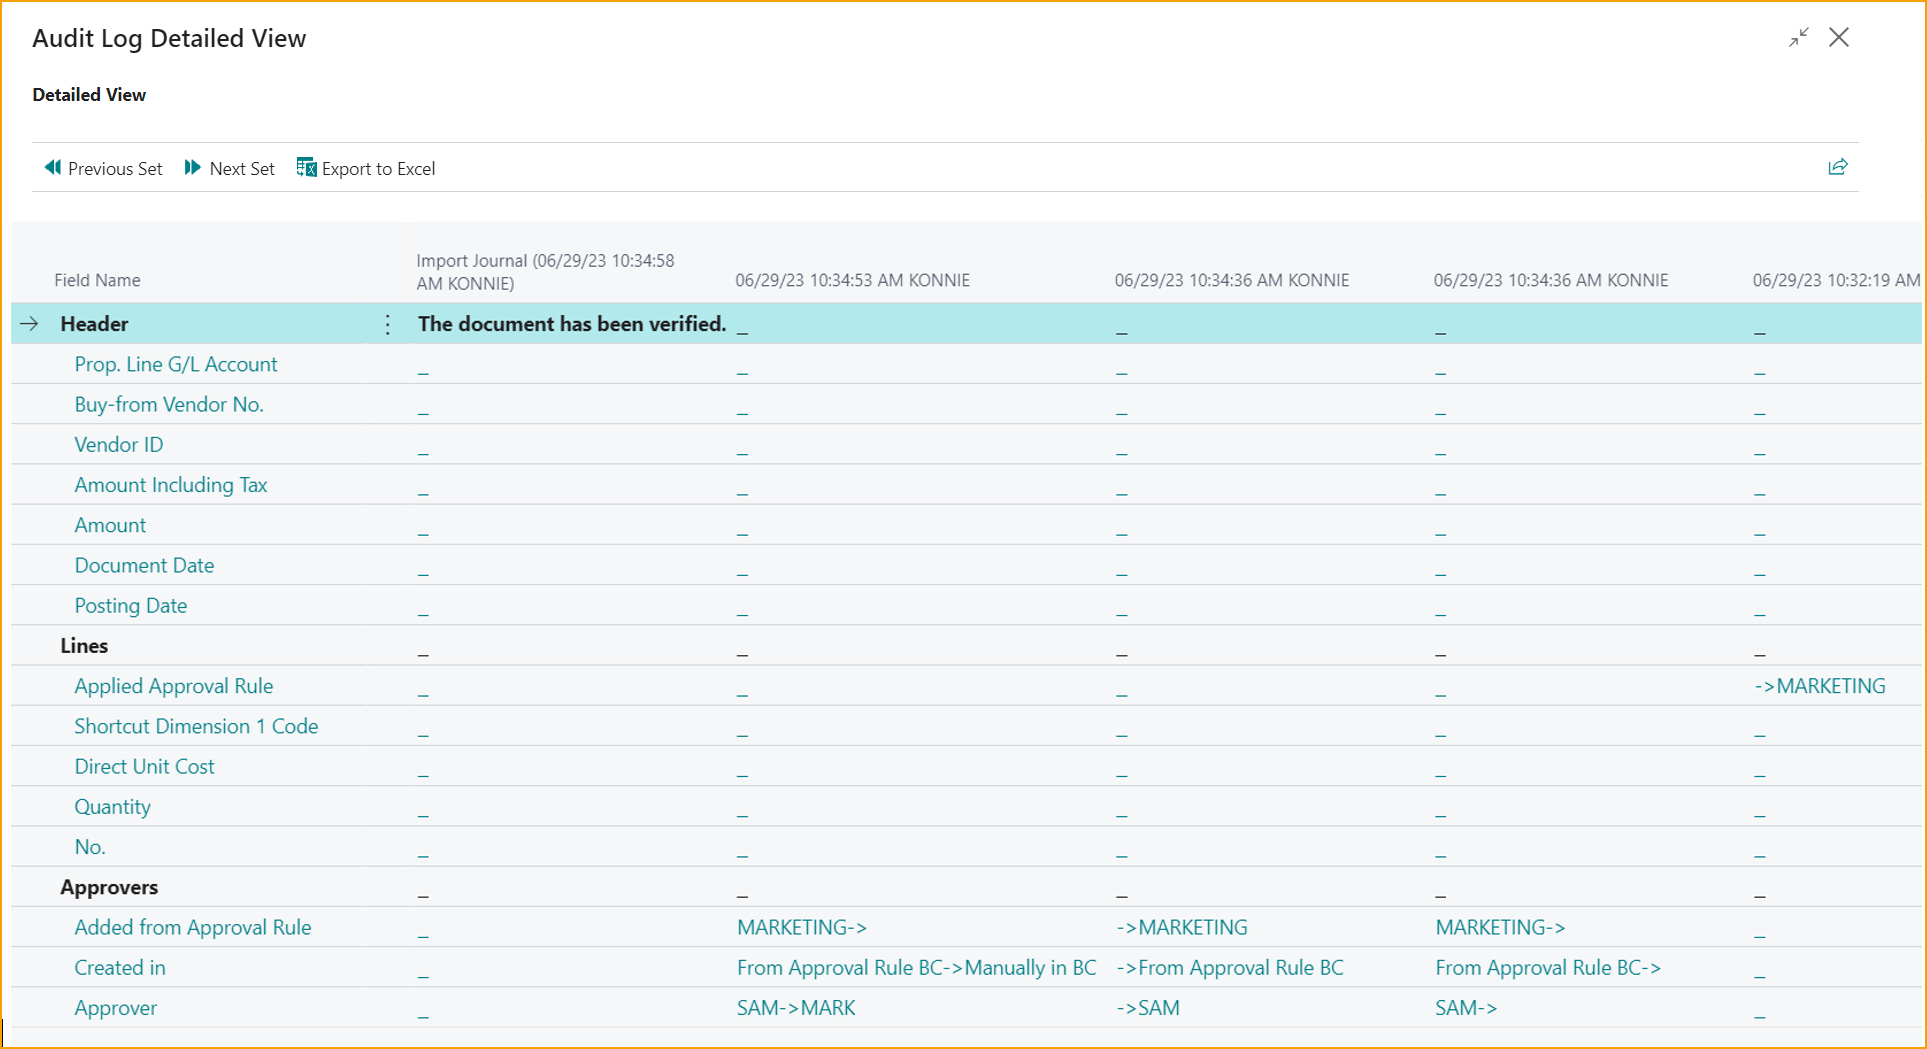
In the example shown below, we can see that the most recent change (at 10:34:53 AM on 6/29/23) was made by user KONNIE:
- The approver was changed from SAM to MARK (see “Approver” row in screenshot below)
- The original approver (SAM) was assigned by the Approval Rule MARKETING (see “Added from Approval Rule” row in screenshot below)
- The new approver (MARK) was manually assigned by user KONNIE (see “Created In” row in screenshot below)
Note: The original value is shown on the left of the arrow and the new value is shown on the right.
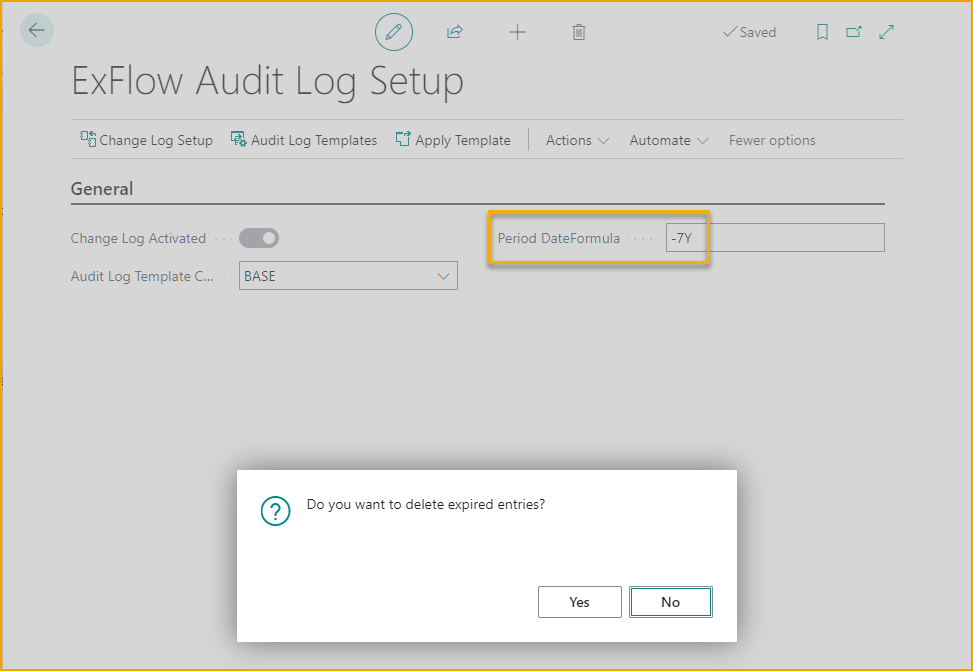
Delete Expired Entries
Go to: ExFlow Audit Log Setup --> Delete Expired Entries
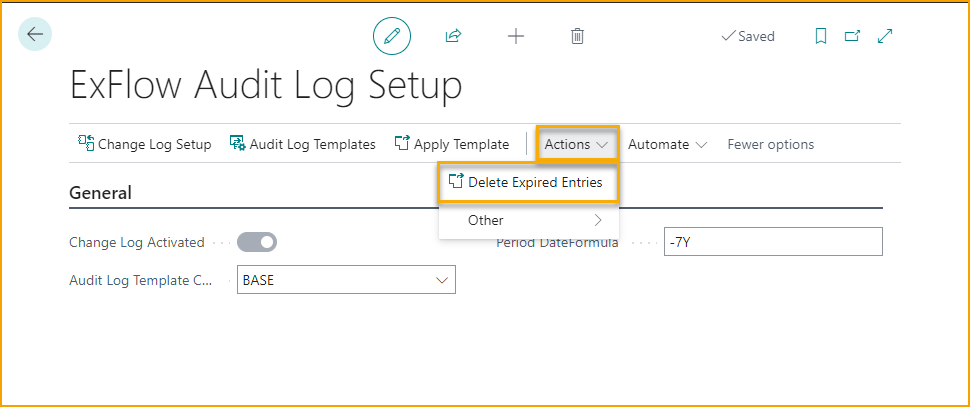
Similar to standard functionality, it is possible to enter a Period DateFormula in Audit Log Setup, to use when deleting old audit log entries.
For this example, seven years is added, and ExFlow Audit log entries older than seven year will be deleted when utilizing this function.