Power BI
There are prepared settings and templates to analyze ExFlow data with Power BI.
Power BI Templates (BCO/BC OnPrem) can be found by Partners on the Partner Portal (PRM)
It's also possible to download the template from ExFlow Setup in Business Central by pressing: Actions --> Functions --> Power BI --> Get Power BI template
Read more about Enabling Power BI Integration and Working with Power BI Reports in Business Central before starting with the installation.
Prerequisites
Dynamics 365 Business Central account with a Power BI license.
To setup the integration, Power BI Desktop must be downloaded and installed. This manual works for both Business Central Online (Saas) and OnPrem. The setup procedures differ slightly, read more about this further down.
Installation
Start by going to: ExFlow Setup --> Actions --> Functions --> Power BI
| Power BI | |
|---|---|
| Create Power BI Web Services | Publish all needed Web Services in a company |
| Delete Power BI Web Services | Delete existing Power BI Web Services |
| Get BC Datasource | URL string will be provided to be copied to the Power BI Desktop (OnPrem) |
| Get Power BI Template | Download the Power BI template |
Setup ExFlow for Power BI
In ExFlow Setup, create the ExFlow WEB services by pressing Actions --> Functions --> Power BI --> Create Power BI Web Services
Confirmation message will be given that: ''ExFlow Power BI Web Services have been created''.
Import the Power BI template in Power BI desktop
Open Power BI desktop and sign in with your account. Power BI desktop is a free Microsoft application you install on your local computer.
Download the latest ExFlow prepared Power BI template, from ExFlow/BC or via PRM according to above.
Import the ExFlow prepared Power BI template by choosing File --> Import --> Power BI Template.
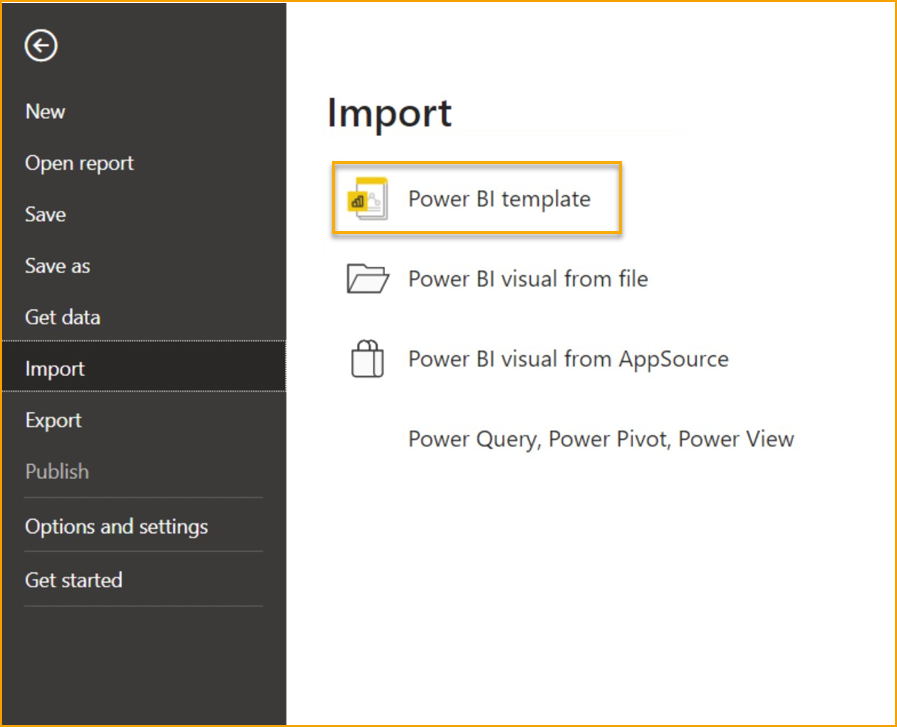
Choose the template you just downloaded. You will now be prompted for the BCDataSource to use.
For BC OnPrem you retrieve the link from ExFlow setups by pressing Actions --> Functions --> Power BI --> Get BC Datasource
For Business Central Online, the data source refers to the specific BC environment (database) you intend to connect to.
Choose the BC database from the drop-down list:
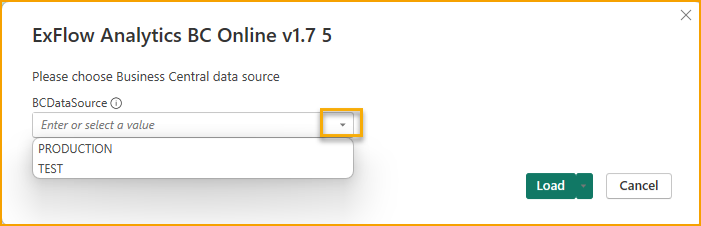
In a multi environment you can see the database in the end of the connection string to your environment.
If you don’t retrieve your companies, the first step to test your connection to BC Online is to press Get data --> More --> Dynamics 365 Business Central and then click Connect.
If the connection works as expected your database(s) should be visible here.
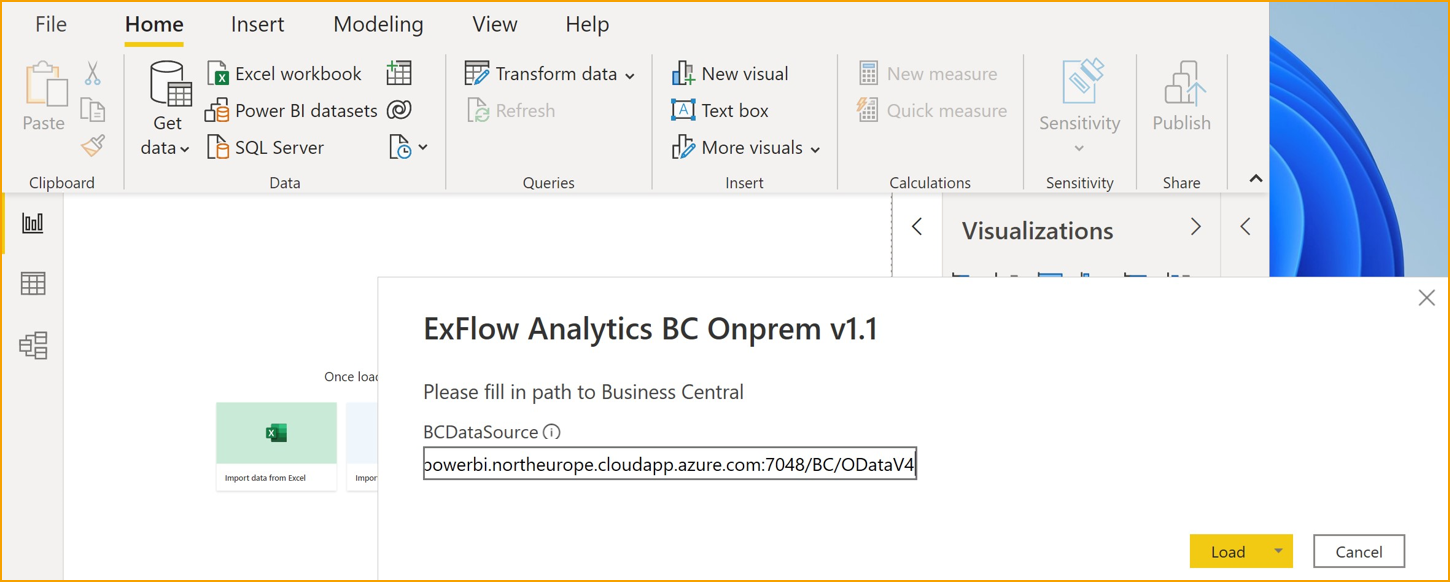
After inserting the correct BCDatasource, then press Load.
The above screen shot is for OnPrem, but with the Online template the step is similar.
If the connection to your Business central environment runs as expected you shall be able to see your companies in the top left chart:
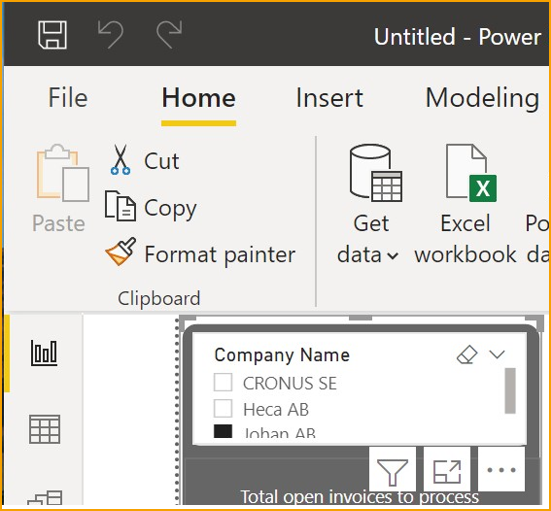
If you don’t retrieve your companies, there is probably some error with the connection towards BC.
Save the report package by clicking File --> Save.
Give it a name that also will be descriptive inside BC.
Publish to a Workspace in Power BI
To publish the ExFlow Power BI report package just created into the Power BI tab in BC you start by publishing it to the appropriate Power BI Workspace.
Click on Publish (up in the Desktop menu) --> My workspace --> Select
If the publishing works well, you shall get a Success message.
Open and configure Power BI
The next step is to logon to Power BI with your account.
Under one of the workspaces you shall be able to find the report you just published.
From here you can also change additional settings for the report package such as setting the refresh scheduled Refresh rate.
When you have published a Power BI-report into a workspace it is also available from within BC for users with access to that workspace.
This connection is further described below.
Embed Power BI in Business Central
Embed in Power BC Online
In the ExFlow Accountant role center there is a Power BI Reports part:
From the start this is empty, and you need to connect to your Power BI account.
- Press “Get started with Power BI”
- Click next in the assisted setup
- In the next step the Power BI license will be checked, press next.
- Complete the setup with next and finish.
It can take a few minutes to verify the Power BI license.
When the license is verified, you can proceed to the last step in this manual.
Embed in Power BC OnPrem
For Business Central on-premises a couple of things must be setup:
- Configure either NavUserPassword or Azure Active Directory Authentication, Power BI integration doesn’t support Windows authentication.
- Enable OData web services and ODataV4 endpoint.
- Create an application registration for Business Central in Azure. This is needed to connect Business Central on-premises with the Power BI service.
See Microsoft’s guide on how to register Business Central in Azure AD
- In Business Central go to “Assisted Setup” and start “Set up your Azure Active Directory accounts” and go through the steps.
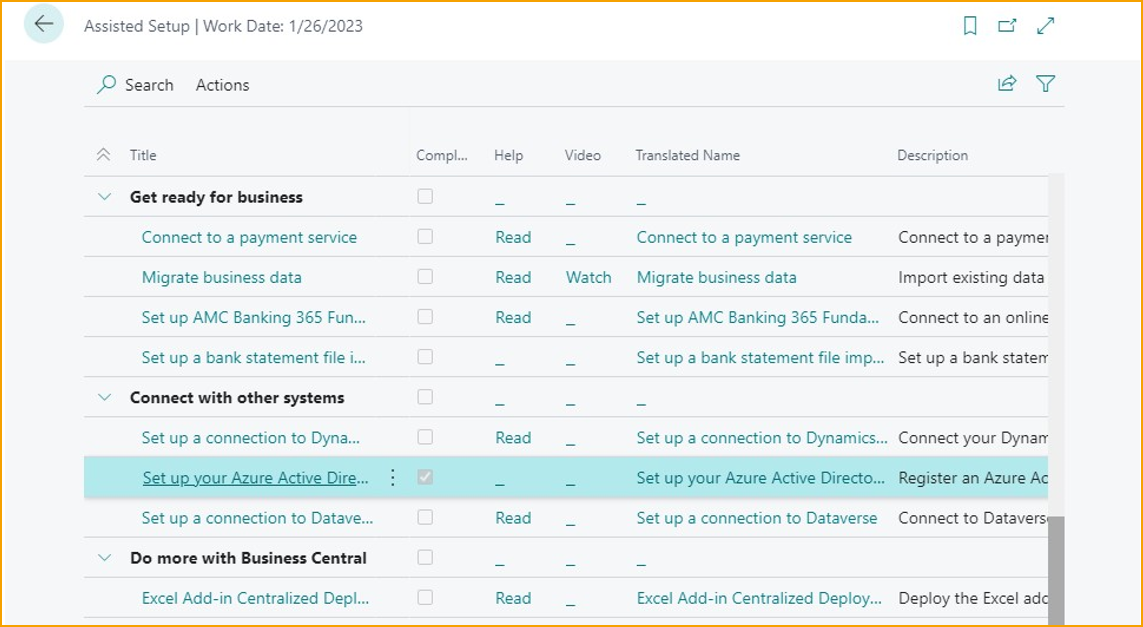
a. Information text is provided
b. Fill in “Reply URL”, “Application ID” and “Key” from the application registration in Azure AD (see link in step 3 above)
c. Click Next and Finish
5. In Business Central click “Get started with Power BI” to initiate the process and follow steps 1-4 in the section “BC online”. The difference for BC on-premises is that an admin will have to give consent to the Power BI service after the last step.
a. Press “Get started with Power BI”
b. Click next in the assisted setup
c. Click next again
d. Authorize Azure services
When the authorization is done, you can proceed to the last step.
Verify the Power BI report and enable it within BC
When the report is published to a workspace you shall be able to see it among your Power BI Reports in BC.
To enable it and select it click: Power BI Reports --> Select Report If the report is not enabled, click on Show more options --> Enable
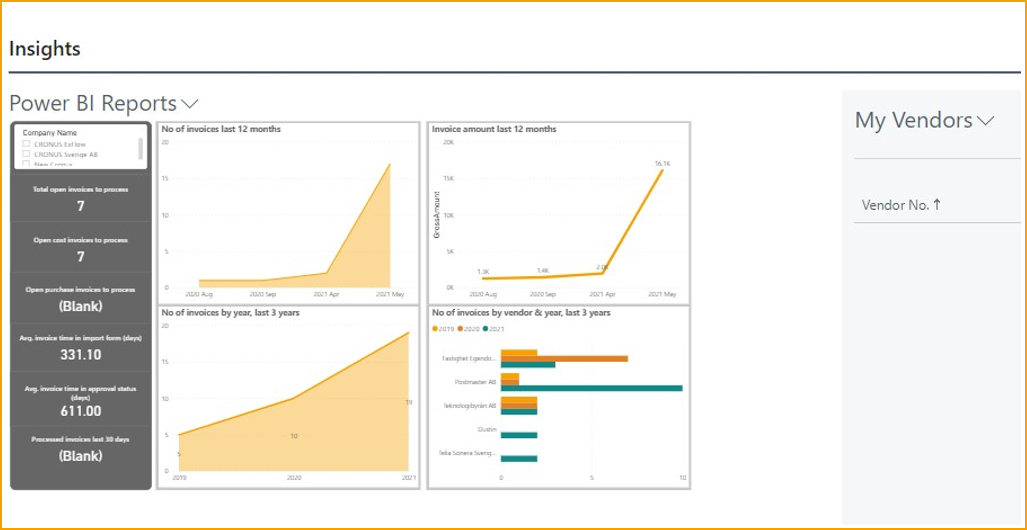
After clicking OK the Power BI report shall be visible for you under Insights in BC.
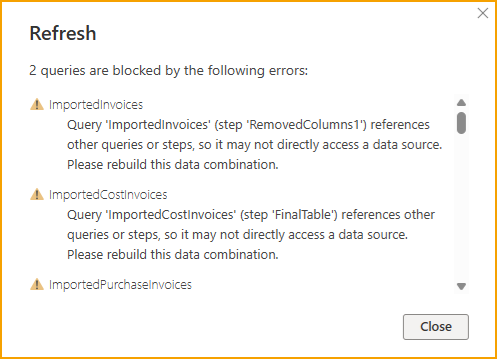
Error Handling – Queries
If you encounter a privacy level-related error when refreshing queries in Power BI, follow these steps to resolve it:
Navigate to: File --> Options and settings --> Options*
Under the Current File section, select Privacy.
Enable the checkbox: "Ignore the Privacy Levels and potentially improve performance"
Click OK, return to your report, and select Refresh.
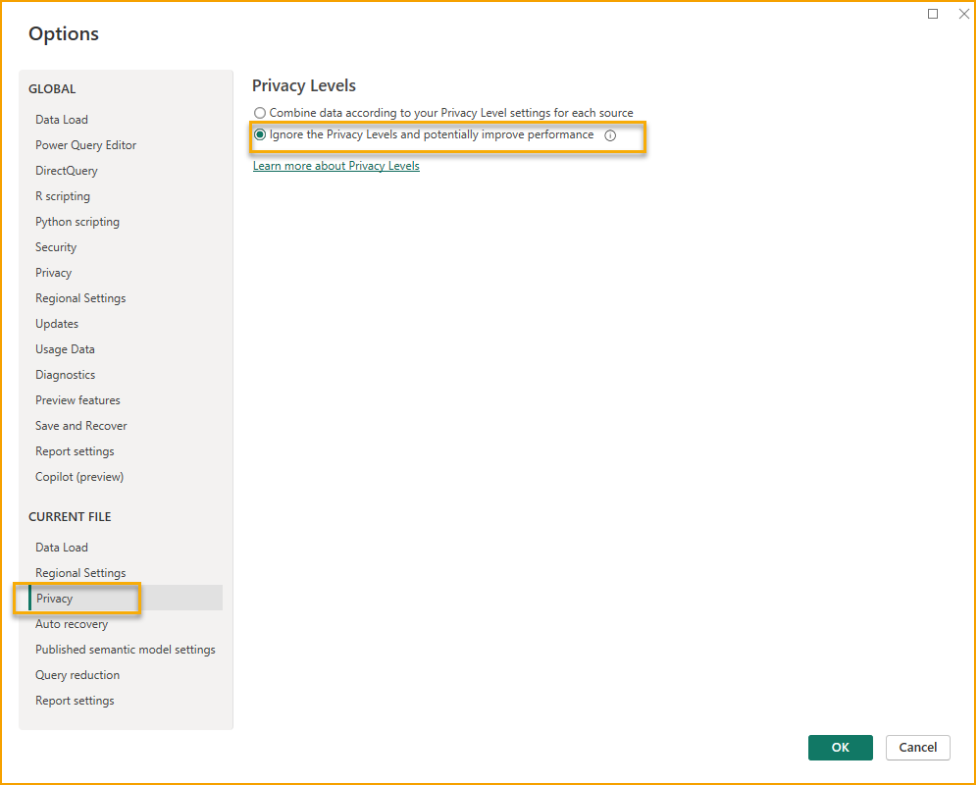
This adjustment bypasses data isolation enforcement between sources and can resolve query execution issues related to privacy level mismatches.
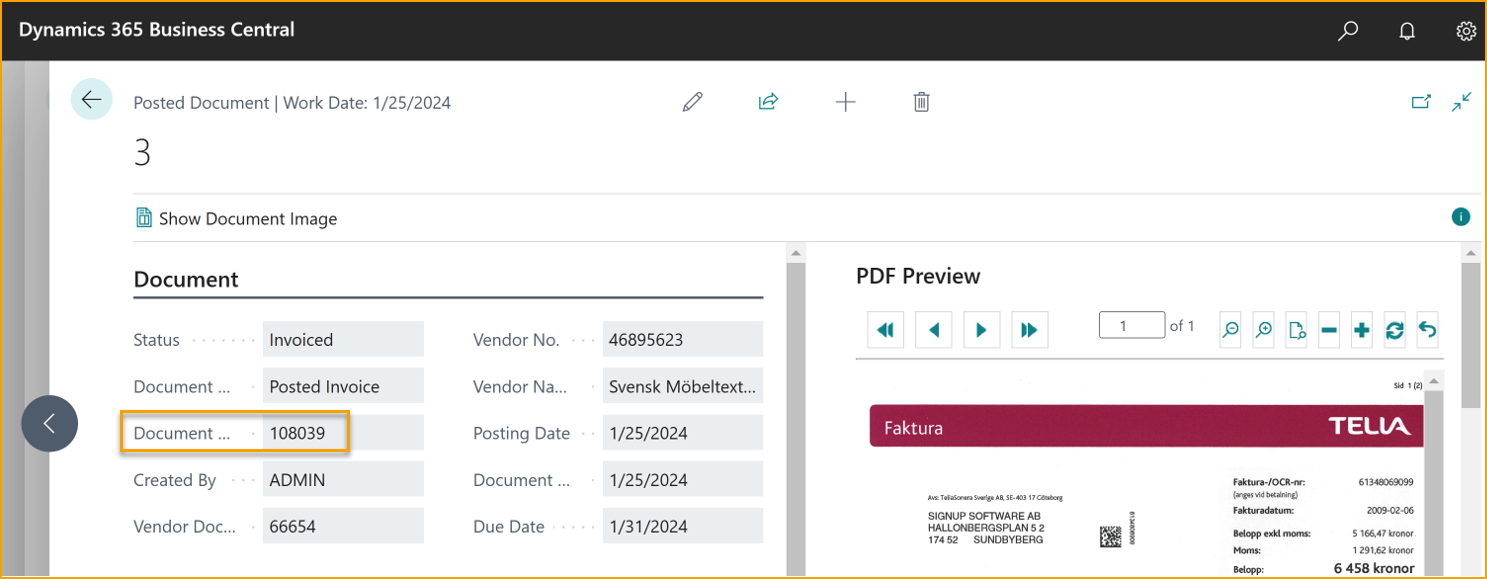
Access Posted Documents in Business Central from Power BI Desktop
From ExFlow version 21.1 it is possible to create links in Power BI to posted purchase documents.
It is needed to have access to the specific page in Business Central to be able to see the document.
To use this functionality, make sure that the latest ExFlow Power BI web services are used by deleting them and creating them again.
In the latest ExFlow Power BI template file, there is a prepared report called Posted Documents.
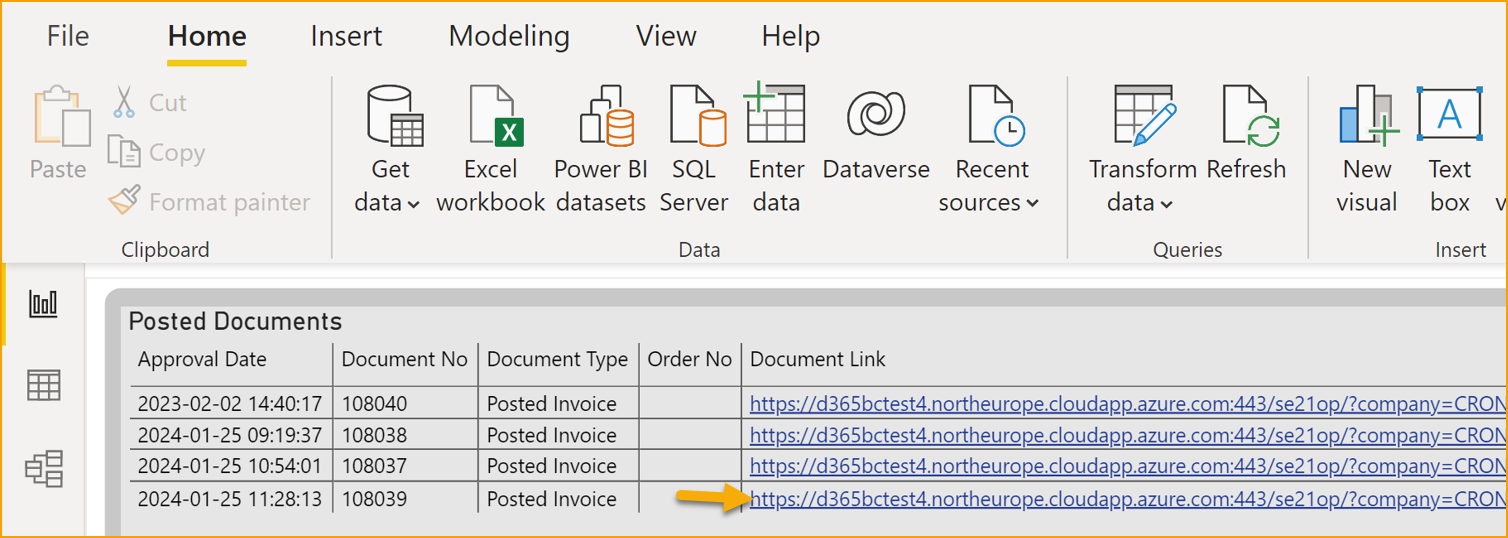
Click on the Document Link to get to the posted document card in ExFlow Approval Status History.