Upgrade and migrate ExFlow data
Feel free to download and read documents before start:
Download technical documents
Introduction
Background
This section describes how to upgrade/migrate BC C/AL ExFlow data to BC AL ExFlow data.
Considerations
The ExFlow AL BC version is not a 1-1 conversion of earlier C/AL based version of ExFlow, i.e., there may be differences in both functionality and in how data is presented/migrated. Here follows some of the key differences between the versions:
• The Requisition functionality is not supported in ExFlow Business Central AL. Documents and settings related to the requisition functionality is therefore not migrated and the feature is not available in BC AL.
• There are major changes in how comments work/are presented, therefore some comments that are migrated will display as created/written by a “system user”.
Upgrading/moving database to Microsoft SaaS
Ensure that the upgraded BC database and the ExFlow addon has supported available cloud versions. Then follow Microsoft’s instructions on how to cloud migrate local databases to SaaS.
Prerequisites
The ExFlow data model needs to be fully upgraded to ExFlow 5.41 version in BC 14. NAV/BC must be upgraded to a Microsoft supported version according and according to Microsoft’s instructions.
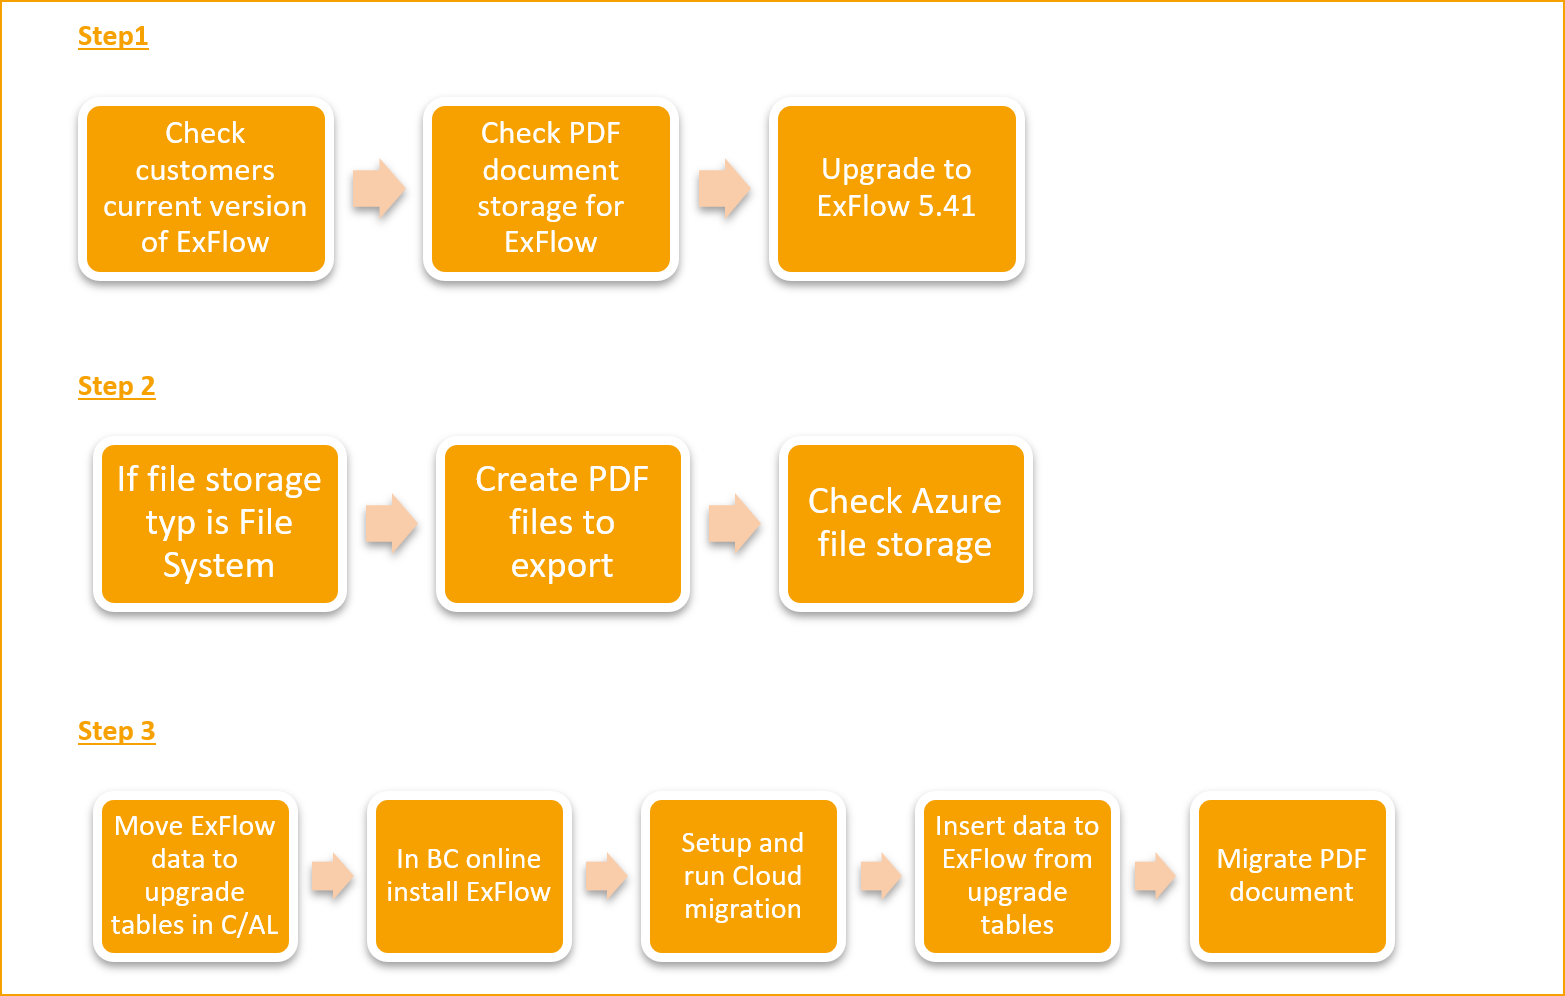
ExFlow steps to do:
- Upgrade ExFlow version to ExFlow 5.41 in BC14 see ‘’Upgrade ExFlow version to ExFlow 5.41 in BC14.’’
- Handle PDF/Image for export from C/AL to file storage see instruction ''Create PDF files to export from C/AL.''
- Create data to ExFlow upgrade tables and upgrade to BC AL see ‘’Start migrating BC14 ExFlow C/AL data to ExFlow AL data.’’
Step 1
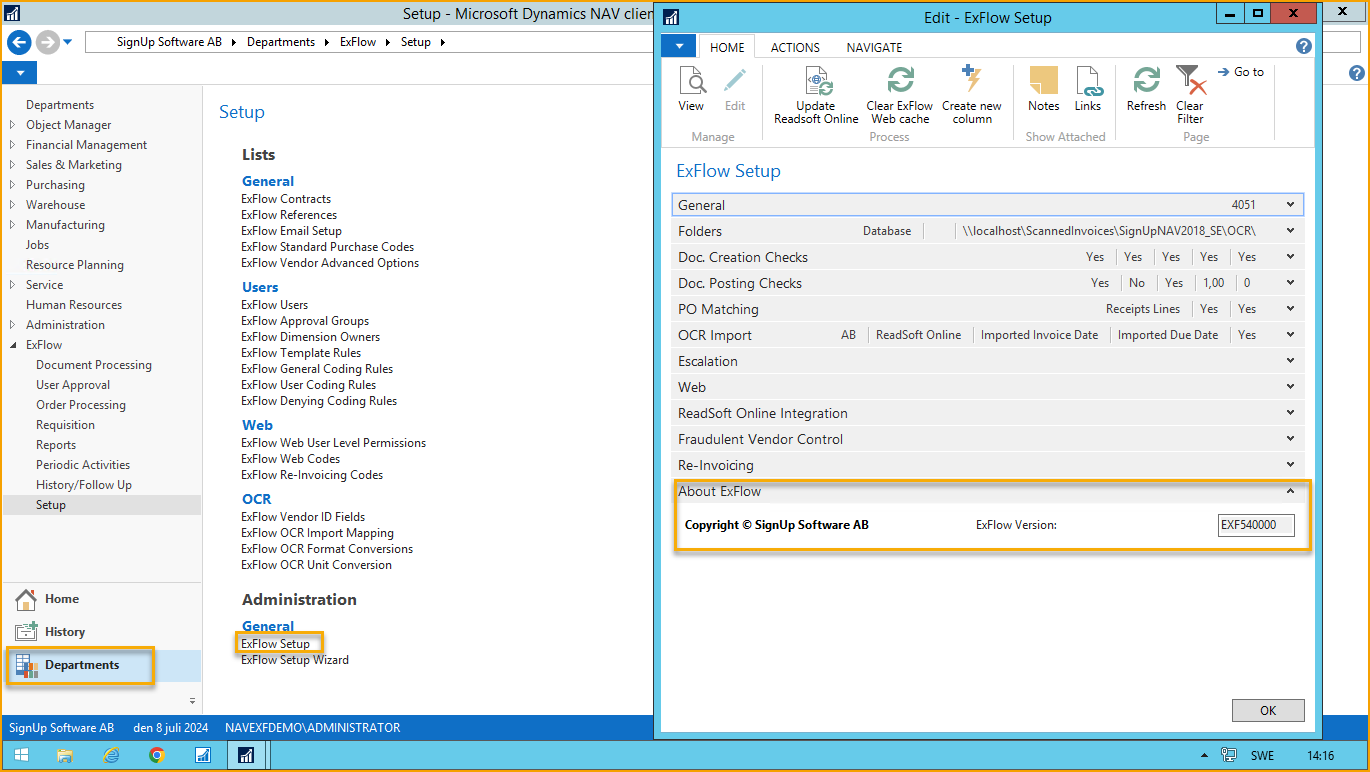
Check the current ExFlow version and NAV/BC version
Go to: Departments--> ExFlow Setup--> About ExFlow to find your ExFlow version:
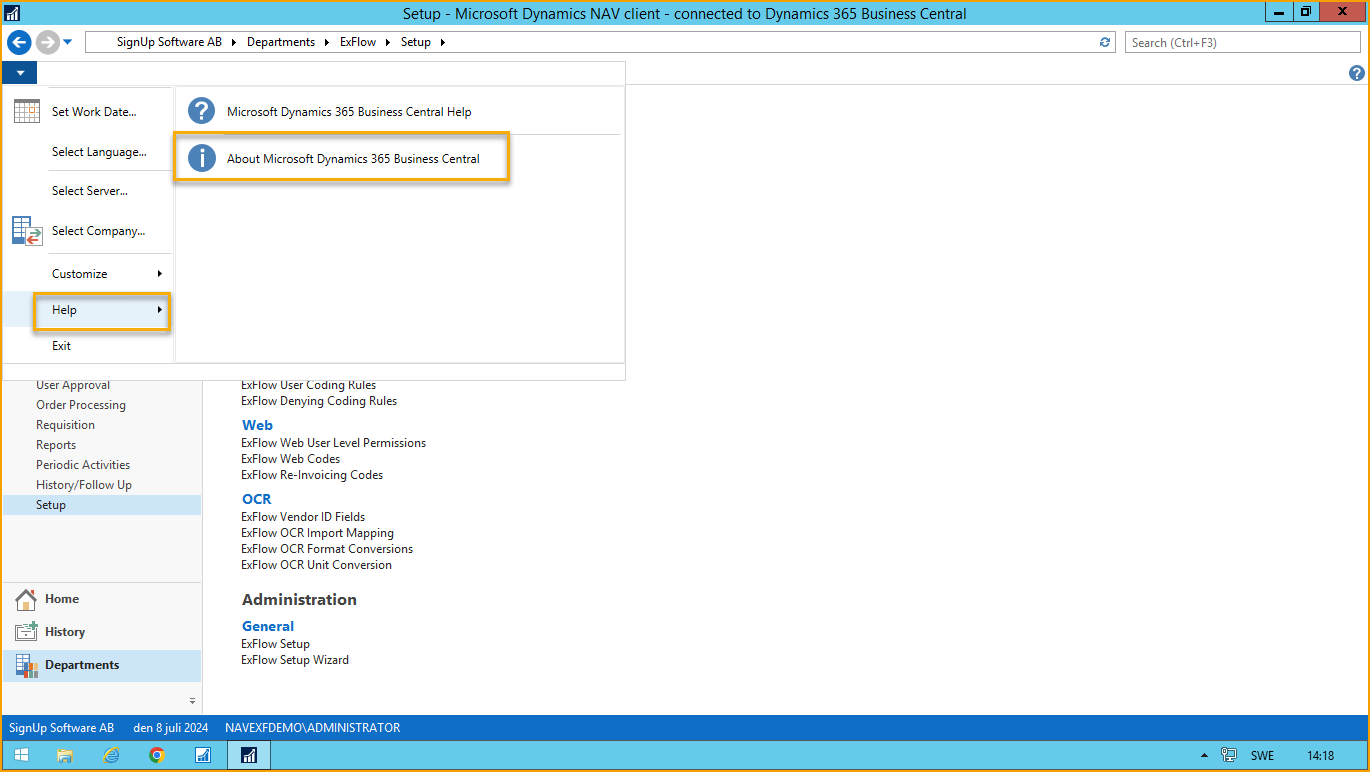
Go under the pile in the ribbon and click on ''Help'' and ''About Microsoft Dynamics 365 Business Central''.
If current ExFlow version is < ExFlow 5.22 then an upgrade of ExFlow to ExFlow 5.41 must be done with upgrade script.
Read more in section Upgrade ExFlow 3.50 to ExFlow 5.41 or Upgrade ExFlow 4.XX to ExFlow 5.41
If current ExFlow version is >ExFlow 5.22 then merge existed ExFlow code to ExFlow objects in BC14 with version ExFlow 5.41.
Upgrade scripts from earlier versions can be downloaded from the Truvio partner portal or requested from Truvio support.
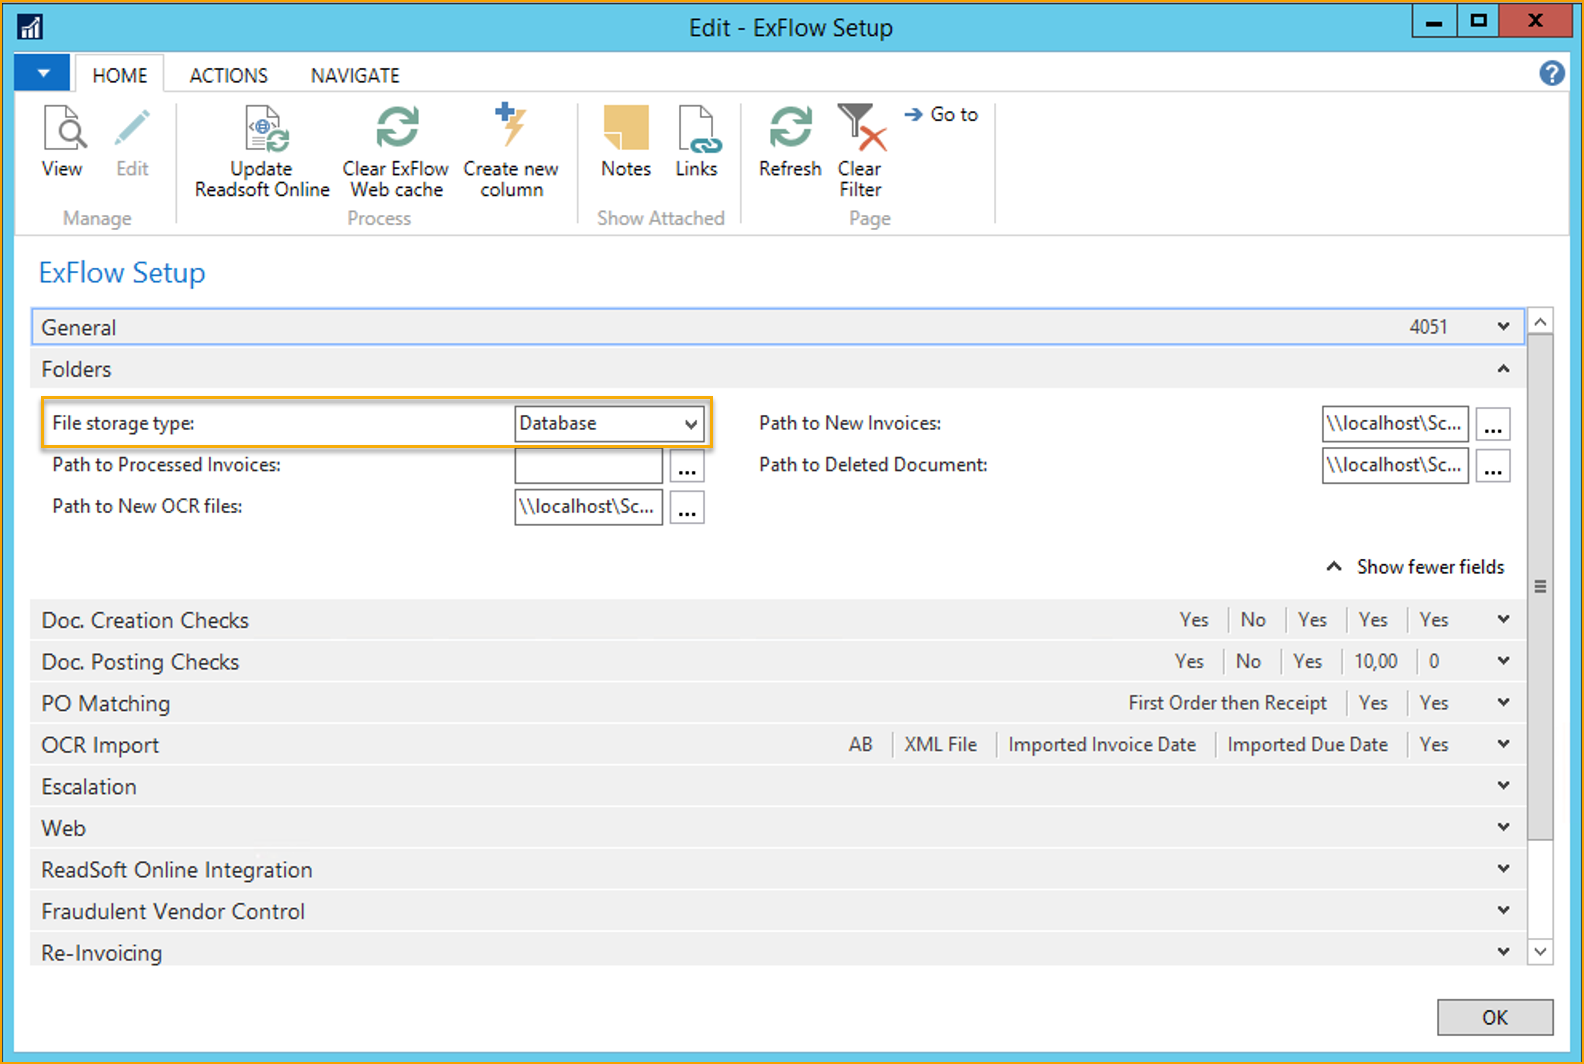
Check PDF document storage for ExFlow
To start, go to ‘’ExFlow Setup --> Folders--> File storage type’’ to check if the documents are stored in database or in a file share:
If document is stored in File share, then two options exist:
- Import document to database. Read more under section Import PDF/Images to database before upgrade.
- Export documents to file share from BC/NAV C/AL and import documents from Azure file storage into BC AL.
Read more under section ''Create documents files to export in C/AL and import documents in AL.''
Import PDF/Images to database before the upgrade
Start BC RTC client in ExFlow version > 5.22.
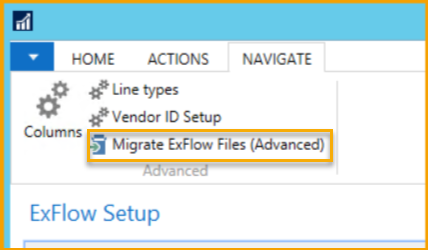
Go to: Departments --> ExFlow Setup --> Navigate --> Migrate ExFlow Files (Advanced)
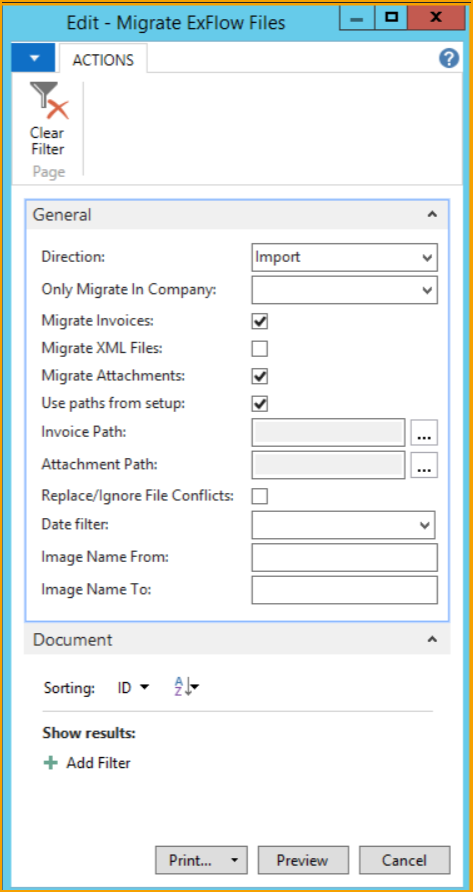
Click on Migrate ExFlow Files (Advanced) and edit the Migrate ExFlow files window with needed Import information.
If there are multiple companies that use ExFlow, verify the file paths are updated in the ExFlow Setup.
If there is only one company, depending on where the file share is located, it’s possible to either import the files from the paths in the setup, or to select it manually from Invoice Path and Attachment Path.
Make sure that Migrate XML files field is un ticked, and that Replace/Ignore File Conflicts field is ticked.
If there are a lot of documents, it is possible to limit the import by entering folder names in Image Name From and Image Name to.
Moreover, it’s also possible to select the company to import files from by selecting the company in Only Migrate in Company.
It’s possible to change paths in “Folders” tab in ExFlow Setup.
Click on ‘’Preview’’ to continue.
Upgrade ExFlow version to ExFlow 5.41 in BC 14
Upgrade ExFlow 3.50 to ExFlow 5.41
Finish all document in import journal in ExFlow.
Import ExFlow_350_to_5XX_STEP1_(NAV2009R2).fob.
Run codeunit 12057134 EX Upgrade 350 to 5XX Step1.fob.
Delete store procedure in SQL manager.
Upgrade NAV2009R2 to (NAV2015 or later)
Merge ExFlow 5.XX into customers (NAV 2015 or later) object.
Import merged ExFlow 5.XX objects to upgraded (NAV2015 or later)
Choose: Sync. Schema Later
Import Upgrade tool ExFlow_350_to_5XX_STEP2_(NAV2015 or later).fob
Choose: Sync. Schema Later
Compile ExFlow objects now
Choose: Sync. With validation
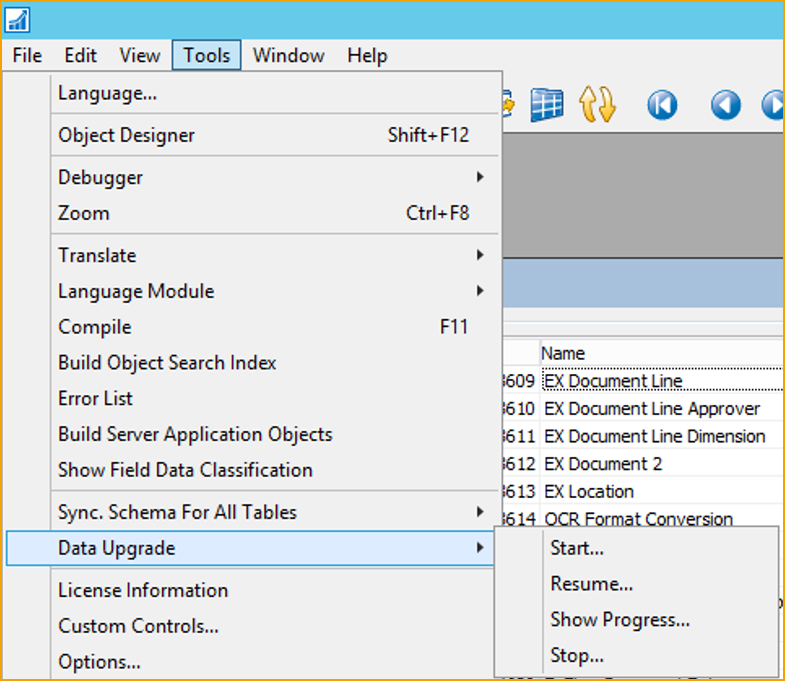
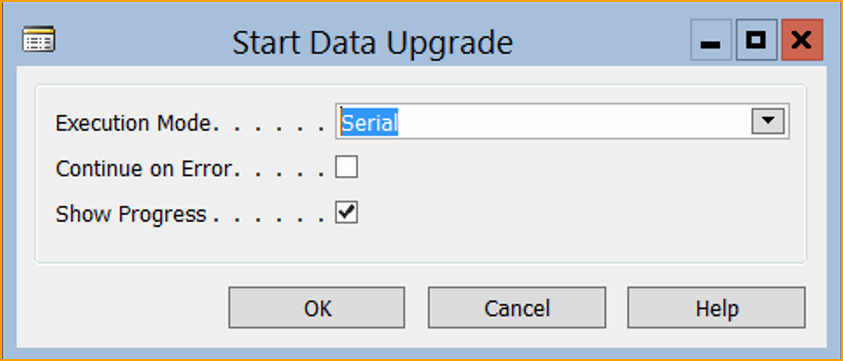
Start Tool --> Data Upgrade in (NAV2015 or later)
ExFlow 5.XX data ready for ExFlow setup configuration and Web installation.
Upgrade ExFlow 4.XX to ExFlow 5.41
Merge ExFlow 5.41 to customers version of ExFlow to BC14 version and create a fob with ExFlow objects.
Start BC14 development environment.
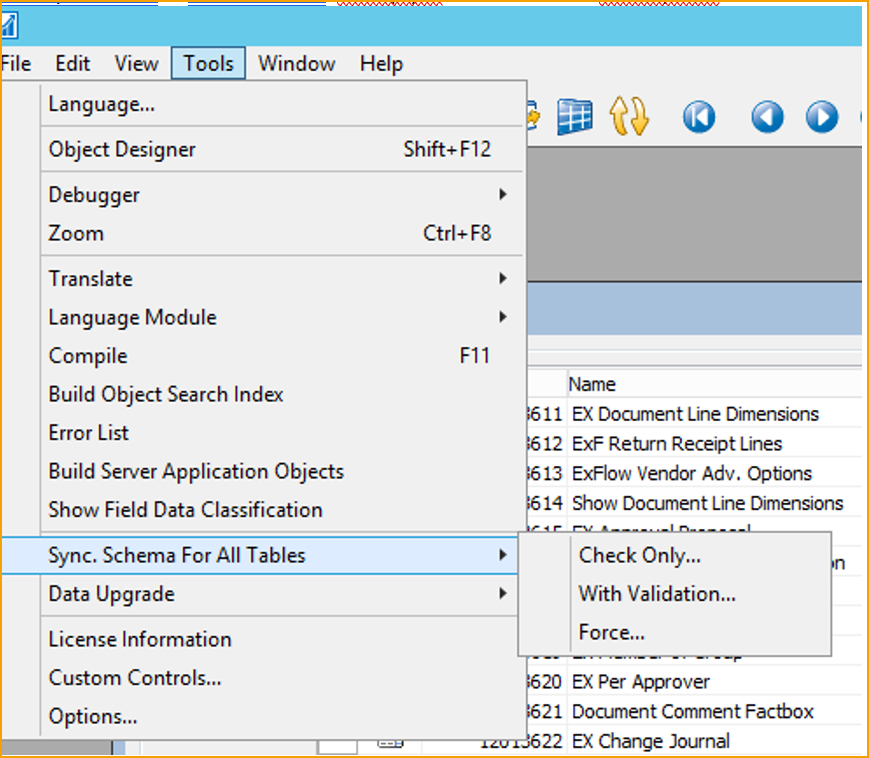
Run Synchronize of tables.
Choose: ''Tools--> Sync. Schema For All Tables--> With Validation''.
Import merged customer ExFlow 5.41 objects that have been created.
Choose: ‘’Sync. Schema For All Tables--> Later’’.
Import Upgrade tool ExFlow_UpgradeTool_from500_to541 (BC).fob.
Choose: ‘’Sync. Schema Later’’
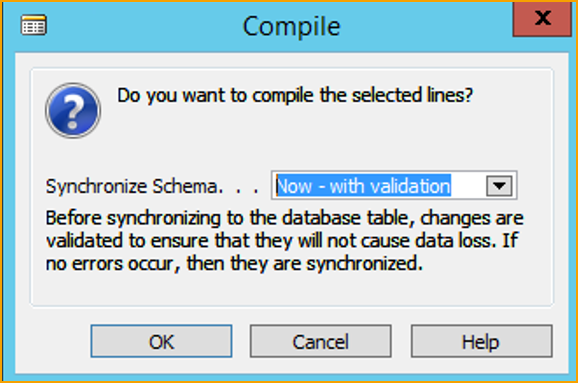
Compile ExFlow object.
Choose: Now – with validation
Choose Tools --> Data Upgrade --> Start
Data upgrade finished.
Validate ExFlow data.
Step 2
Create documents files to export in C/AL and import documents in AL
This can be done before or after upgrade (if document images aren't upgraded)
Export images/PDF documents from BC C/AL
Get DocMigrate_New_BC14.fob and import it into C/AL development environment.

Run report 60012 Export Inv to XML.
Select a ‘’Path to export’’, it is the root path where images/pdf are stored, then click on OK.
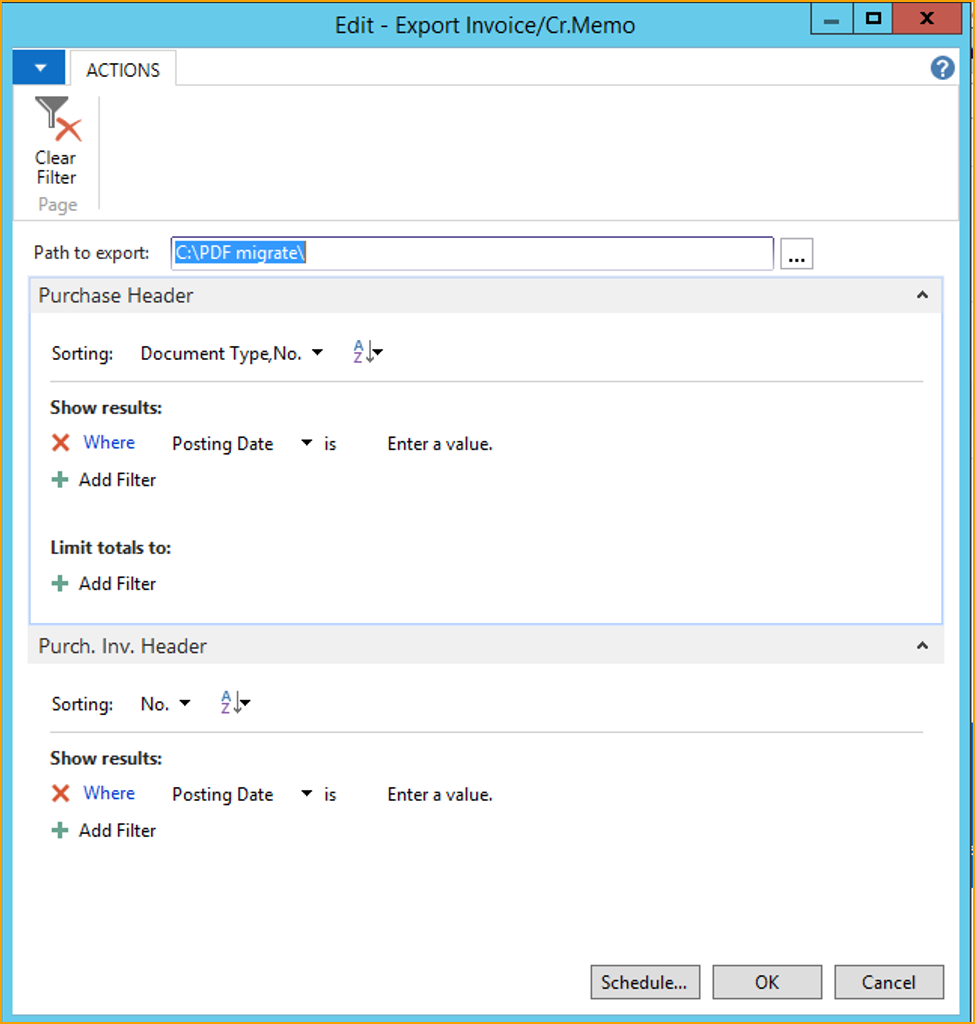
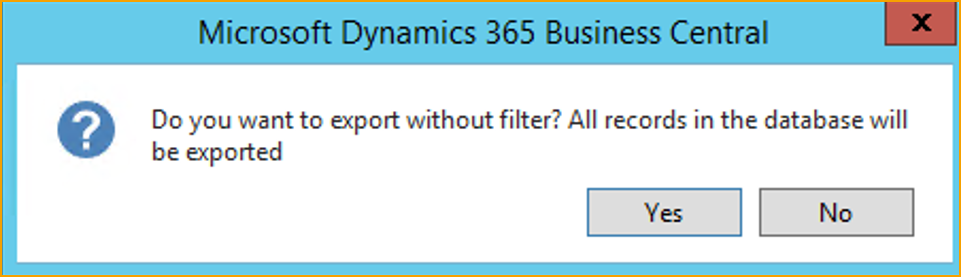
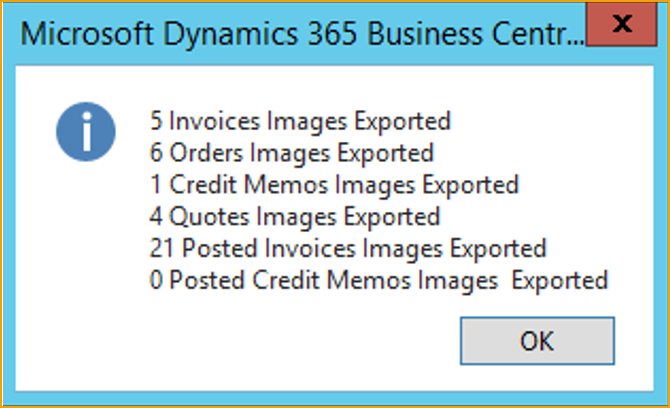
Click on Yes to export all records in the database. a pop-up message with all summation of exported images will then be shown.
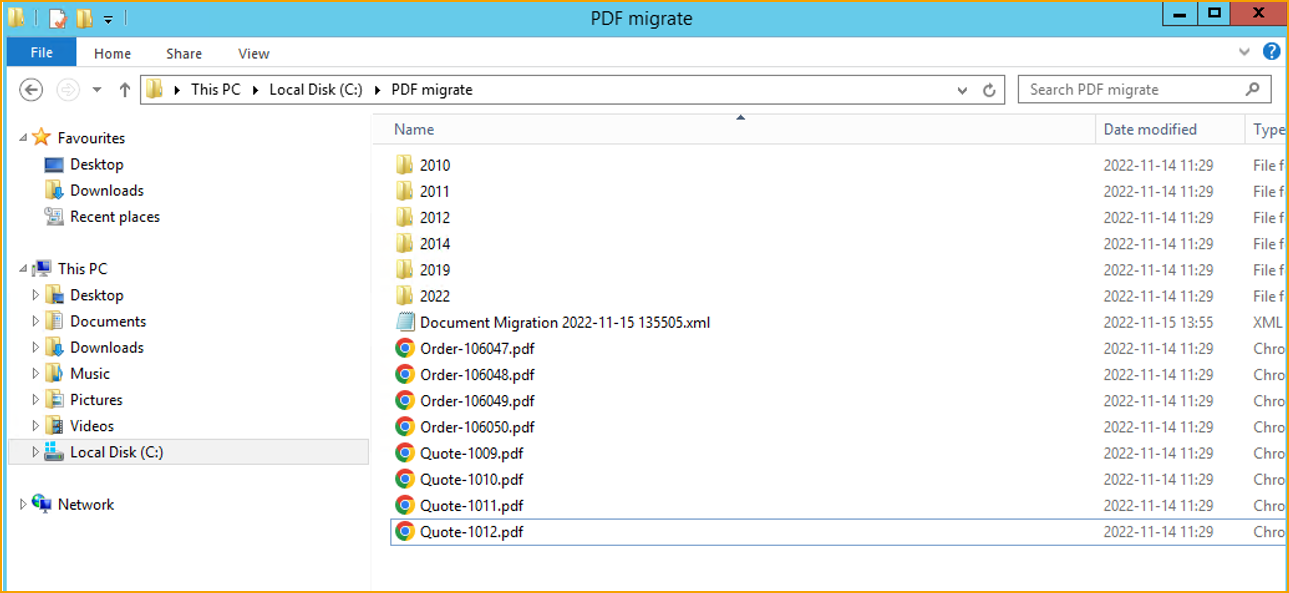
Create folder and files:
Create Azure File Storage
For support regarding below, please contact your internal IT department or trusted Business Central partner.
To be able to create a File Import Setup in ExFlow Business Central, an Azure File Storage must be created before. The Access key (among other things) is needed.
Create Azure Storage Account
Log in to Azure Portal and click on ''Storage accounts'' to create a storage account.

Click on ''Create storage account'', use default and fill in all required settings.
Make sure that public end point is selected on networking tab.
Choose Review and create the account.
Create an Azure File Share
In Azure Portal, continue to create an Azure file share.
Select the storage account, and go to File shares under Data Storage.
Create a file share, then click on the newly created file share.
Create a directory (subfolder) in the file share called ExFlow or any other name by choice.
Step 3
Start migrating BC14 ExFlow C/AL data to ExFlow AL data with Cloud migration
Move ExFlow data to ExFlow upgrade tables
After the upgrade to ExFlow 5.41, then start import. Run File -> Import choose file Upgrade_New_BC14_XX.fob.
Run codeunit 12026809 this copy all ExFlow company data to all ExFlow Upgrade tables.
Start Cloud migration
Setup Cloud migration in current Business Central version (follow Microsoft's instructions).
Start Cloud Migration Management choose Manage Custom Tables.

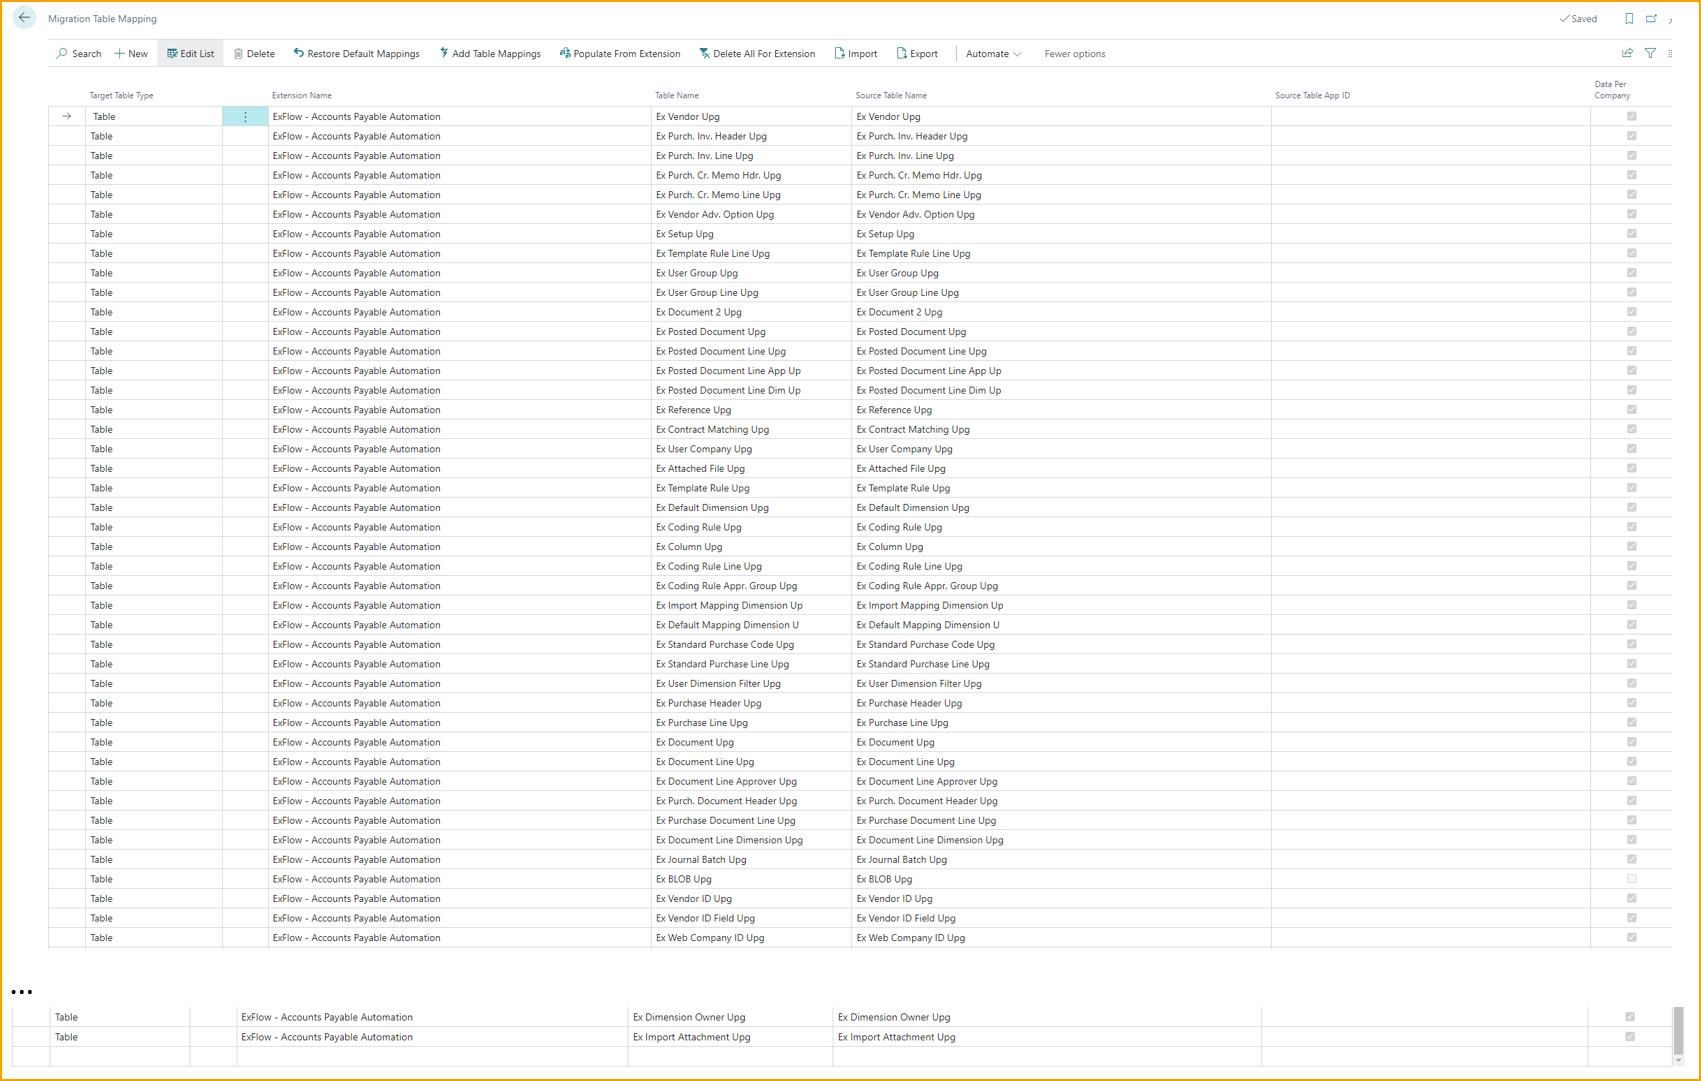
Important!:
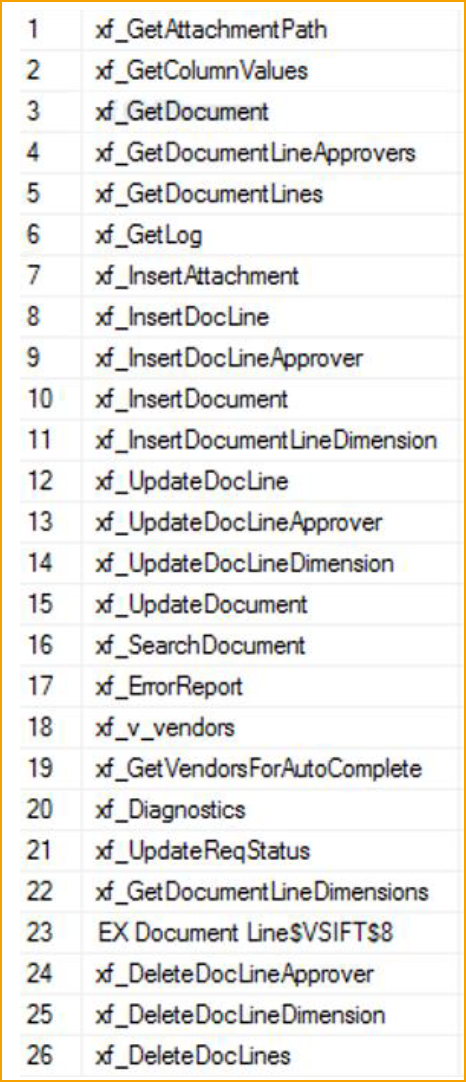
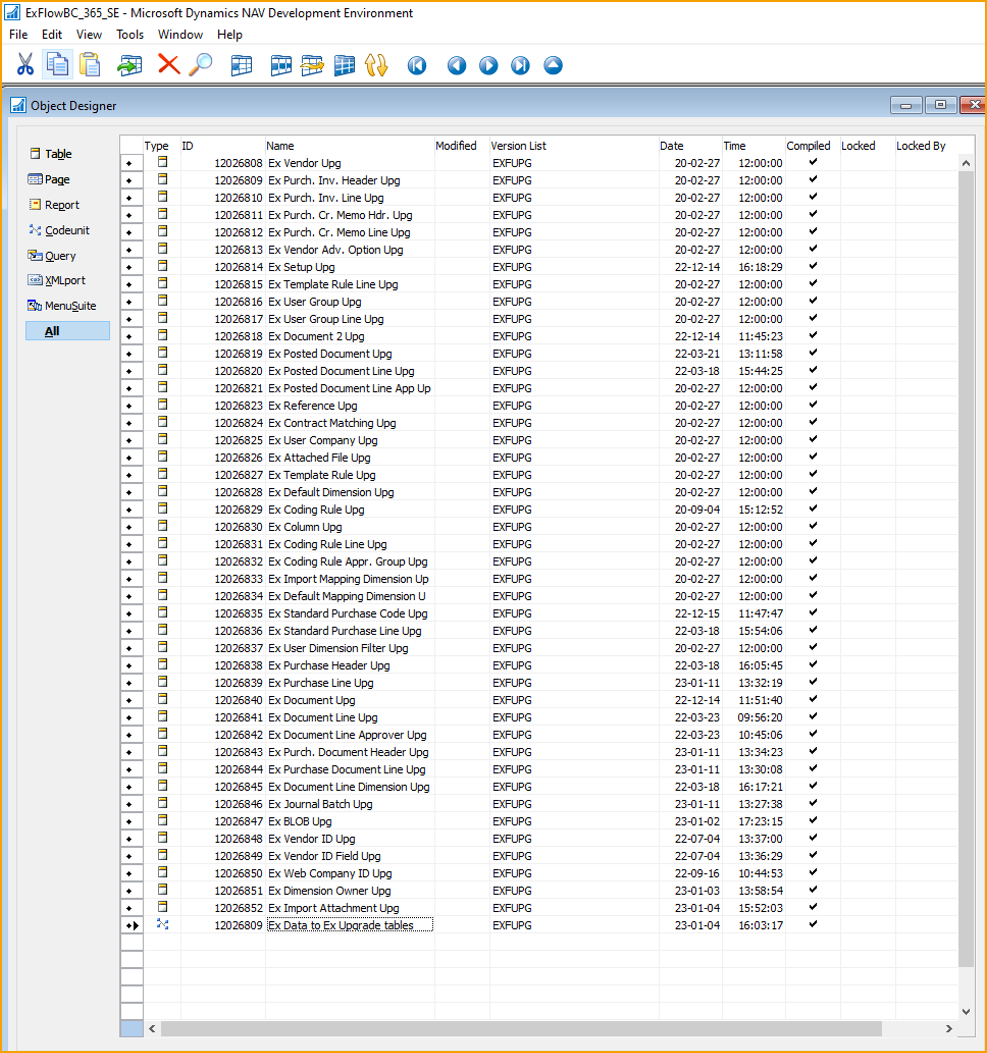
Only choose all ExFlow tables with ''Upg'' or ''Up'' after name, see below picture of the ''Migration Table Mapping''.
Remove all others ExFlow table so no data from those tables are moved.
Run migration.
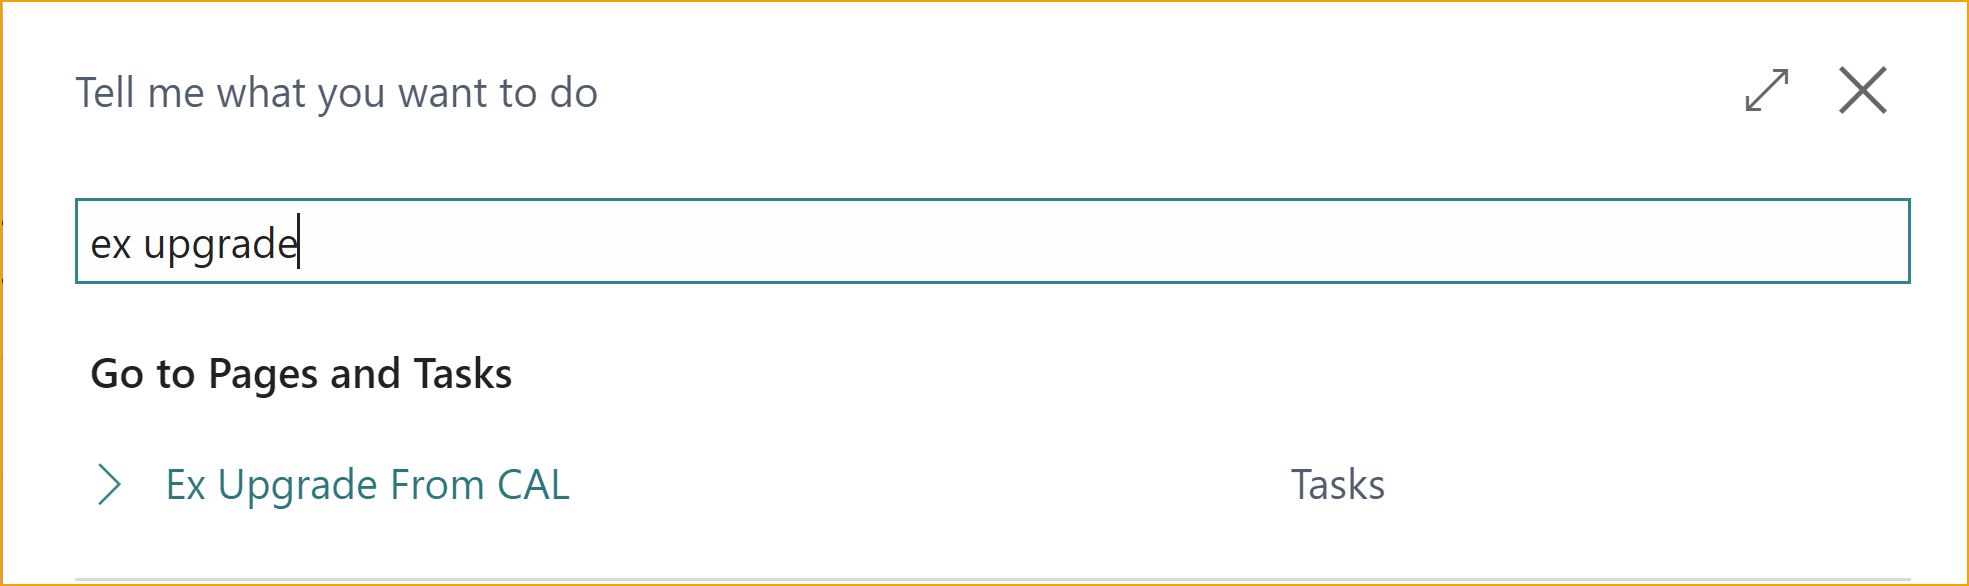
After the migration is done, search for Ex Upgrade From CAL in Business Central:
From the page ''Ex Upgrade From CAL'', go under ''Actions --> Run ExFlow Migration for Current Company''.
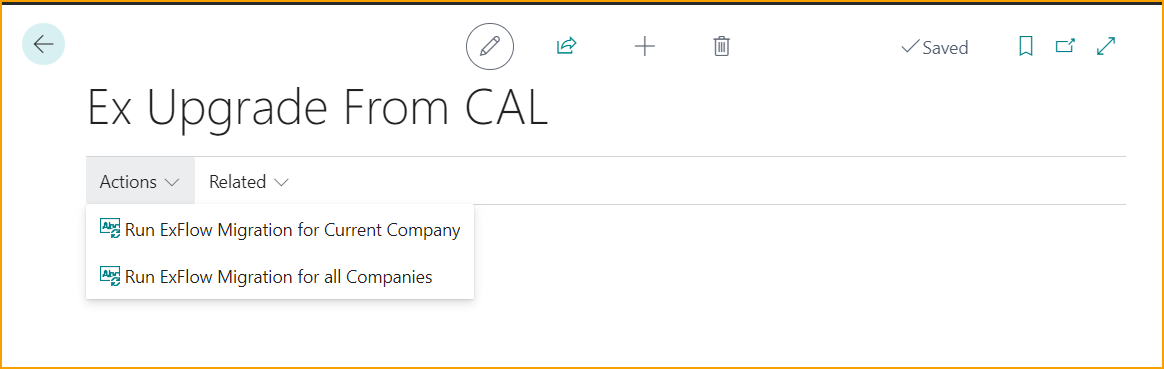
If there is more than one company, go under ''Actions --> Run ExFlow Migration for all companies''.
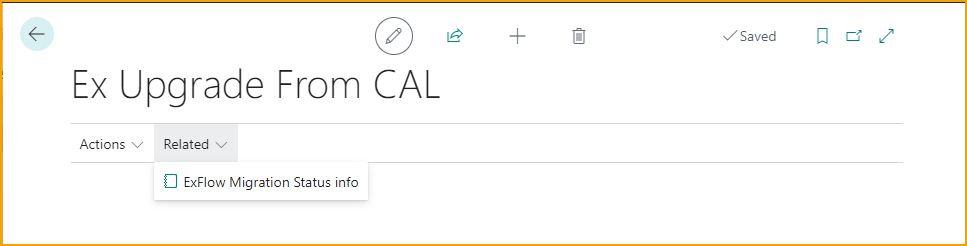
Go under Related-- > ExFlow Migration Status info to view the log of upgrade procedure per company.
After the upgrade, follow the instructions in below section ''Post upgrade activities''.
Post upgrade activities
These actions may require application knowledge of the ExFlow BC AL addon and which features were used/will be used in the upgraded ExFlow BC version.
Utilize the ExFlow wizard for every company that ExFlow should be setup in.
- In the Default company:
- (Re)-assign ExFlow default company.
- Setup ExFlow E-mail notifications.
- In all (relevant) companies:
- Activate the Company for ExFlow Web.
- Setup EDC-integration settings.
- Import required Data Exchange definition.
Also, request and activate an ExFlow Business Central License Key.
Insert data to ExFlow from upgrade tables
Import images/PDF document to BC AL via ExFlow File Import Setups
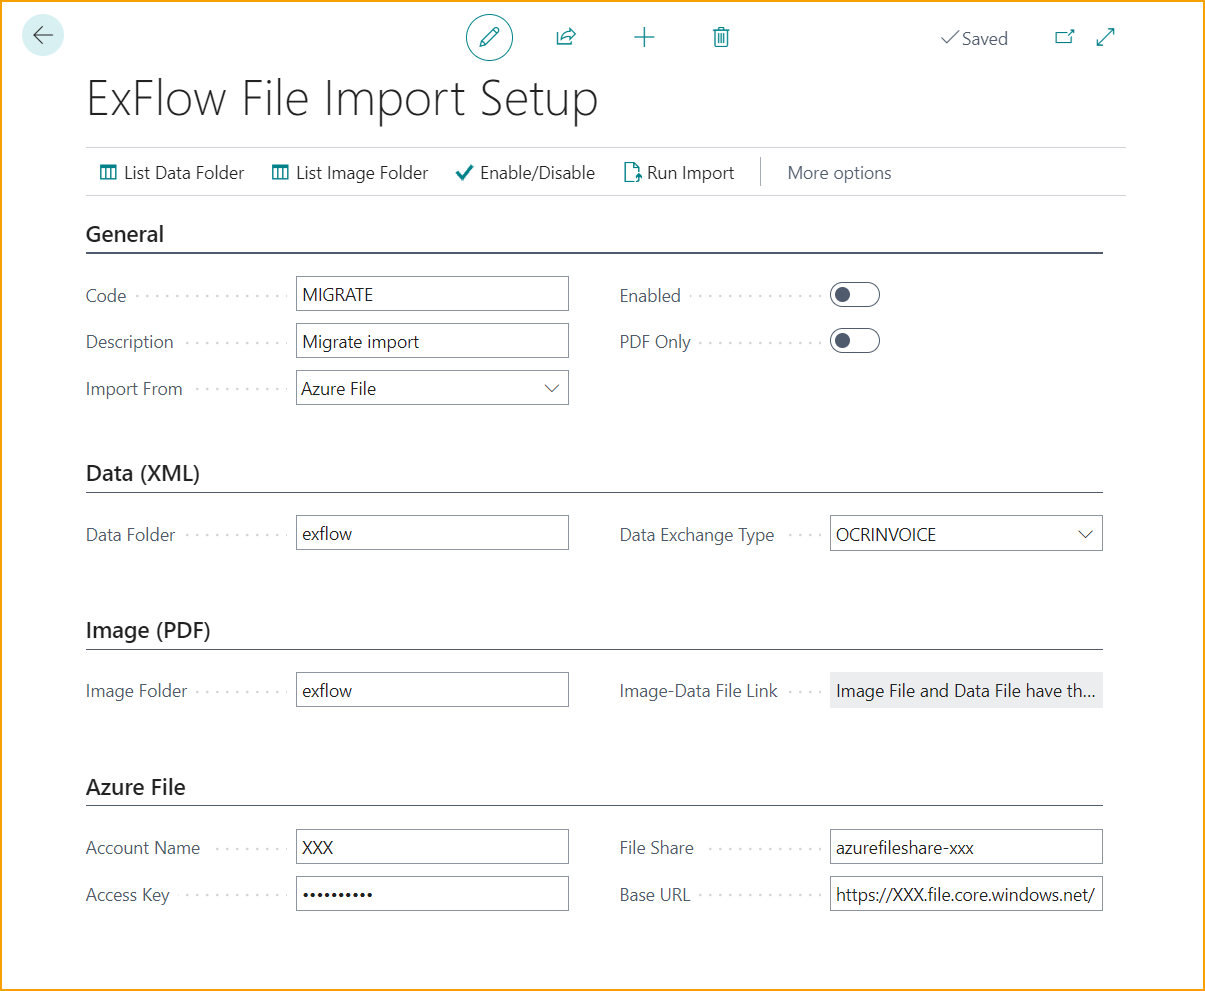
Go to: ExFlow File Import Setups to import images/PDF documents to Business Central.
Click on New to create a new File Import Setup.
Under the General -section, enter a Code, description and choose ''Import From: Azure File''. When ''Azure File'' gets selected, then both ''Image Folder'' and ''Image Folder'' will be set to ''exflow'' per default under the ''Data (XML)'' -section and ''Image (PDF)'' -section.
Add ''Data Exchange Type'' under the ''Data (XML)''- section. Under the ''Azure File''- section, add information about the Account Name, Access Key, File Share and the base URL.
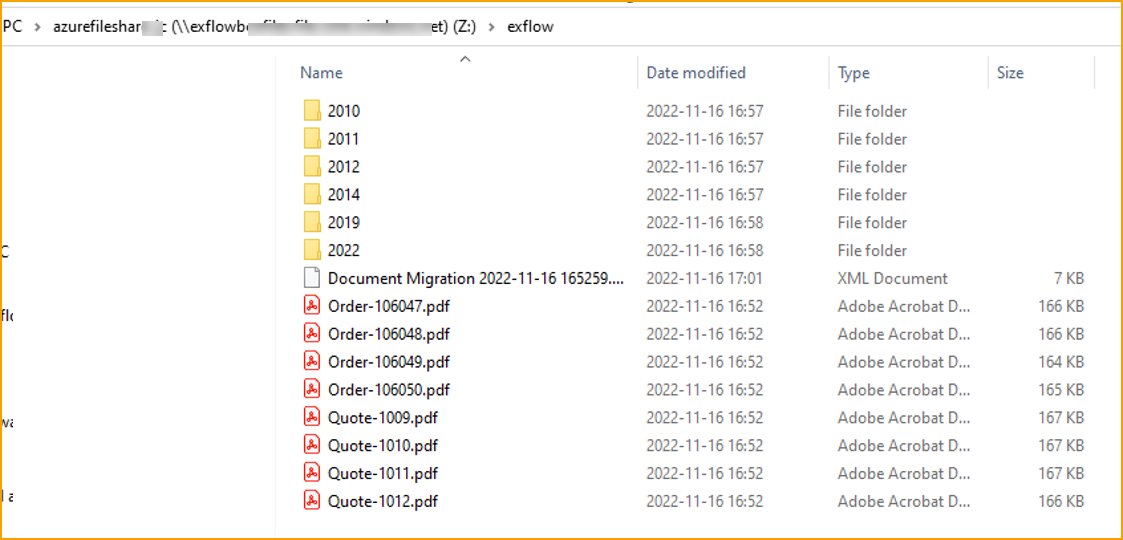
Copy all files and folders to the created Azure file storage Image folder (in this example is folder name ExFlow)

Migrate Documents via Document Migration Tool
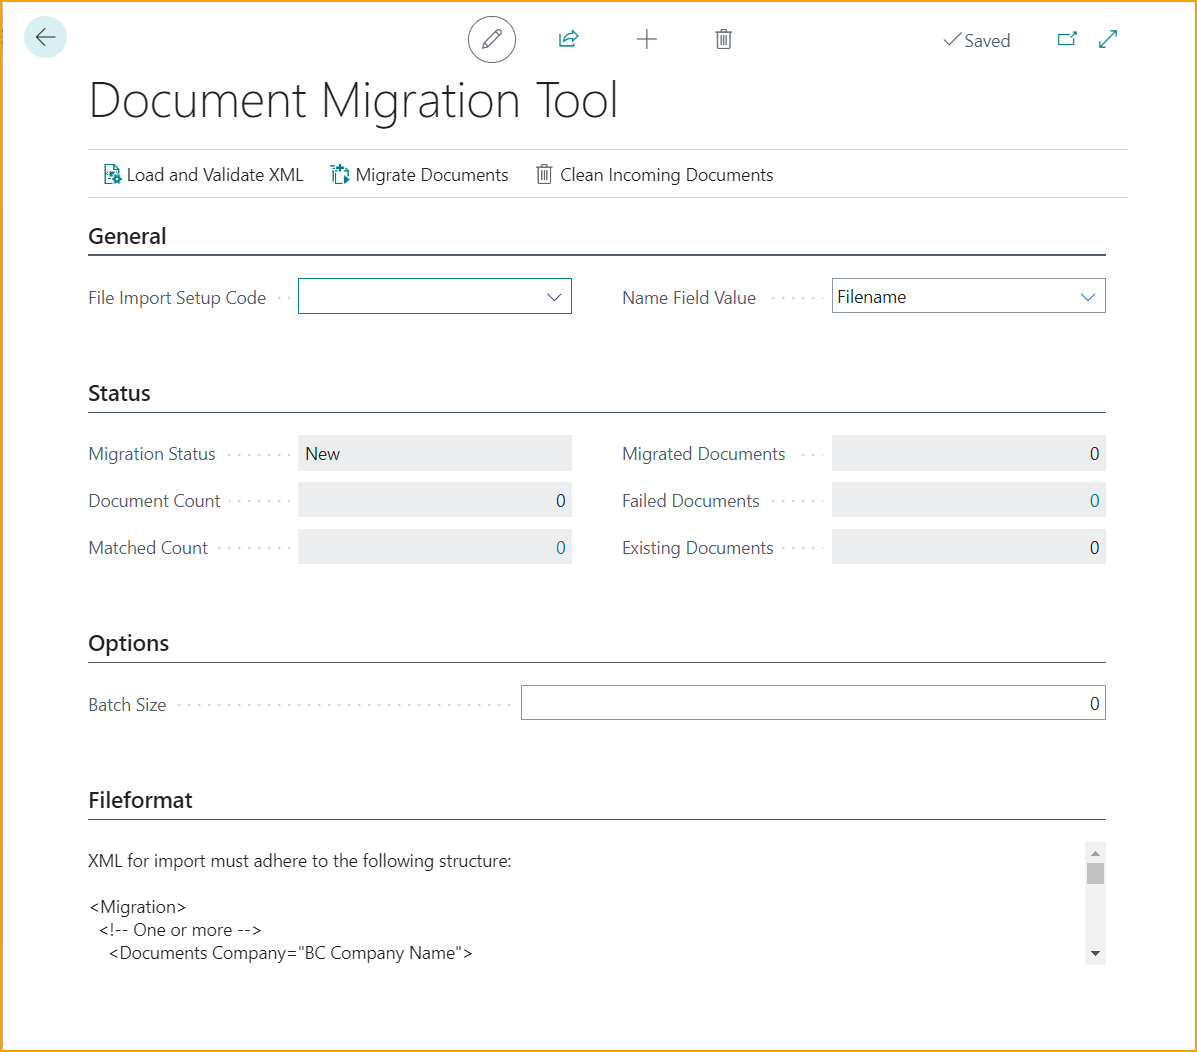
Next step is to utilize the Migrate Document Tool.
Go to: ExFlow Setup page --> Action --> Functions --> Migrate Documents
| Document Migration Tool | |
|---|---|
| Load and Validate XML | Create a new File Import Setup |
| Migrate Documents | Read, import and migrate documents |
| Clean Incoming Documents: | Clear all migrated documents if a new import is needed |
| General | |
|---|---|
| File Import Setup Code: | Enter the File Import Setup Code |
| Name Field Value | Specify the name format to use. Following options are available: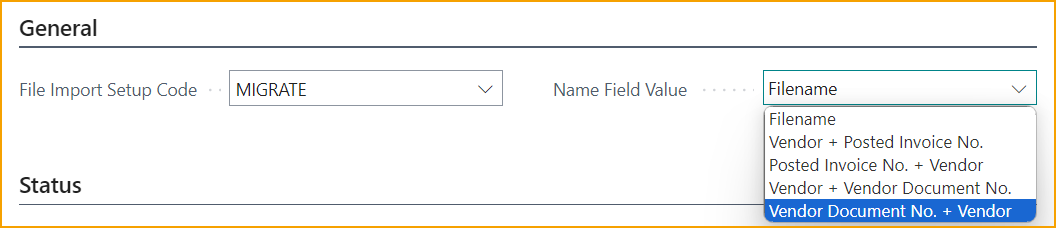 |
| Status | |
|---|---|
| Migration Status: | Status of migration |
| Document Count | Number of documents to migrate into matching company name |
| Matched Count | Number of documents matched in current company, click for list of documents that did not match |
| Migrated Documents | Number of documents migrated into matching company name |
| Failed Documents | Documents that failed to migrate, click for list and reason |
| Existing Documents | Number of documents already migrated |
| Options | |
|---|---|
| Batch Size: | Set to a non-zero value to at-most import that many documents at one time |
| Fileformat | |
|---|---|
| File format | Shows the needed import XML adhered structure |
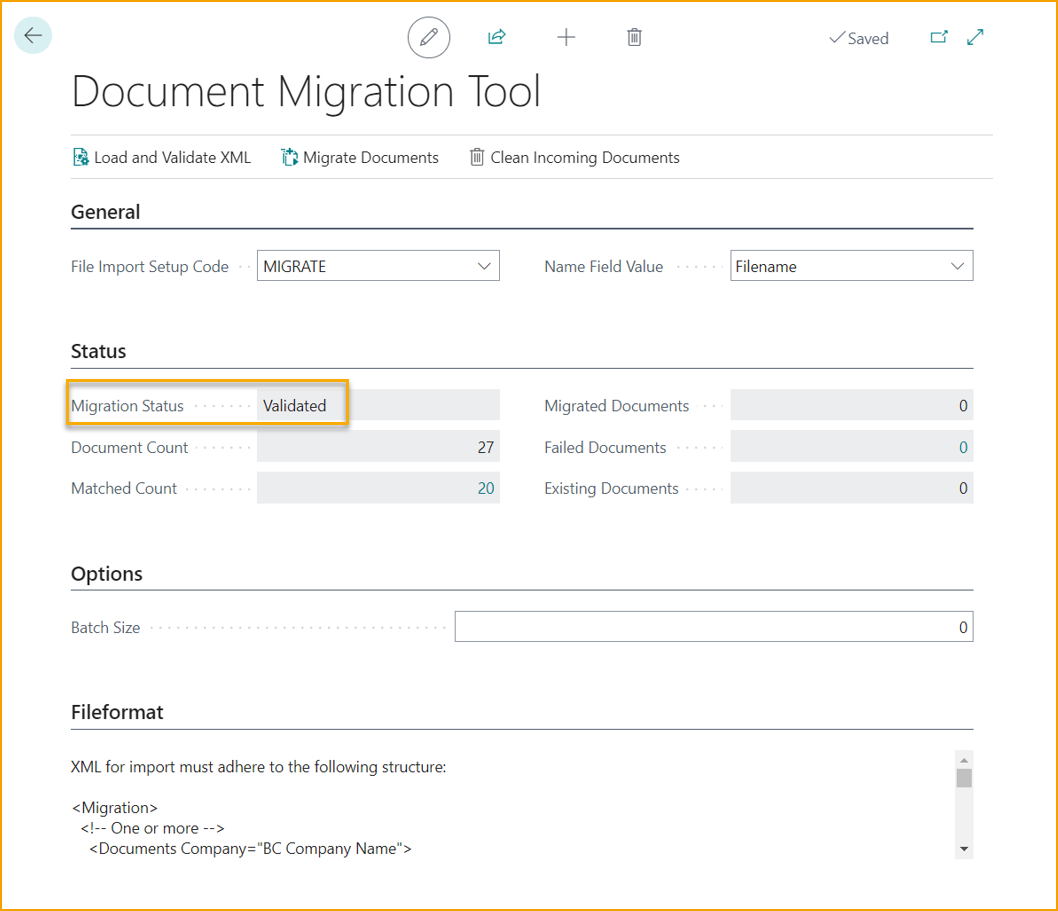
To continue with the migration example, click on Load and Validate XML to choose file.
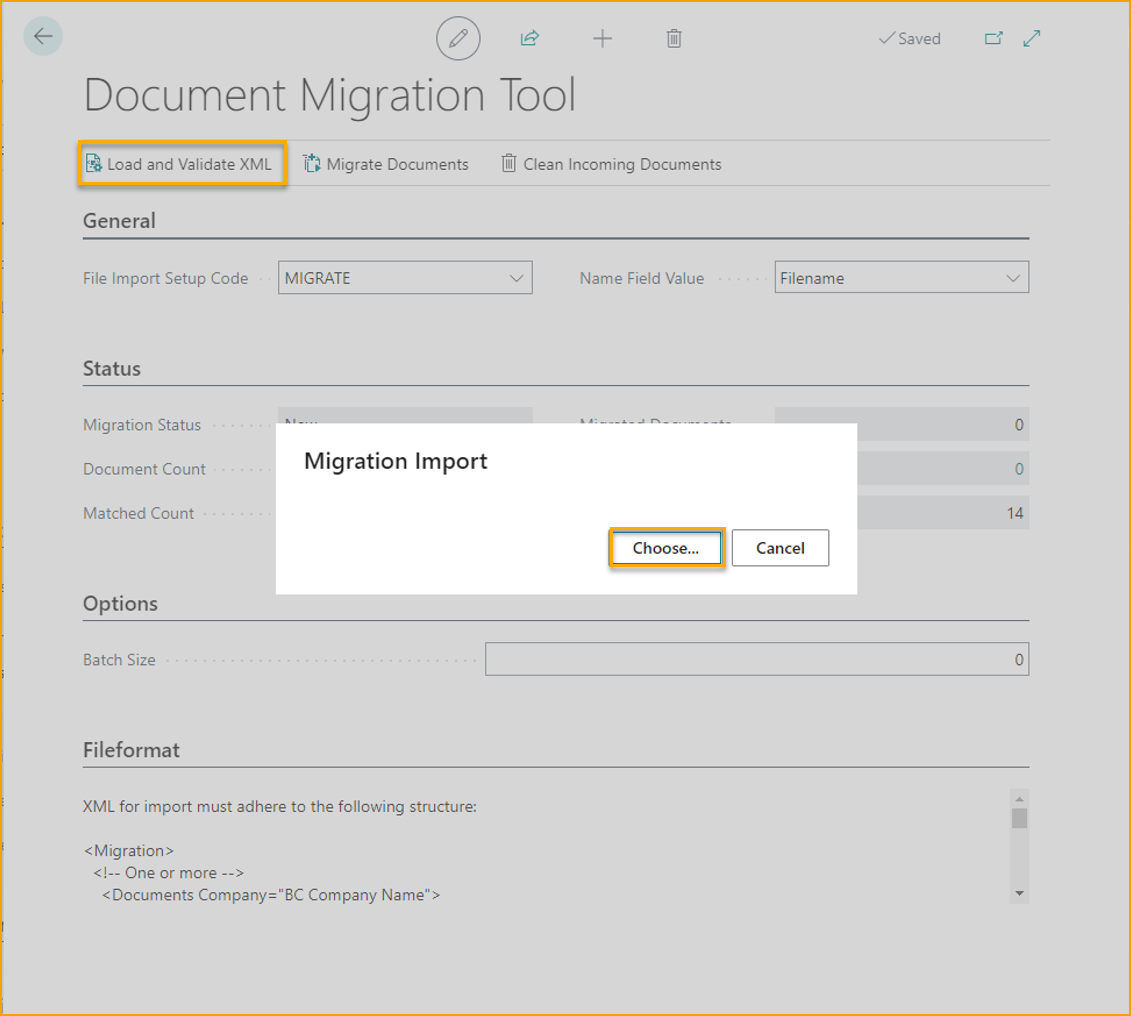
Choose file ''Document Migration XML document*.xml'' in azurefileshare image folder ''exflow''.
Then migration status will be set to ''Validated''.
Choose tab ''Migrate Document'' and wait until Migrate Status will be set to: ''Migrated''.
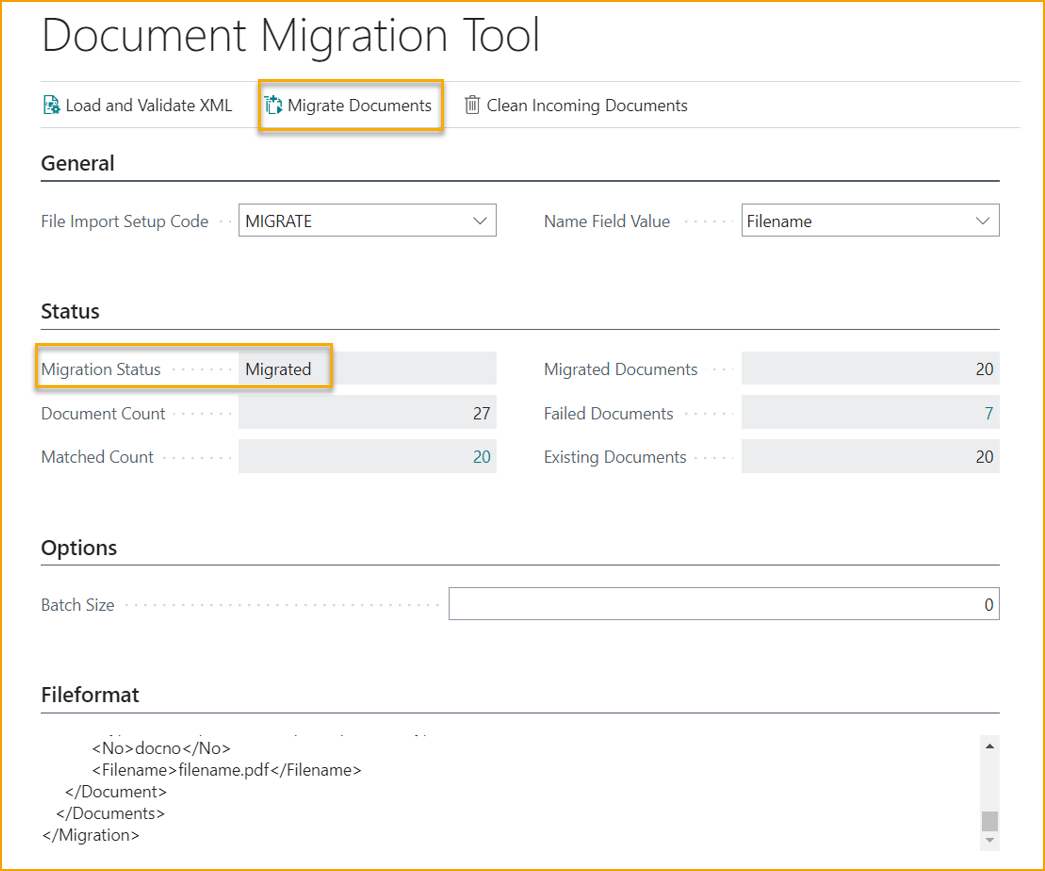
Done with migration.
Validate that all PDF images are attached to the purchase documents.