For bookkeepers
Bookkeeping is the final stage in processing expenses or mileage and can be efficiently managed with just a few clicks in ExFlow Travel & Expense Business Central. Please note that Business Central is not designed for submitting expenses or mileage. For these purposes, kindly use the mobile app or the web portal.
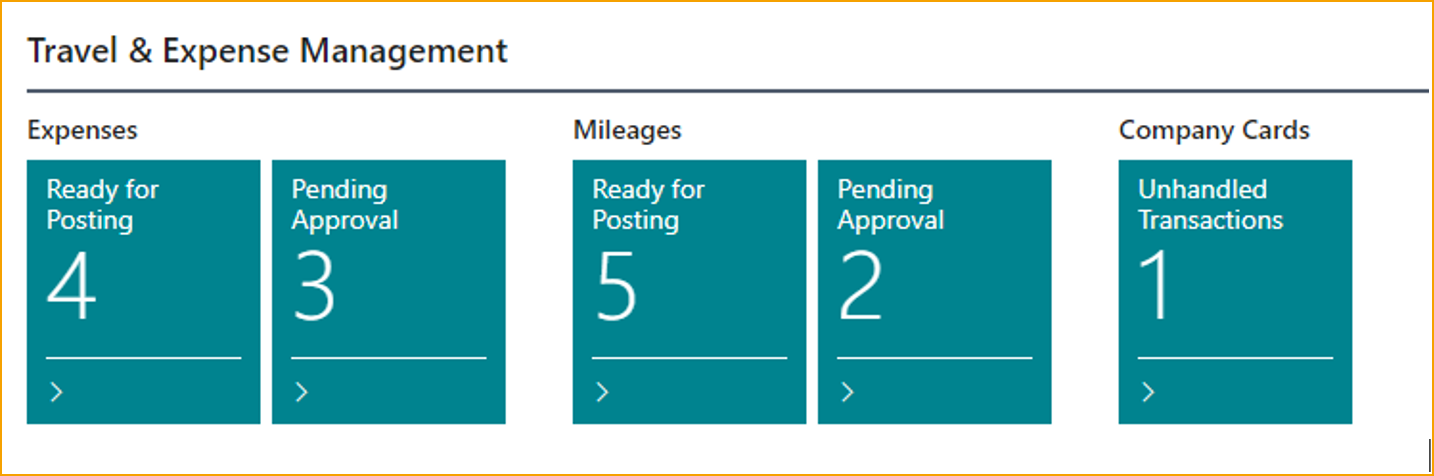
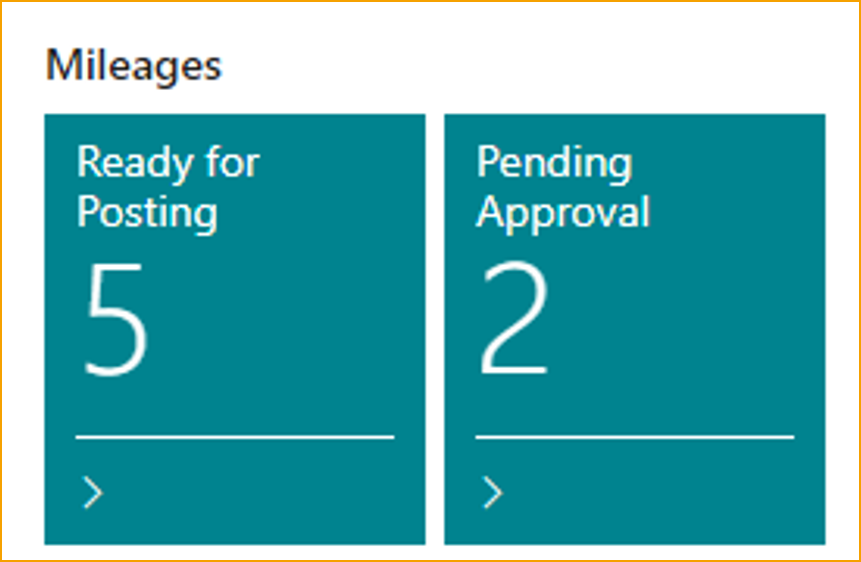
Overview in Business Central
The roles Travel & Expense, Business Manager and Accountant contains the following tiles in the role center.
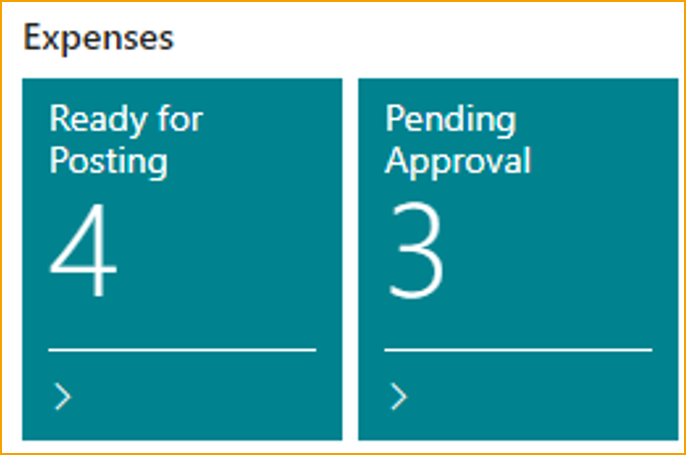
Expenses
After an expense has been submitted and approved it will be available to be processed by the bookkeeper in Business Central. Processing an expense can include a few different elements, such as:
-
Posting the expense.
-
Set a credit card transaction as private use
-
Splitting the expense between multiple employees.
-
Sending expenses back to either the approver or completely rejecting them.
Post an expense
Posting an approved expense can be done in a few short steps.
Go to: Ready for posting (TEM)
Post an expense by clicking F9 or select Post.
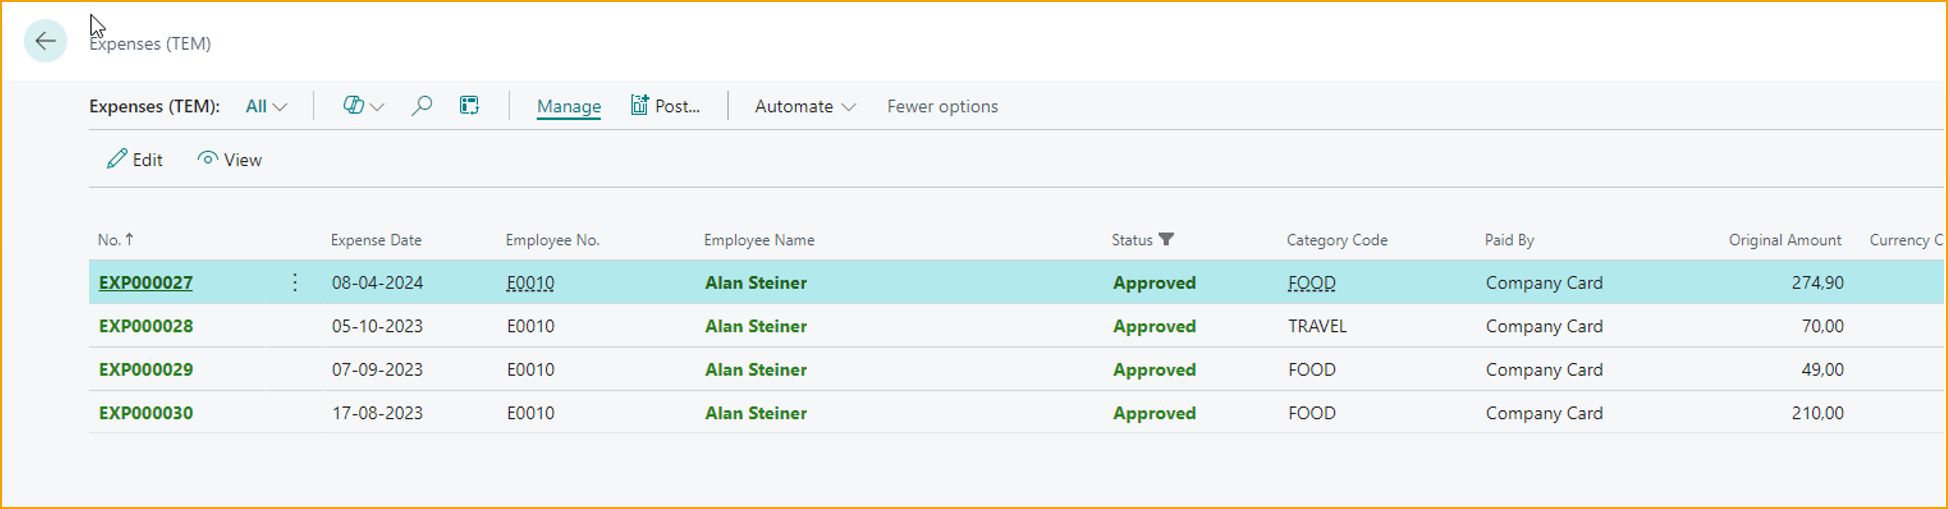
The user can only post expenses with status Approved (green color).
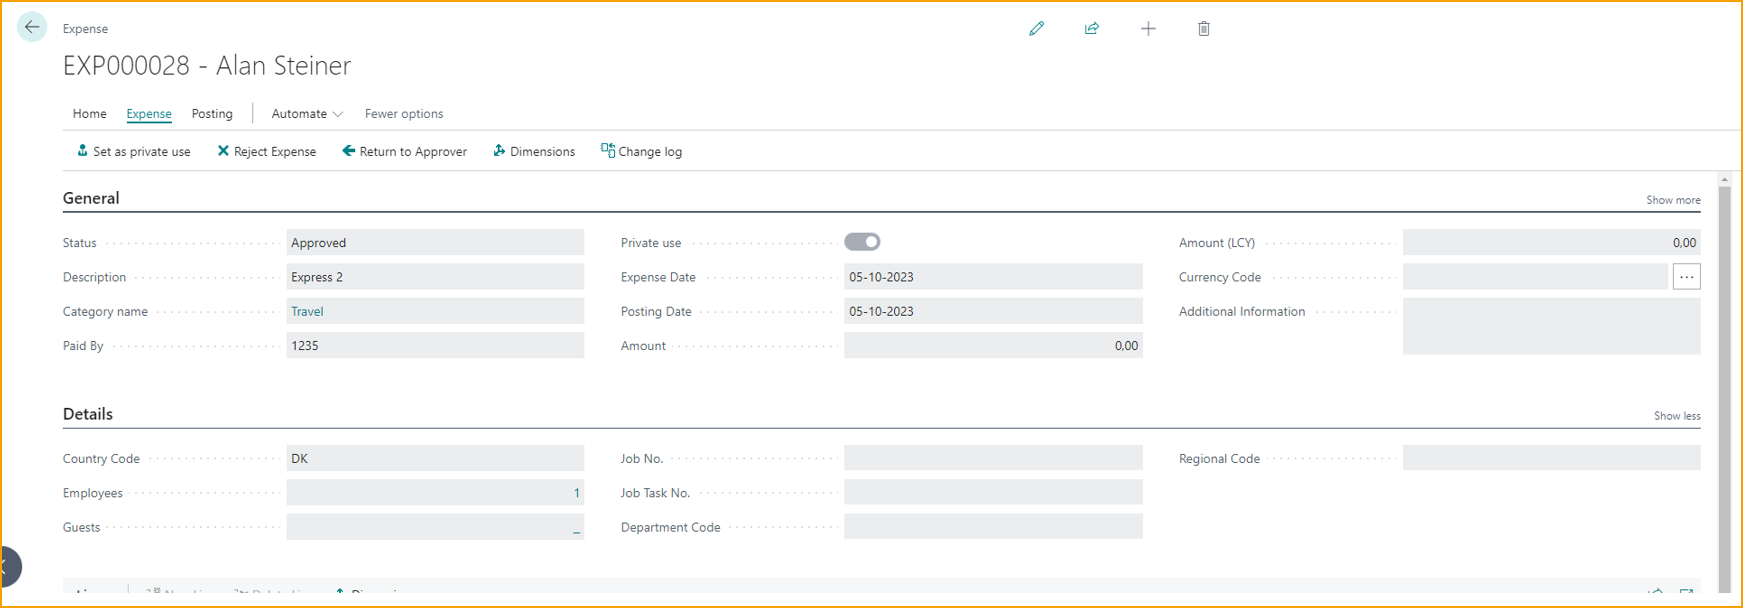
Editing the expense
If the bookkeeper wants to review or edit the expense before it is posting it.
Go to: Edit --> click on the "pin"
The fields that can be edited in this view are:
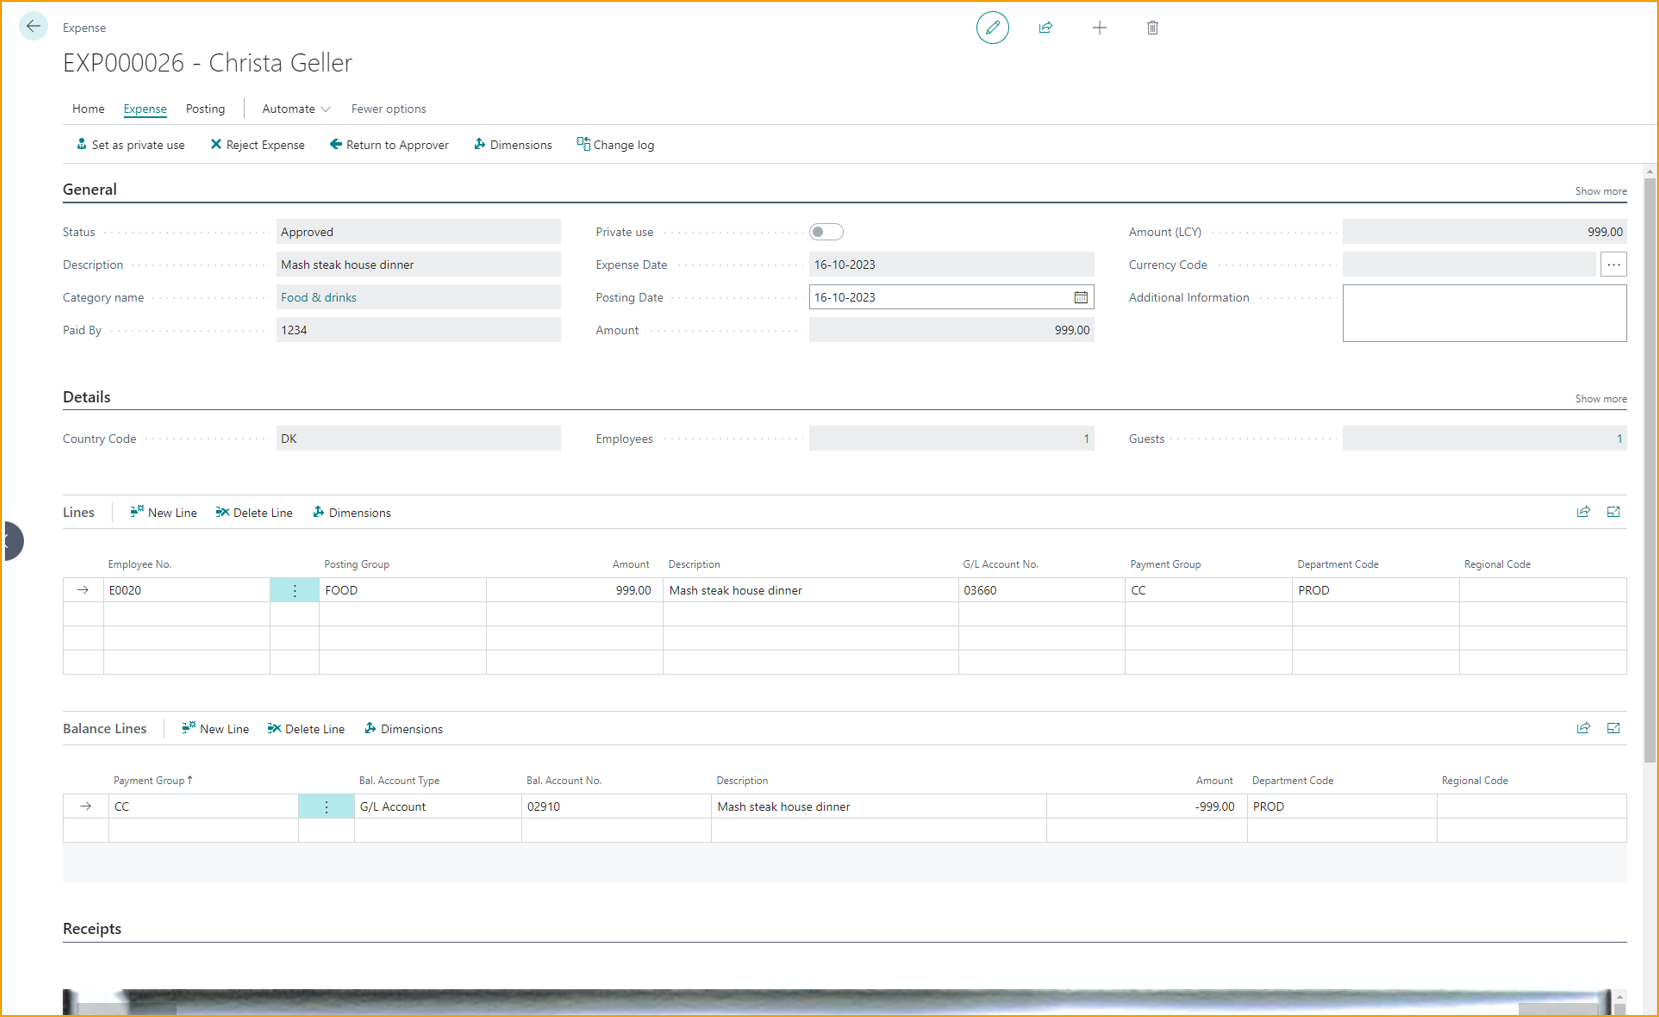
Posting date: The day on which the item is to be posted, useful for companies that prefer their expenses to be posted on specific dates of the month.
Additional information: The user can write any information or context that can be relevant.
Lines: The user can change the particulars of the expense in question, such as posting groups and which employees were relevant. The bookkeeper can also split the expenses between employees.
Balance lines: These are the lines that are to be paid out to employees.
Dimensions: Accessed through Document in the action bar, the dimension view allows the bookkeeper to change dimensions. These are Business Central standard.
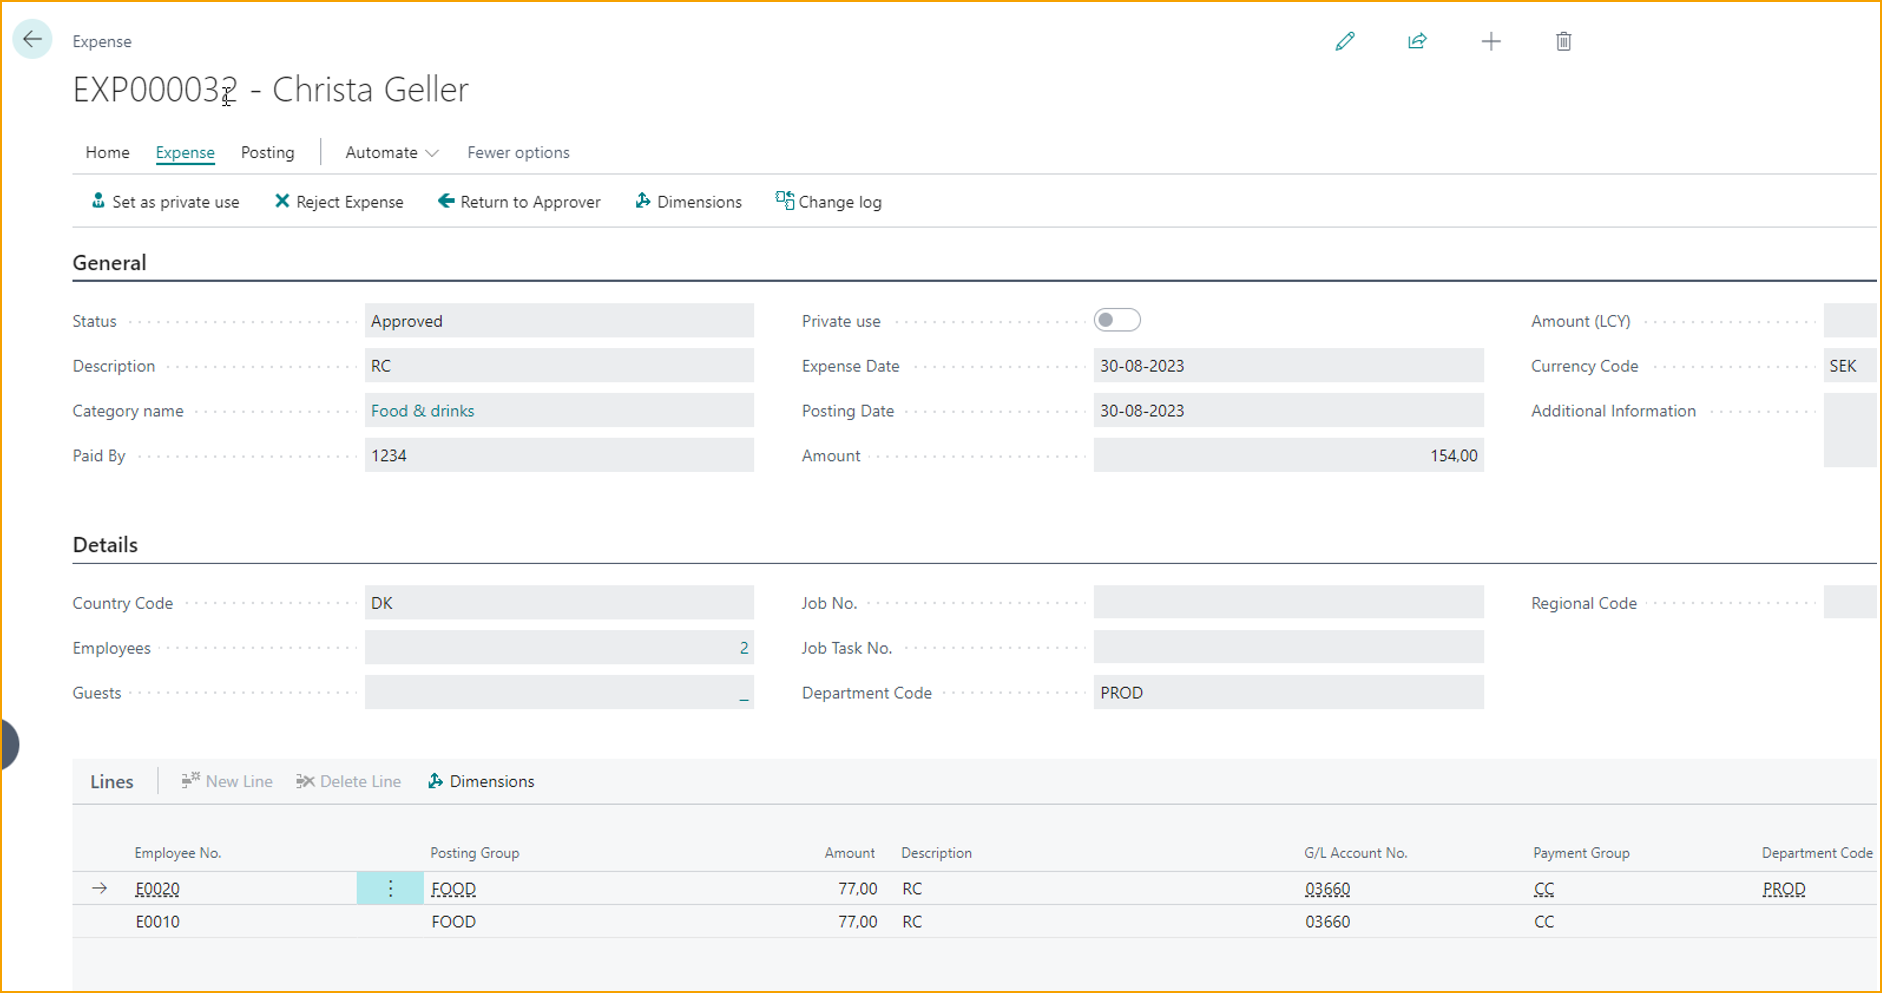
Splitting an expense
Some expenses that have already been approved will on occasion need to be split between the employees. This can be done manually from the expense edit-view.
Go to: Edit --> click on the "pin" --> Details -->

-
Employees: Click on the number
-
Click New
-
Add an employee
-
Close the window
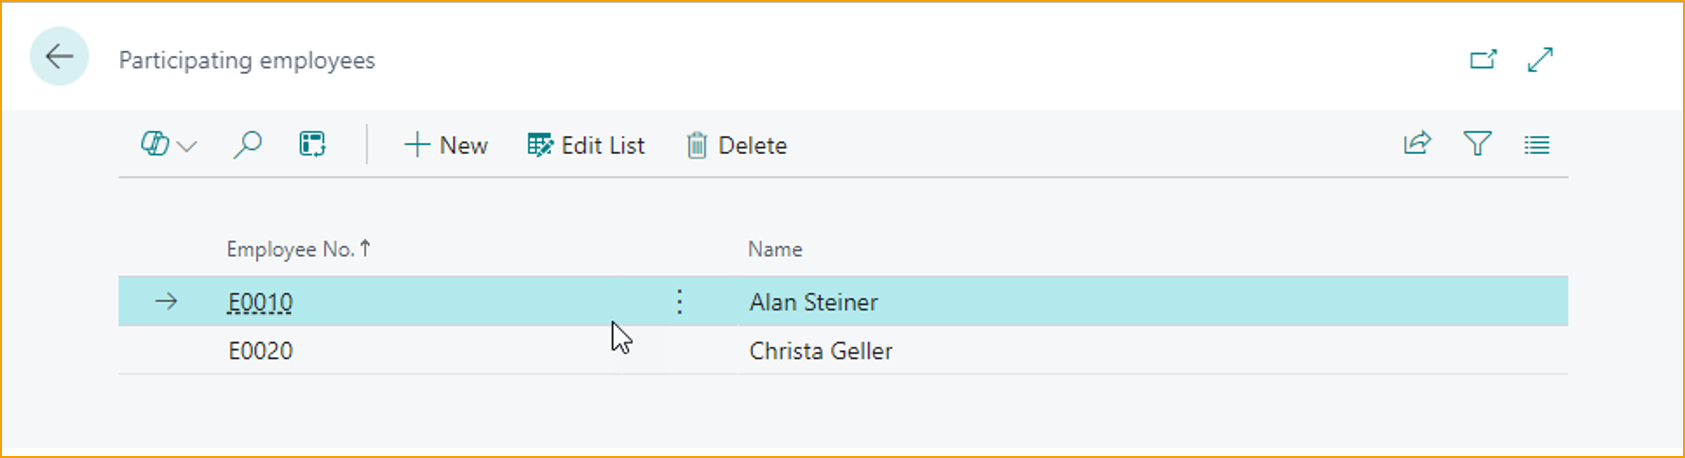
- Click on Split Expense
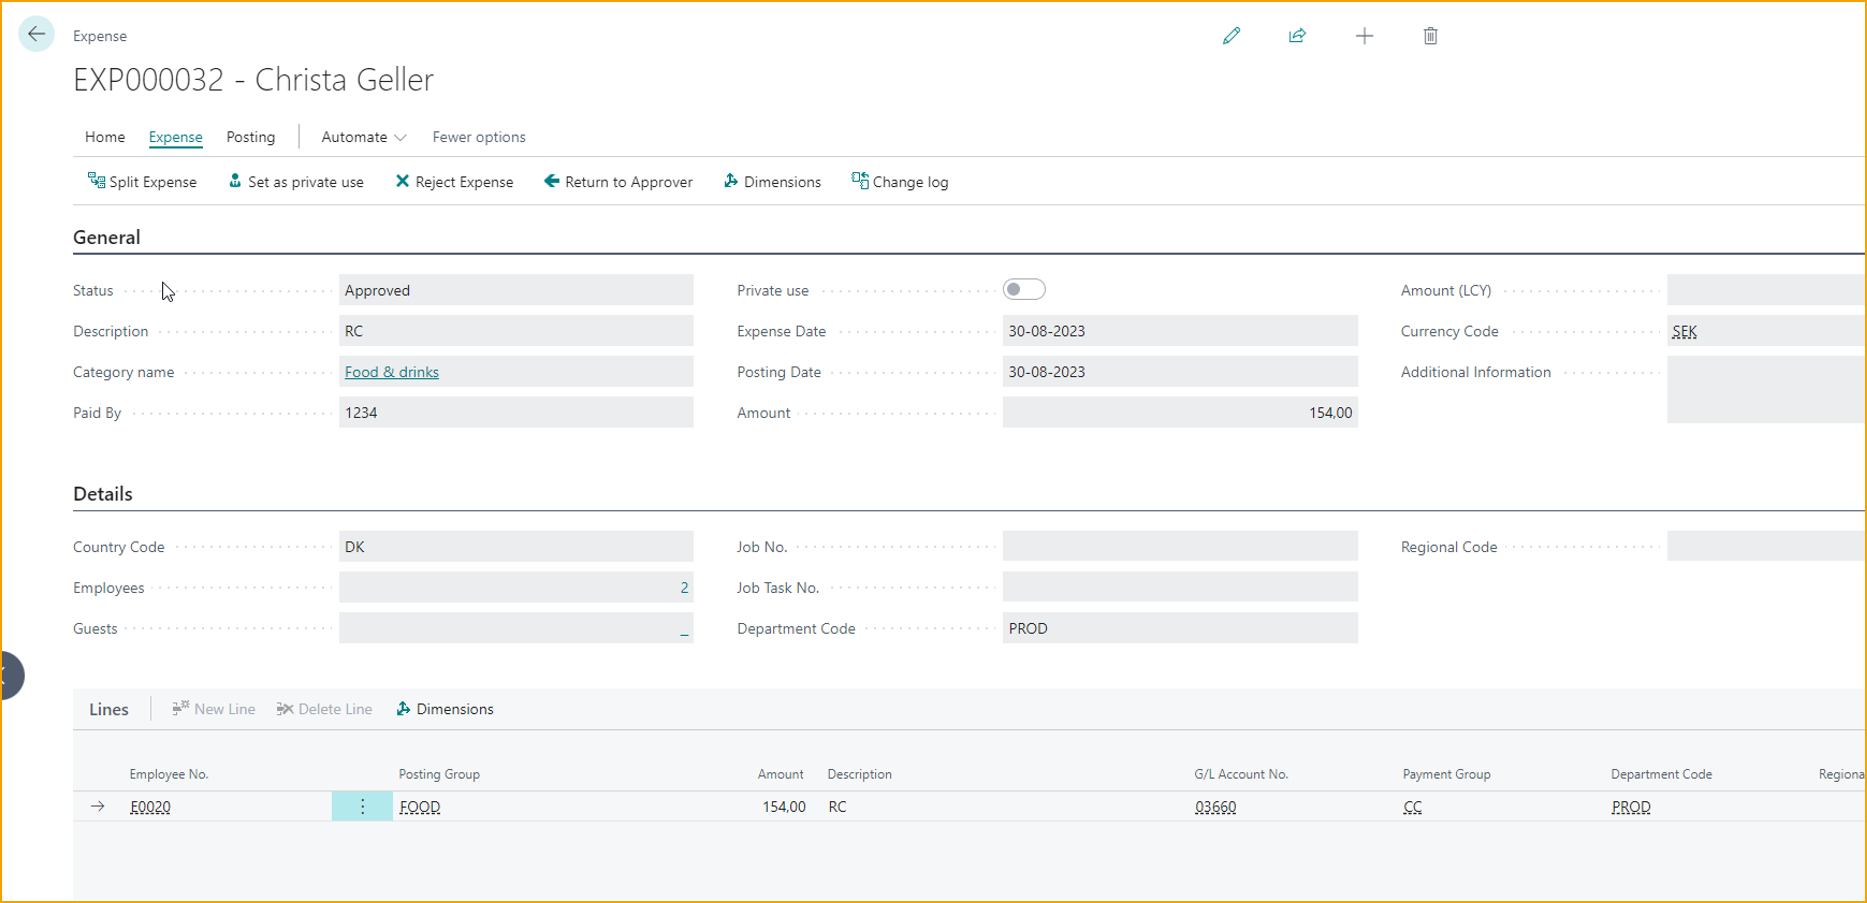
The lines will now be split according to the employees that are chosen.
Set as private use
If the employee has spent the corporate company card privately and forgot to mark it on the expense, the bookkeeper can do that.
Go to: Edit --> Set as private use
After the expense is set as private use and it is posted. Navigate the private entries in Employee Private Use.
Go to: Employee Private Use (TEM)
Click on Calculate Private Use Entries, the entries will now be shown.

Export the entries to Excel by clicking Export and post.
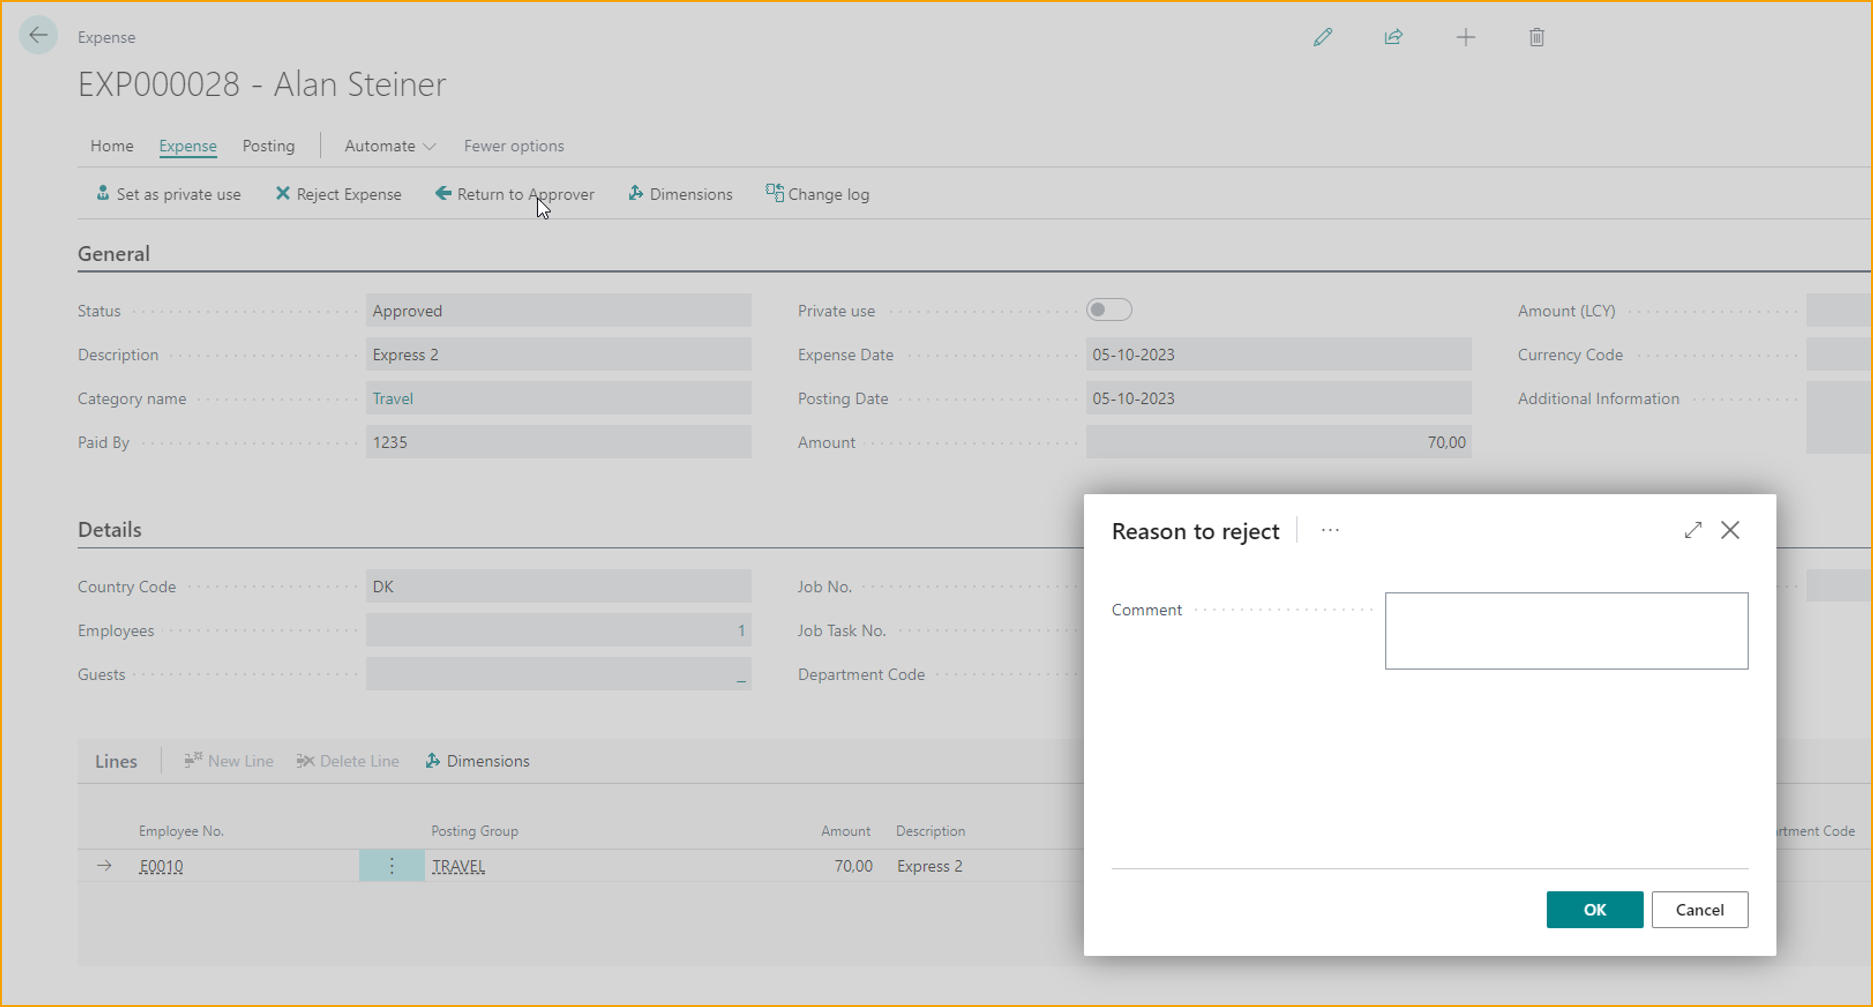
Reject Expense
If the bookkeeper needs to reject an expense, please follow the instructions provided below:
Go to: Edit --> Reject Expense
The expense will be sent back to the employee; the bookkeeper will be forced to add a reason for the rejection.
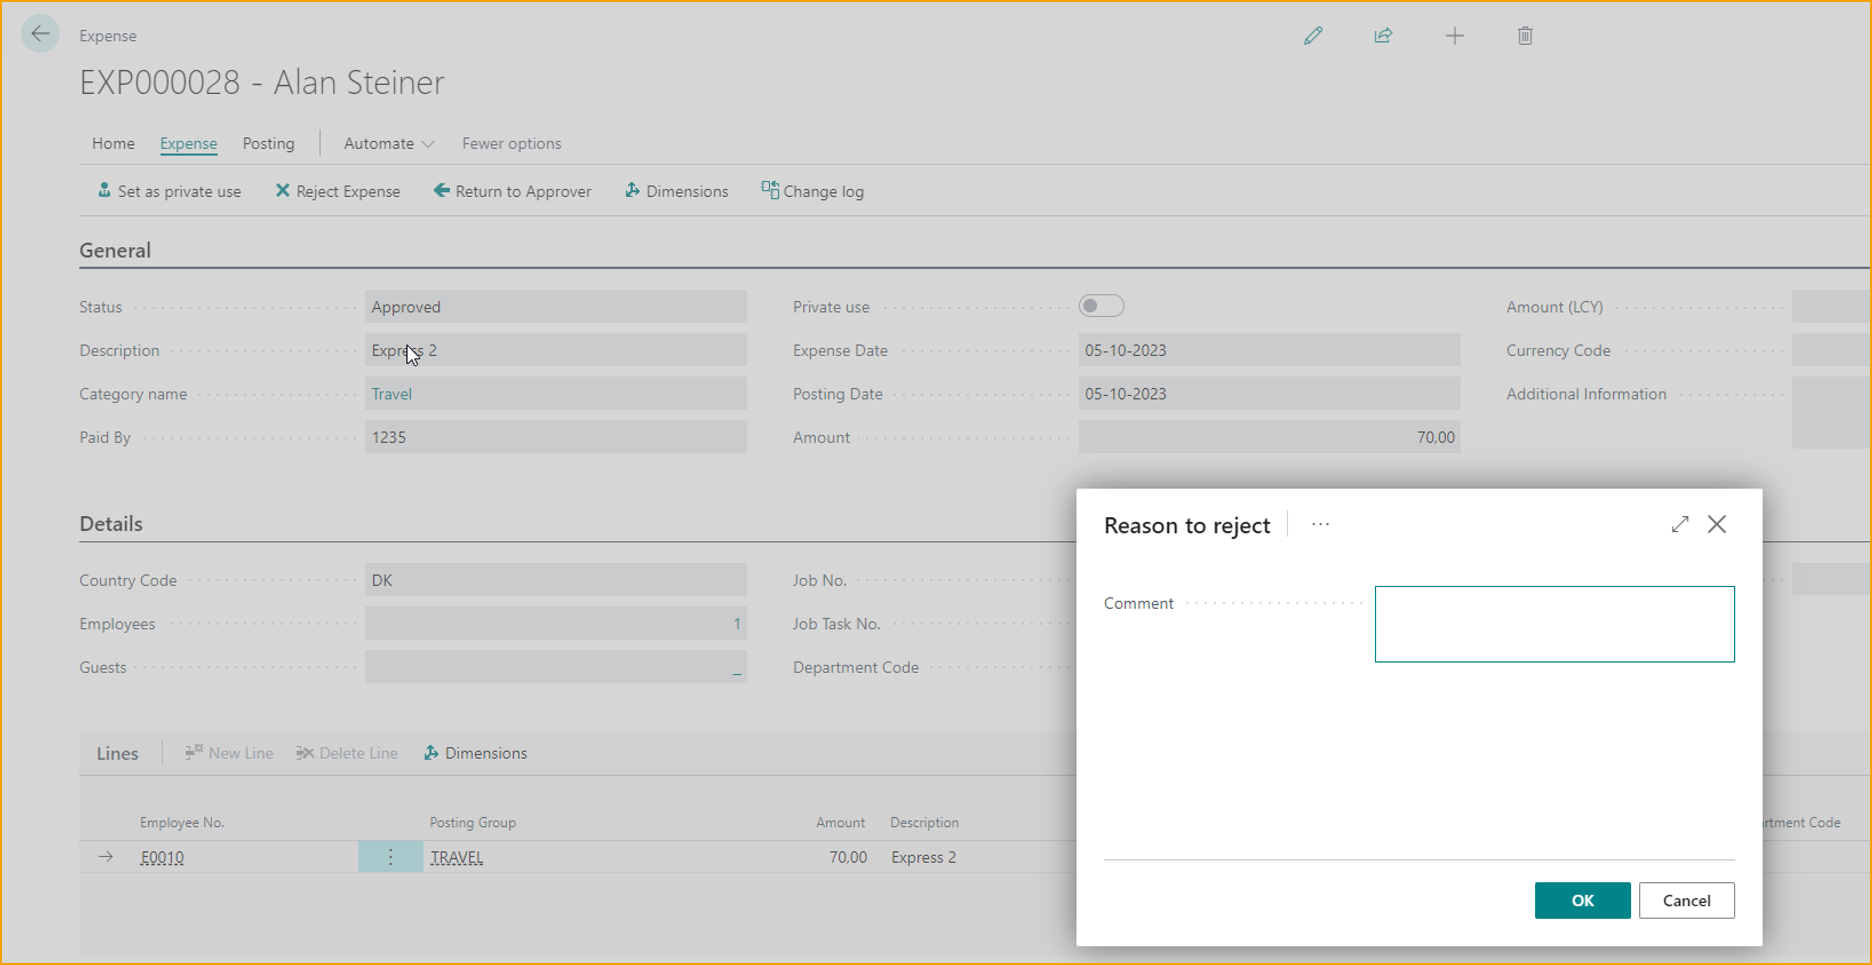
Return to approver
If the bookkeeper needs to reject an expense, please follow the instructions provided below:
Go to: Edit --> Return to Approver
The expense will be sent back to the approver; the bookkeeper will be forced to add a reason for the rejection.
Mileage
After the mileage has been submitted and approved it will be available to be processed by the bookkeeper in Business Central. Processing an expense can include a few different elements, such as:
-
Posting the mileage.
-
Editing the mileage.
-
Sending mileage back to either the approver or completely rejecting them.
Post an expense
Posting an approved expense can be done in a few short steps.
Go to: Ready for posting or search after: Expenses (TEM)
Post mileage by clicking F9 or select Post.
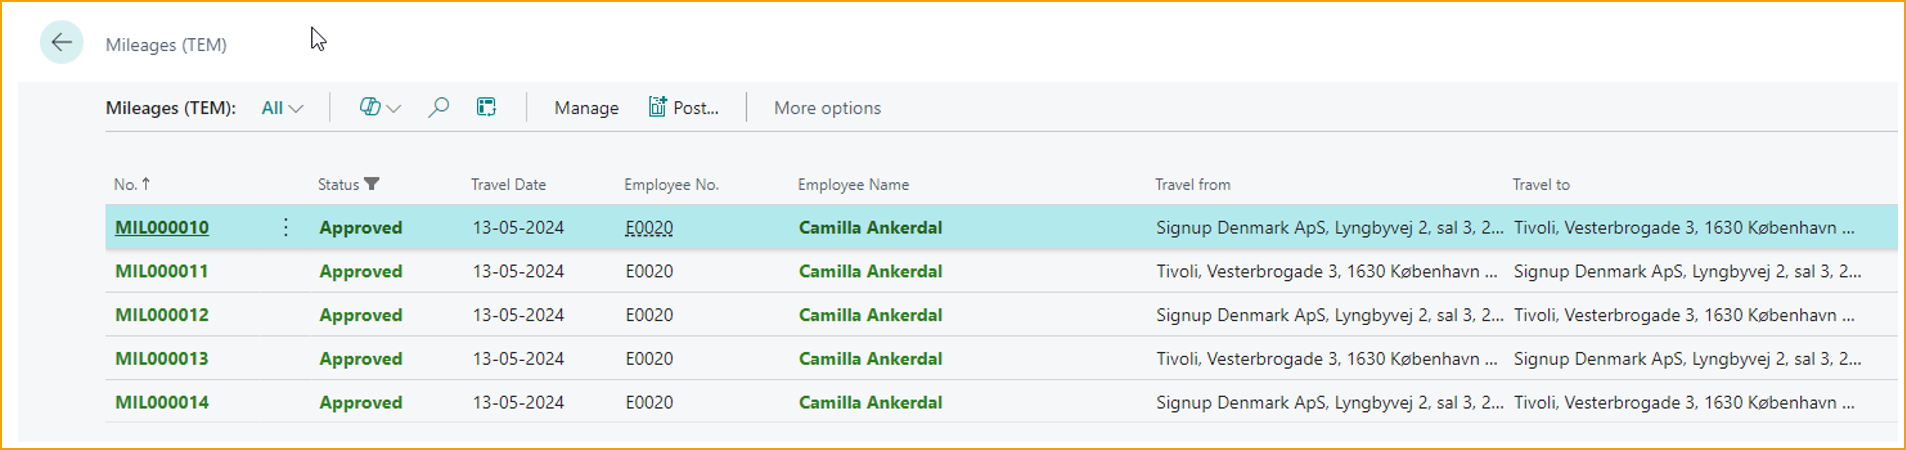
It is only possible to post expenses with status Approved (green color).
Credit card transactions
Credit card transactions can be handled in a few ways through Business Central, both of which can add utility and efficiency to the workday of a bookkeeper. Following are the most prominent options for handling credit card transactions:
-
Manually creating credit card transactions.
-
Editing credit card transactions.
Manually creating credit card transactions
The manual transaction list is useful for managing receiving physical invoices from your credit card provider or are otherwise not able to use the automatic import. By creating transaction entries for every single expenditure on the invoice the bookkeeper can match the credit card transactions against the expenses in AppsForDynamics365.com.
The bookkeeper can either create the transaction by inputting the correct data into each of the fields, or by importing a file in a format chosen while setting up Credit Card Agreement.
Manually creating a credit card transaction by inputting data:
Go to: Manual Credit Card Transactions (TEM)
New: Create a new Credit Card Transaction.
Employee: Select who made the expenditure.
Transaction Date: Enter the date from which the employee made the expenditure.
Card No.: From a list of Employee specific card numbers
Description: Enter a description of the expense.
Transaction Currency: Select the currency used.
Transaction Amount: Enter the amount of the transaction.
Billing Amount: Enter the amount of the billing.

Click on Create transactions to send the transaction out to all card holders, they will get a notification in the app.
Manually creating credit card transactions by import a file
Go to: Manual Credit Card Transactions (TEM)
Import file: Select import file

The bookkeeper has three options to import transactions from Import file.
-
Import a excel file
-
Import from Bank statement
-
Import from bank Reconciliation
Viewing and editing transactions
In the credit card transaction view, the following will be shown:
Go to: Company Card Transaction (TEM)

Card No.: The number for the credit card in question.
Card holder Name: The name of the employee who holds the card.
Transaction Date: The date upon which the transaction happened.
Status: The status of the transaction, which ranges from ''Sent to employee'' to ''Waiting for posting'' and documents each step in between.
Point of Sales Name: The name of the place where the purchase was made.
Transaction Currency: Currency used for the transaction.
Transaction Amount: The amount of money spent.
Billing Amount: The amount to be reimbursed to the employee.
Suggested Category: The category is suggested based on the Merchant Code Category and previous choices.
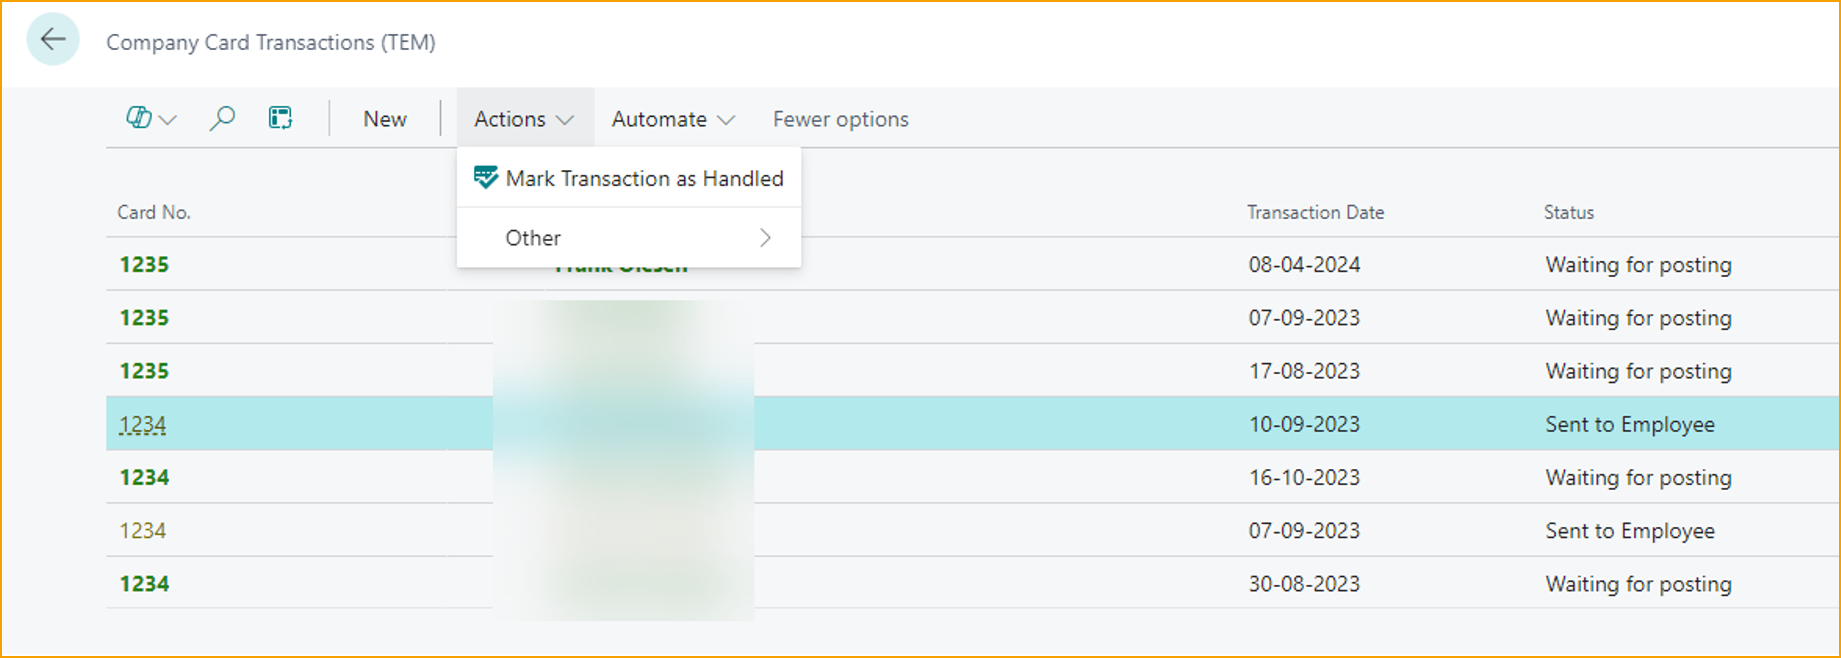
Marking a transaction as handled
Go to: Manual Credit Card Transactions (TEM)
Once a transaction is created, the primary option to process it is to mark it as handled. This step is taken before the relevant employee addresses the transaction and is used in cases where the transaction has become irrelevant.
To mark a transaction as handled, do as follows.
-
Select a transaction.
-
In the action bar, select Actions, then Mark Transaction as Handled.