AppsForDynamics365 Portal Connector
The AppsForDynamics365 Portal Connector facilitates the integration of the ExFlow Travel & Expense application with your Business Central system. Acting as an intermediary, it ensures that data is transmitted directly to Business Central in easily processed and digestible formats for storage or application.
The portal offers easy access for users who are not Business Central super users and may be on the road while performing tasks in ExFlow Travel & Expense.
This documentation provides all the necessary information to set up AppsForDynamics365 and connect it with Business Central.
AppsForDynamics365 integration setup
This section documents the setup process for the AppsForDynamics365 integration. The integration module is used by ExFlow Travel & Expense to connect Business Central to the AppsForDynamics365 portal.
To complete the setup, use the AppsForDynamics365 setup wizard, which guides users through the necessary steps to establish the connection to Business Central. Access the wizard by either clicking the notification on Business Central front page or navigating to the AppsForDynamics365 portal configuration page using the search function. Once there, click the "Configure connection" button to open the wizard.
It is important that this wizard is run by someone with the necessary permissions to grant consent.
Configure AppsForDynamics365 connection
Go to: AppsForDynamics365 Configuration

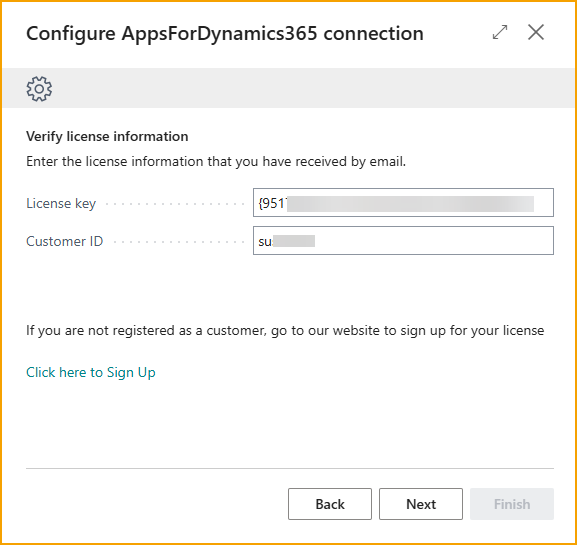
Verify license
The initial step in the process requires entering the customer ID and license key. These will be provided when an AppsForDynamics365 product is purchased. Alternatively, they can be found on the My account page on AppsForDynamics365.
Grant consent
To integrate AppsForDynamics365 with Business Central, consent must be provided. This consent allows AppsForDynamics365 to access the web service
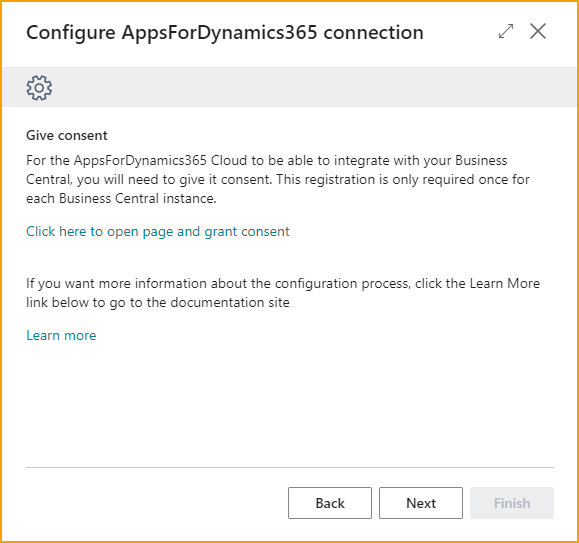
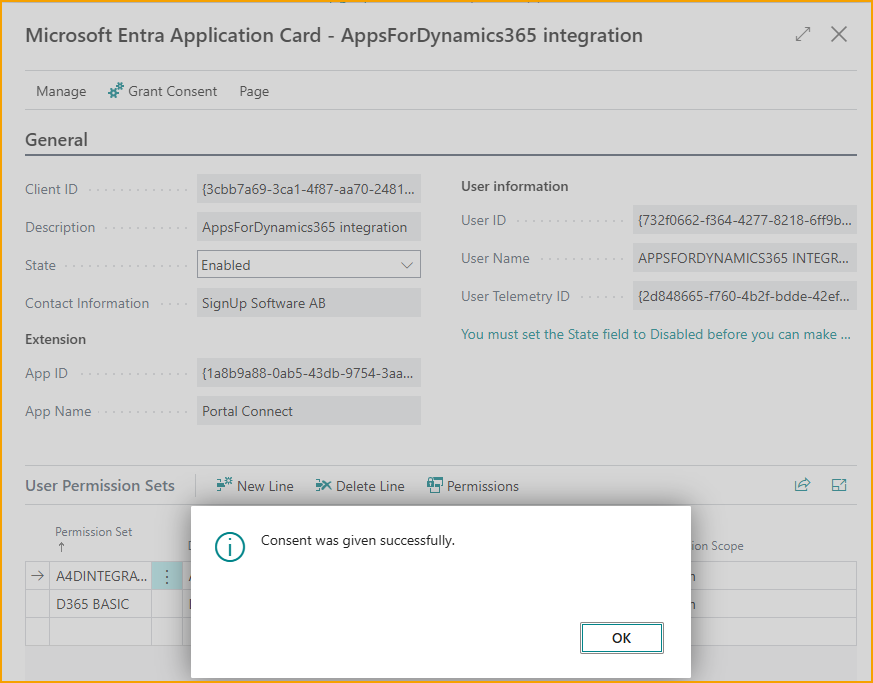
After granting consent continue to specify localization settings.
Specify localization settings
Select the time zone being used and the preferred language for the portal. Note that the portal does not support all languages.
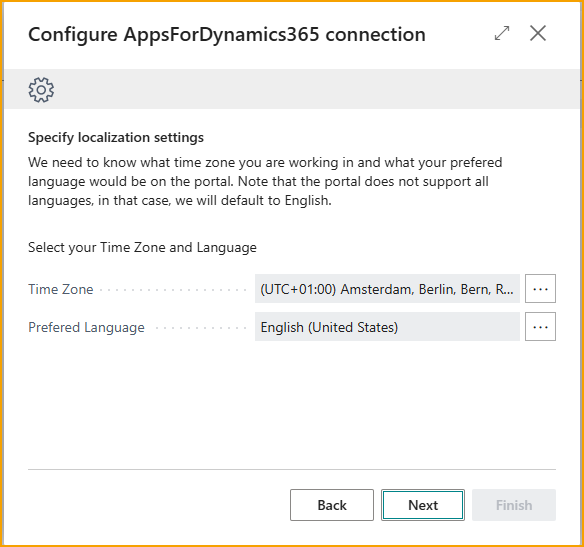
After selecting the time zone and language, click next and proceed to select authentication method.
Select method of authentication
There are three different methods of authentication available for the user to use to sign in to AppsForDynamics365. Microsoft login, username and password created in AppsForDynamics365, or Mixed mode is a combination of these two.
Users will have to be created in AppsForDynamics365 in a specific order regardless of authentication method.
Microsoft login is recommended for most companies that use Business Central as it allows the use of existing Microsoft logins just like in other applications.
AppsForDynamics365 username and password is useful for when most employees do not have access to Microsoft logins. Each user will have to have a password and username made.
Mixed mode allows the option to use both, which can be useful in some cases where individual employees may not have Microsoft logins.

After selecting a method of authentication, click next and proceed to register Business Central instance.
Register Business Central instance
The wizard will automatically register the Business Central instance with the AppsForDynamics365 account once 'Next' is clicked, simply confirm that the information presented is correct.

After confirming this information, click next and proceed to activate company.
Activate company
This step requires establishing a web service connection. The information displayed will be used by default. While the web service address cannot be altered, feel free to adjust the description as needed.
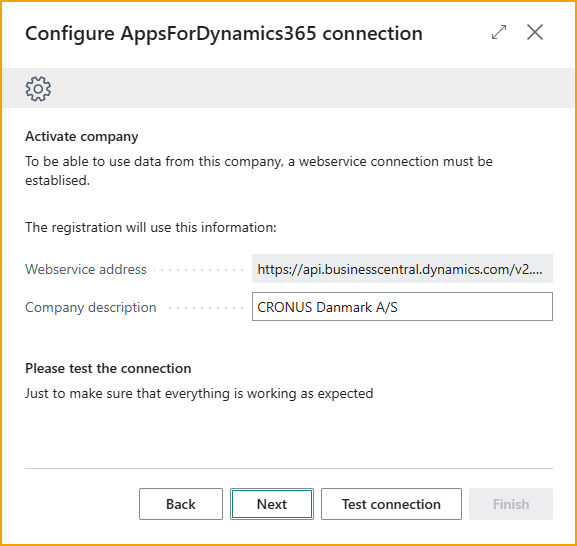
Test connection Test the connection by clicking on the button “Test connection”.
Once this is in order, click next go to the add logins for Business Central users.
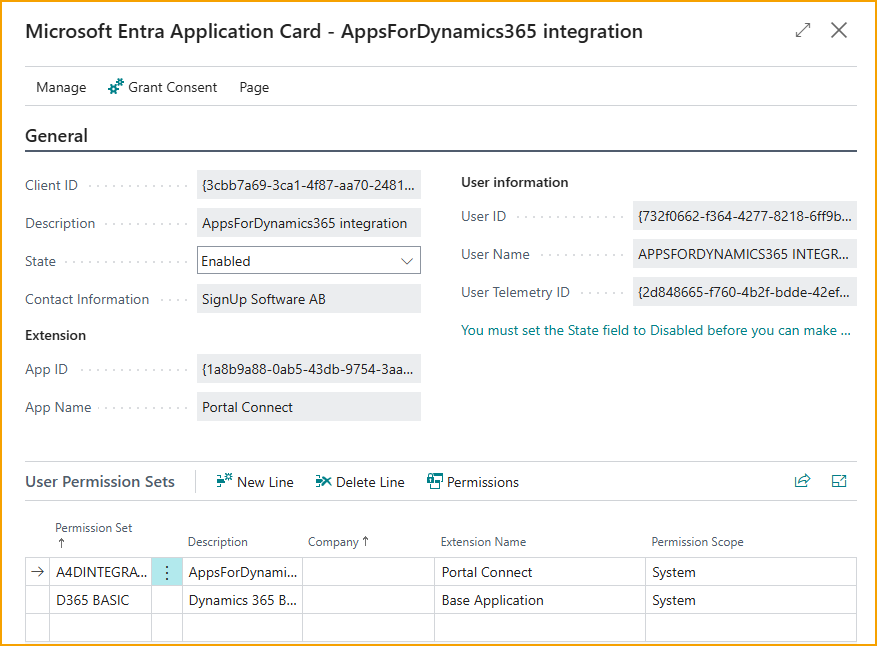
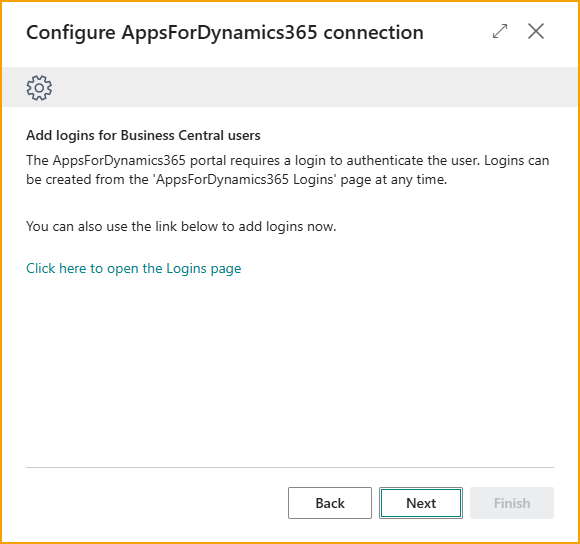
Add logins for Business Central users
In this step it is possible to add user from Business Central or create them scratch. This can be done at any time in “AppsForDynamics365 Login”.
The configuration wizard for the AppsForDynamics365 connection has been successfully completed.