ExFlow CO₂ Insights
How to set up ExFlow CO₂ Insights
Enter the license key
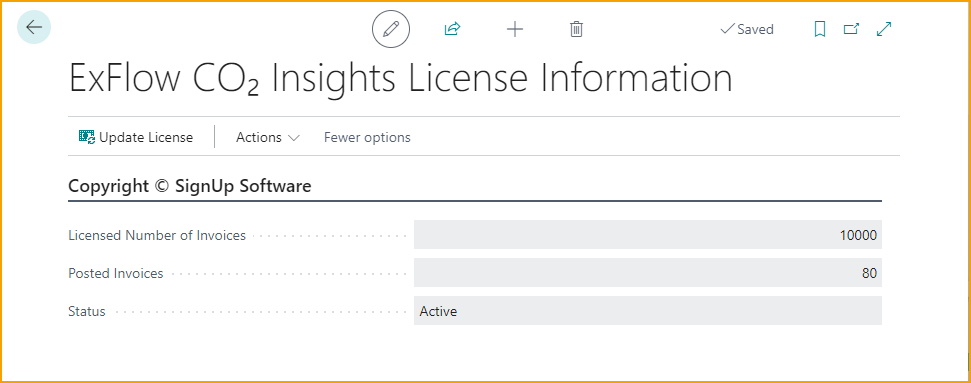
To start with the setup of CO₂ Insights in ExFlow Business Central, search for ExFlow CO₂ Insights License Information, and enter the provided license key.
Permission on Business Central users
Next step is to add the permission set called EXCOADMIN on selected Business Central users, that will handle the configuration of CO₂ Insights in Business Central.
All other users that will utilize the CO₂ Insights Platform, can have the permission set called EXCOREADER.
One of these permission sets must be given to users in order to access the CO₂ Insights Platform when the configuration is completed.
Onboard in ExFlow CO₂ Insights Setup
Go to ExFlow CO₂ Insights Setup
Head over to ‘’ExFlow CO₂ Insights Setup’’ to start the onboarding for the chosen company.
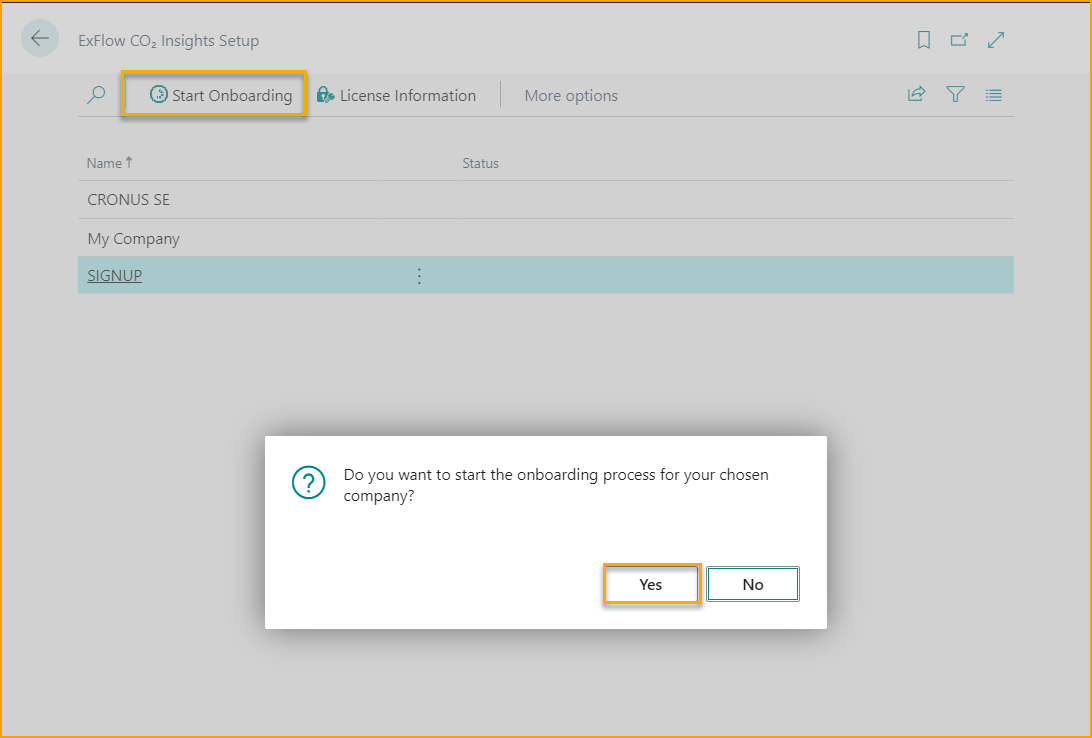
The user will then be asked to grant consent according to below picture.
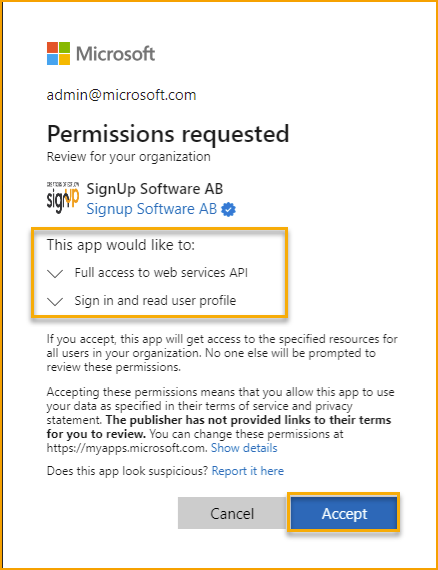
A successful onboarding confirmation will be received when the grant consent step is completed.
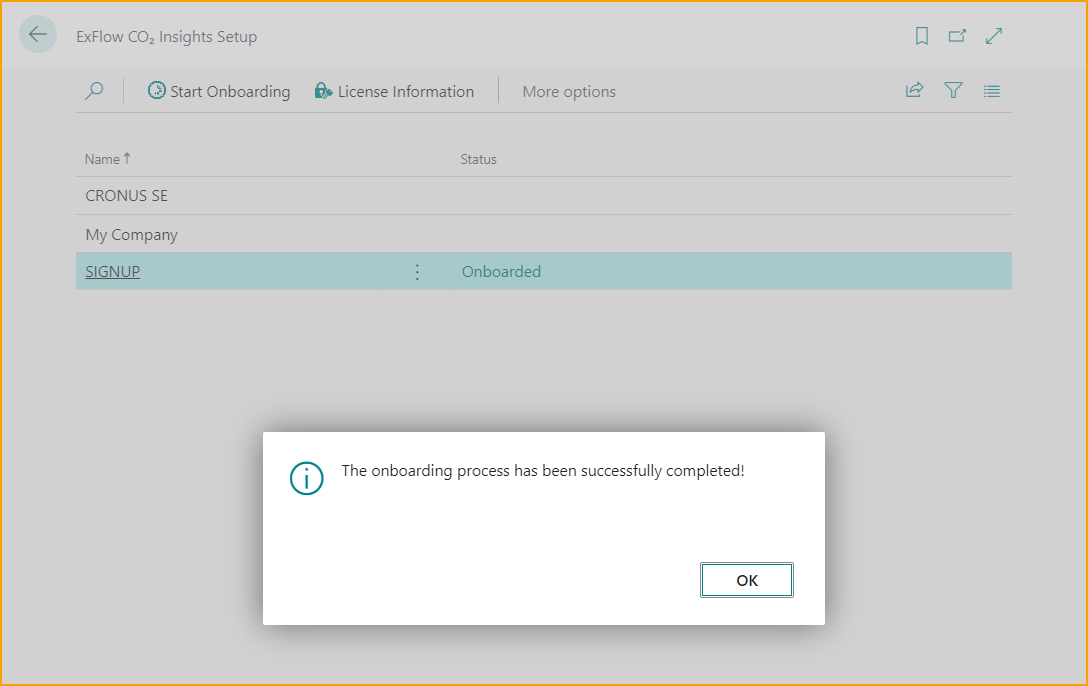
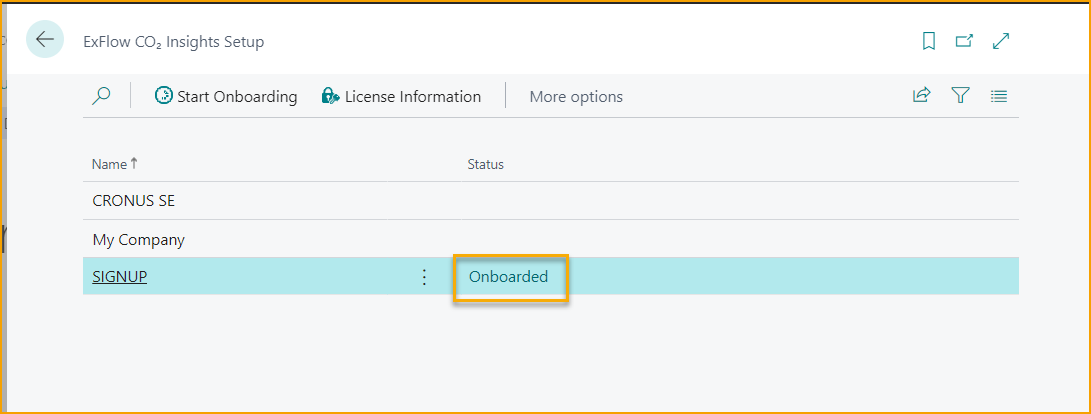
When the onboarding process is completed and the consent is granted, it will then be possible to enter the CO₂ Insight Platform by clicking on ‘’Onboarded’’.
This obligates of course that the user has the required CO₂ permission set on the Business Central User card, as previously mentioned.
The CO₂ Insights Platform
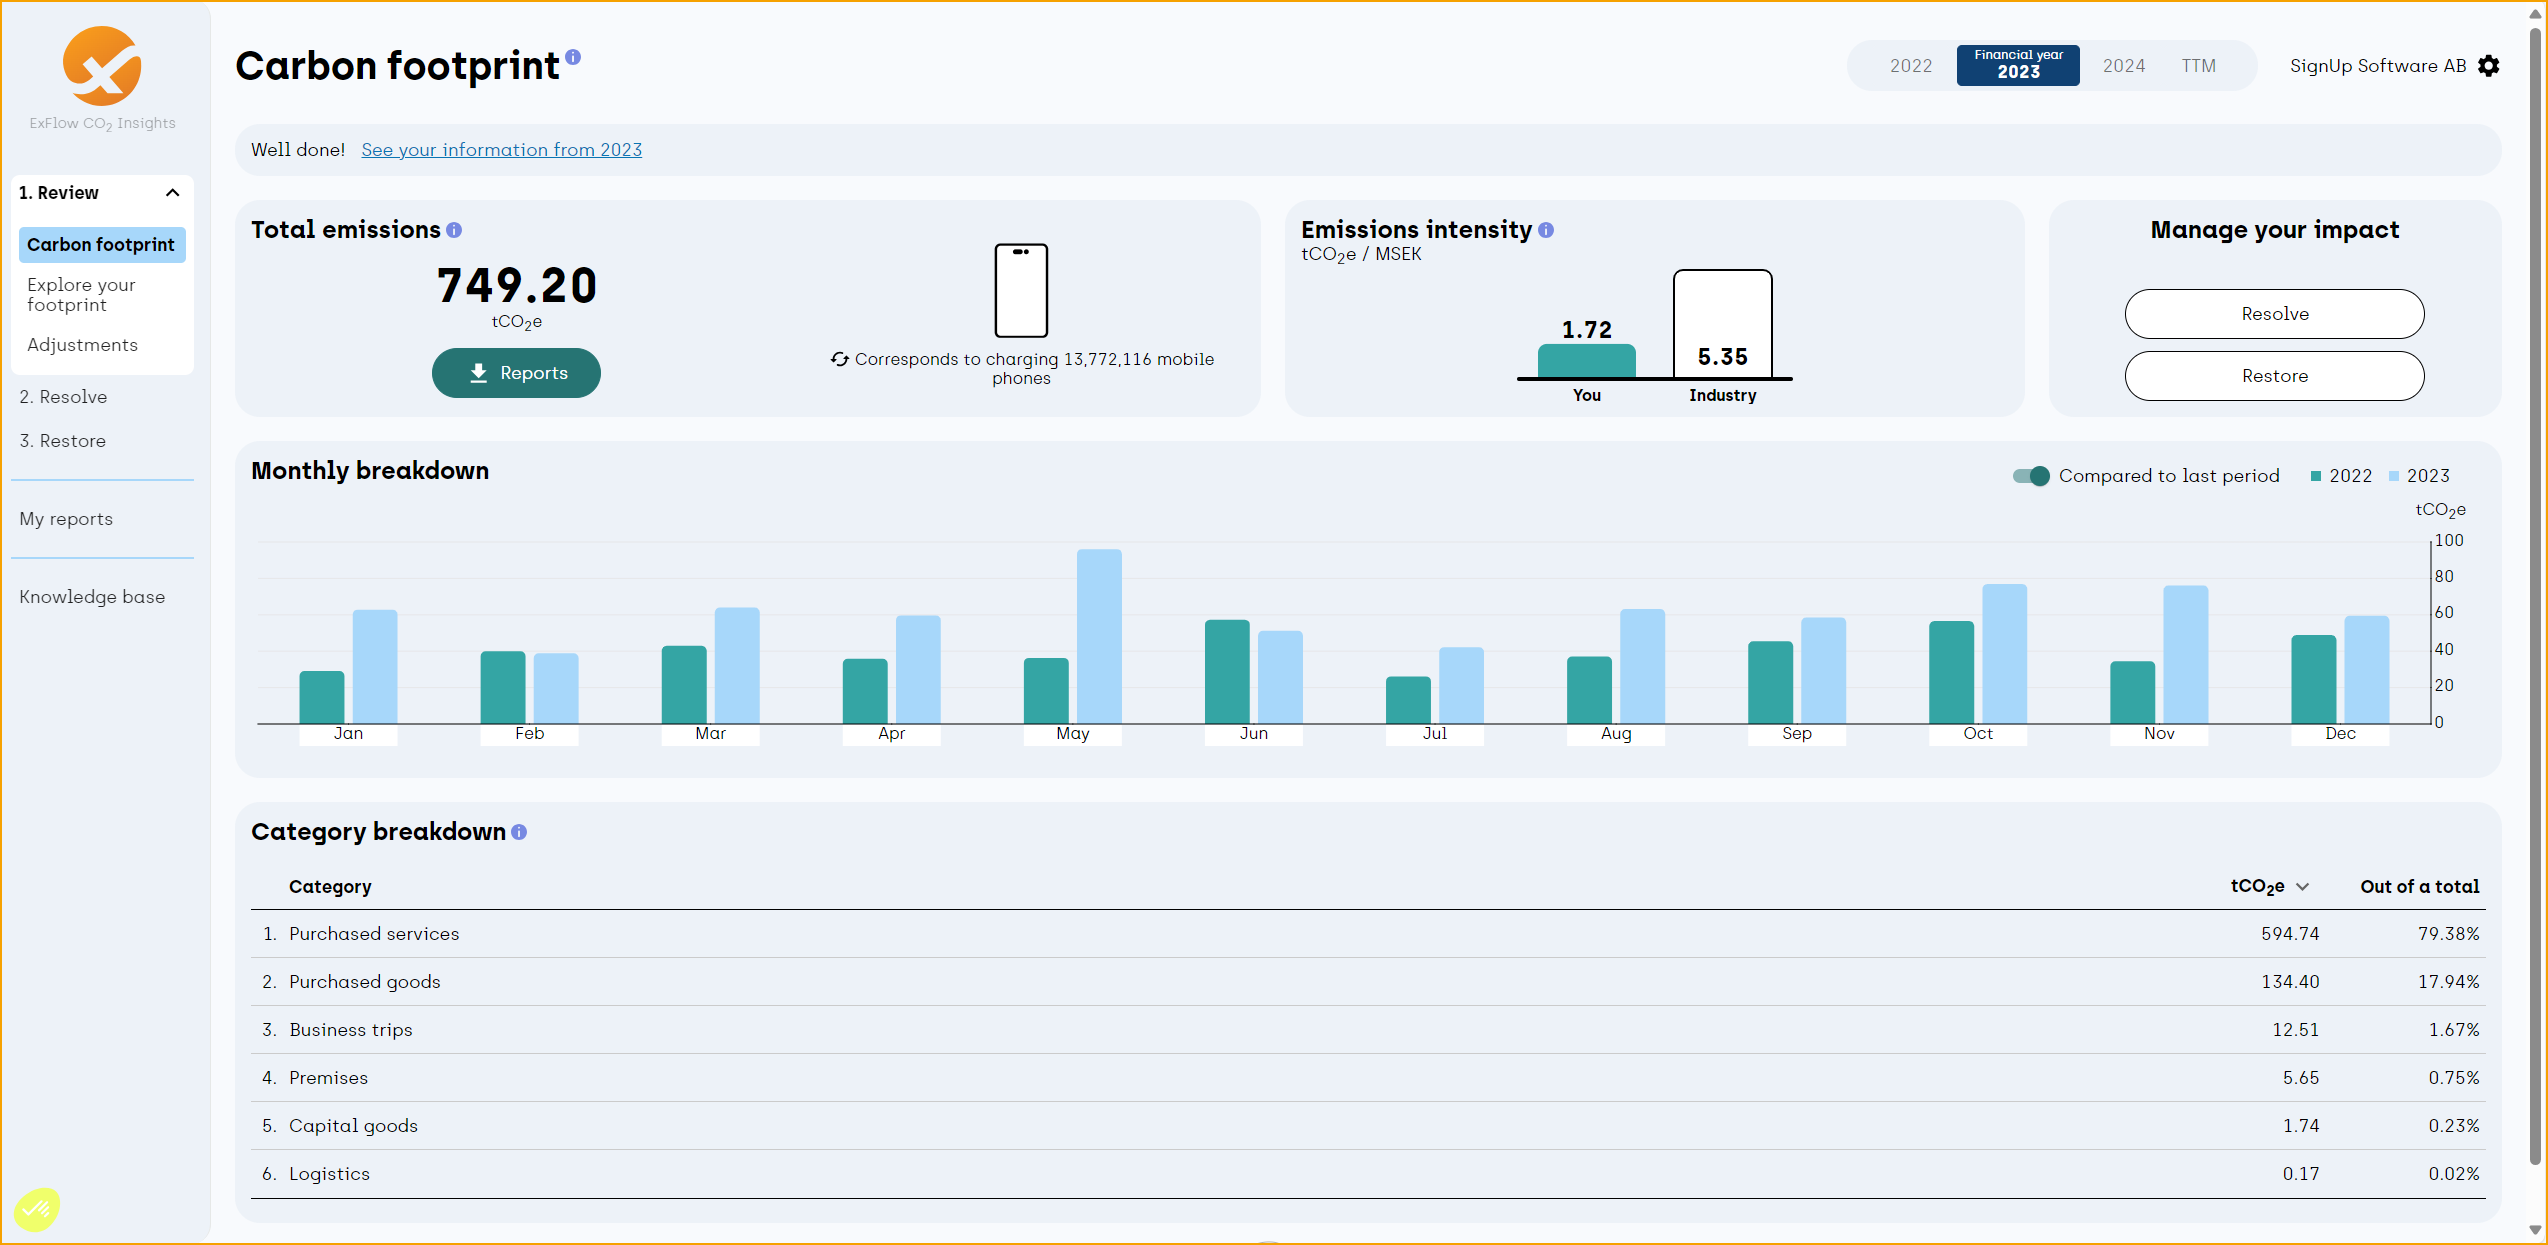
The CO2 Insights Platform is divided into different sections. The first section is called Review, and under this section Carbon footprint can be found.
From this page, users will be given an insight into the company's total emissions over a selected period, and emission's intensity. It is also possible to view a dashboard over the monthly breakdown and category breakdown.
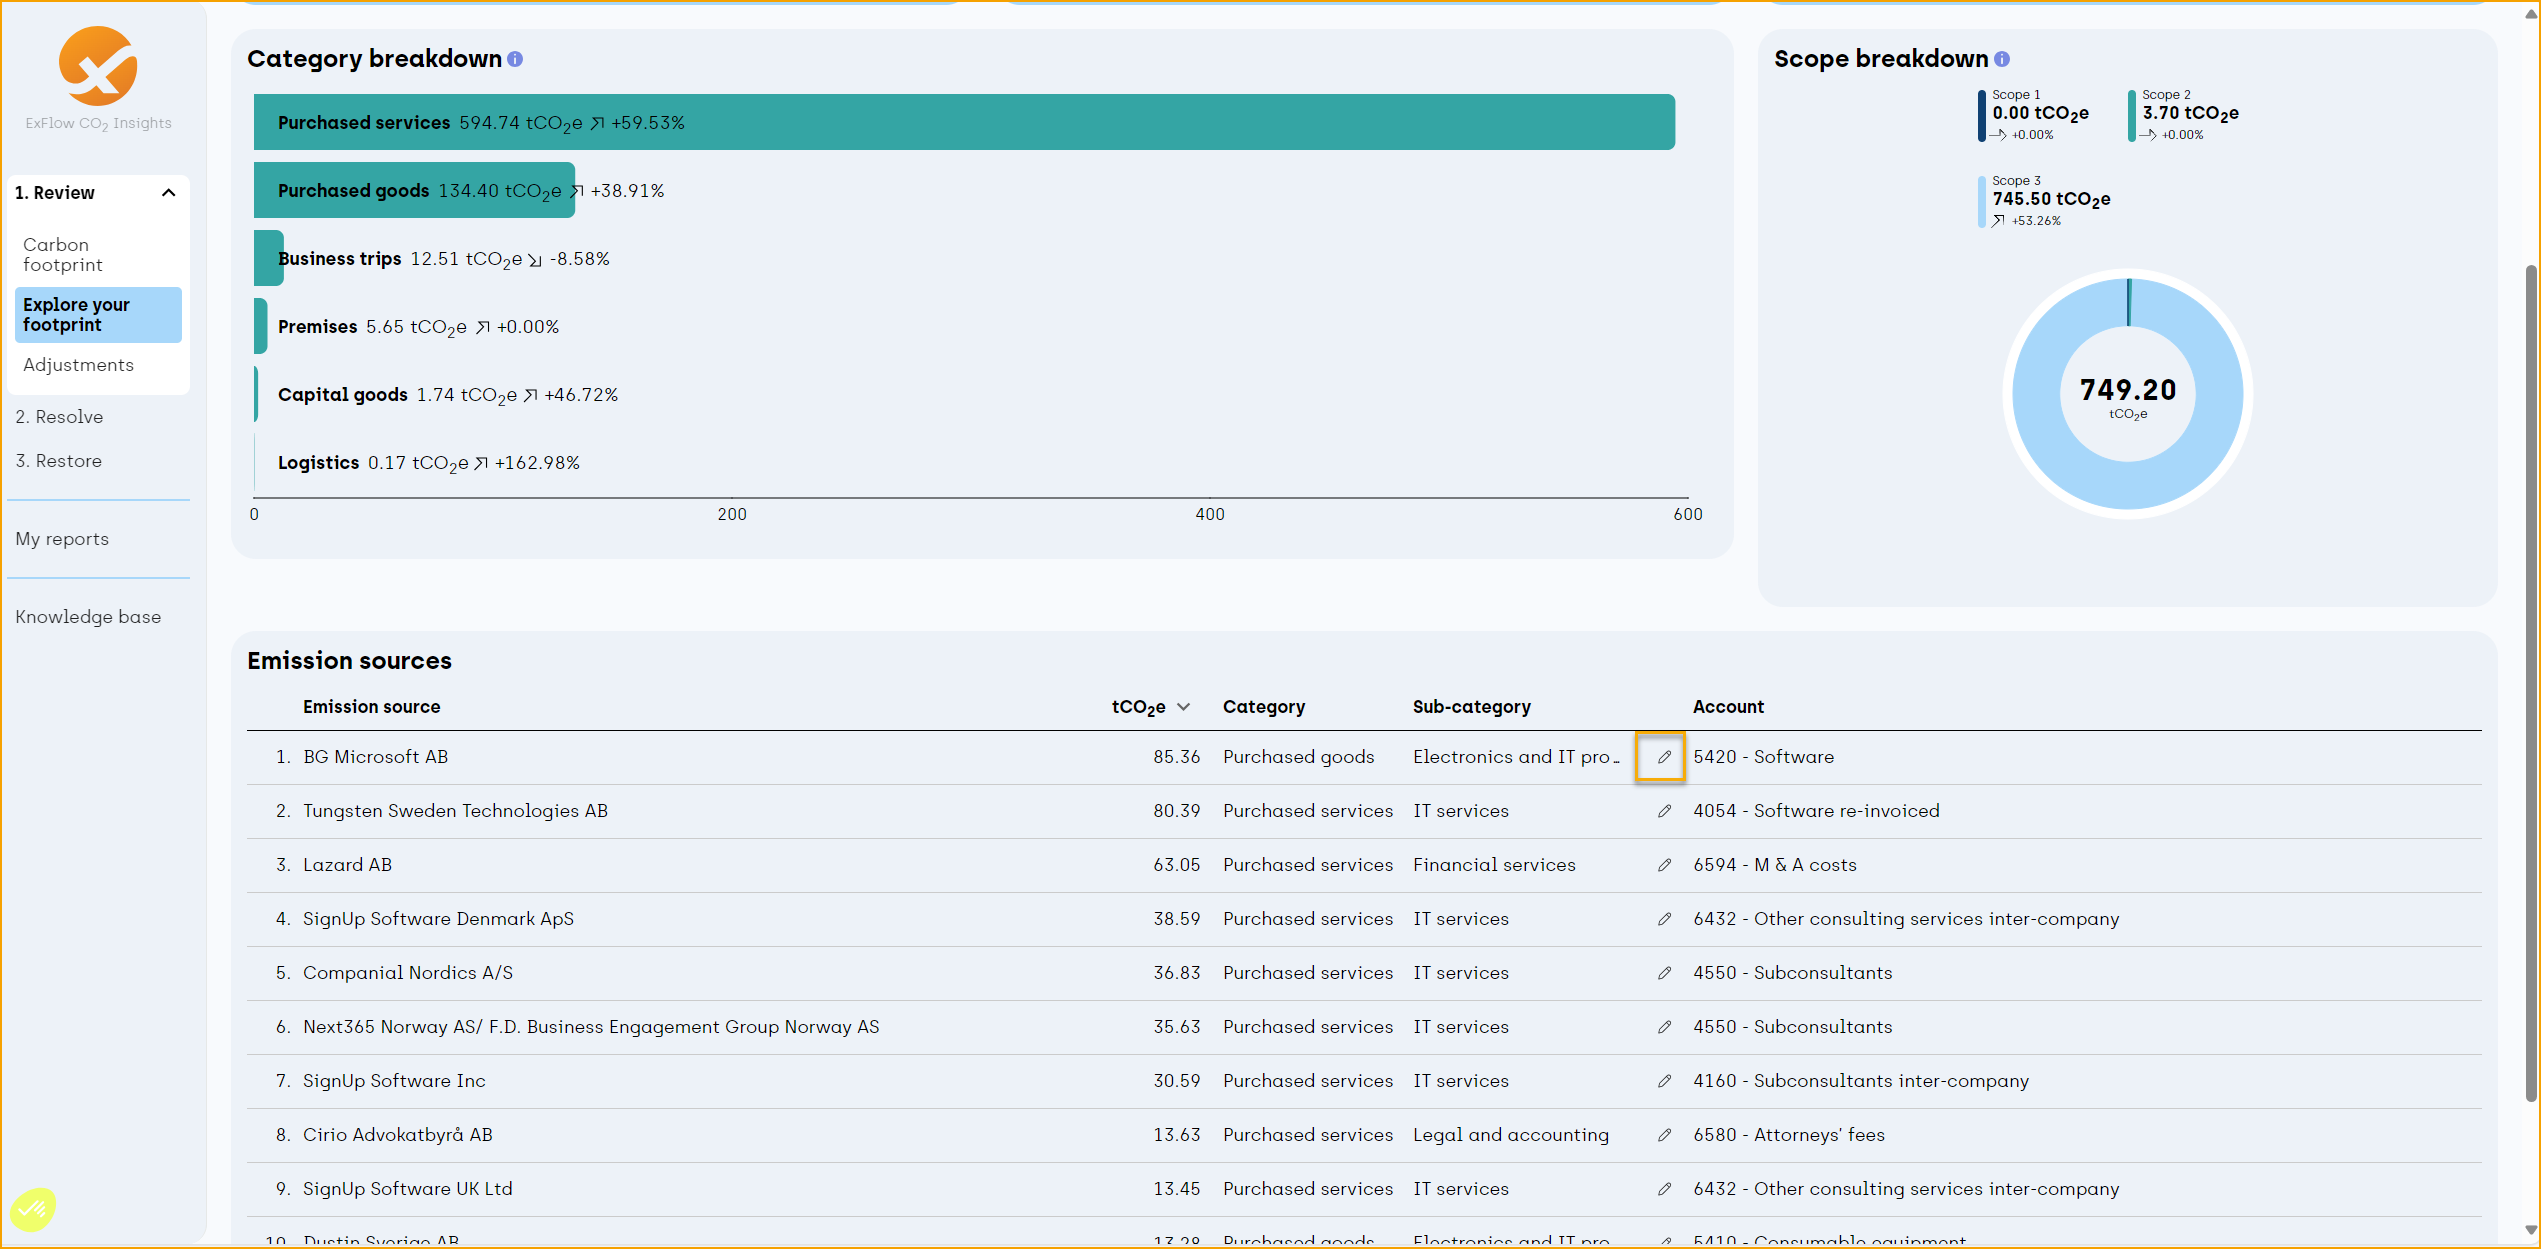
Utilize Explore your footprint to see and get a better understanding of the company’s emission and delve into its data. Adjust and compare different time periods and see the result divided into categories, scopes, and suppliers.
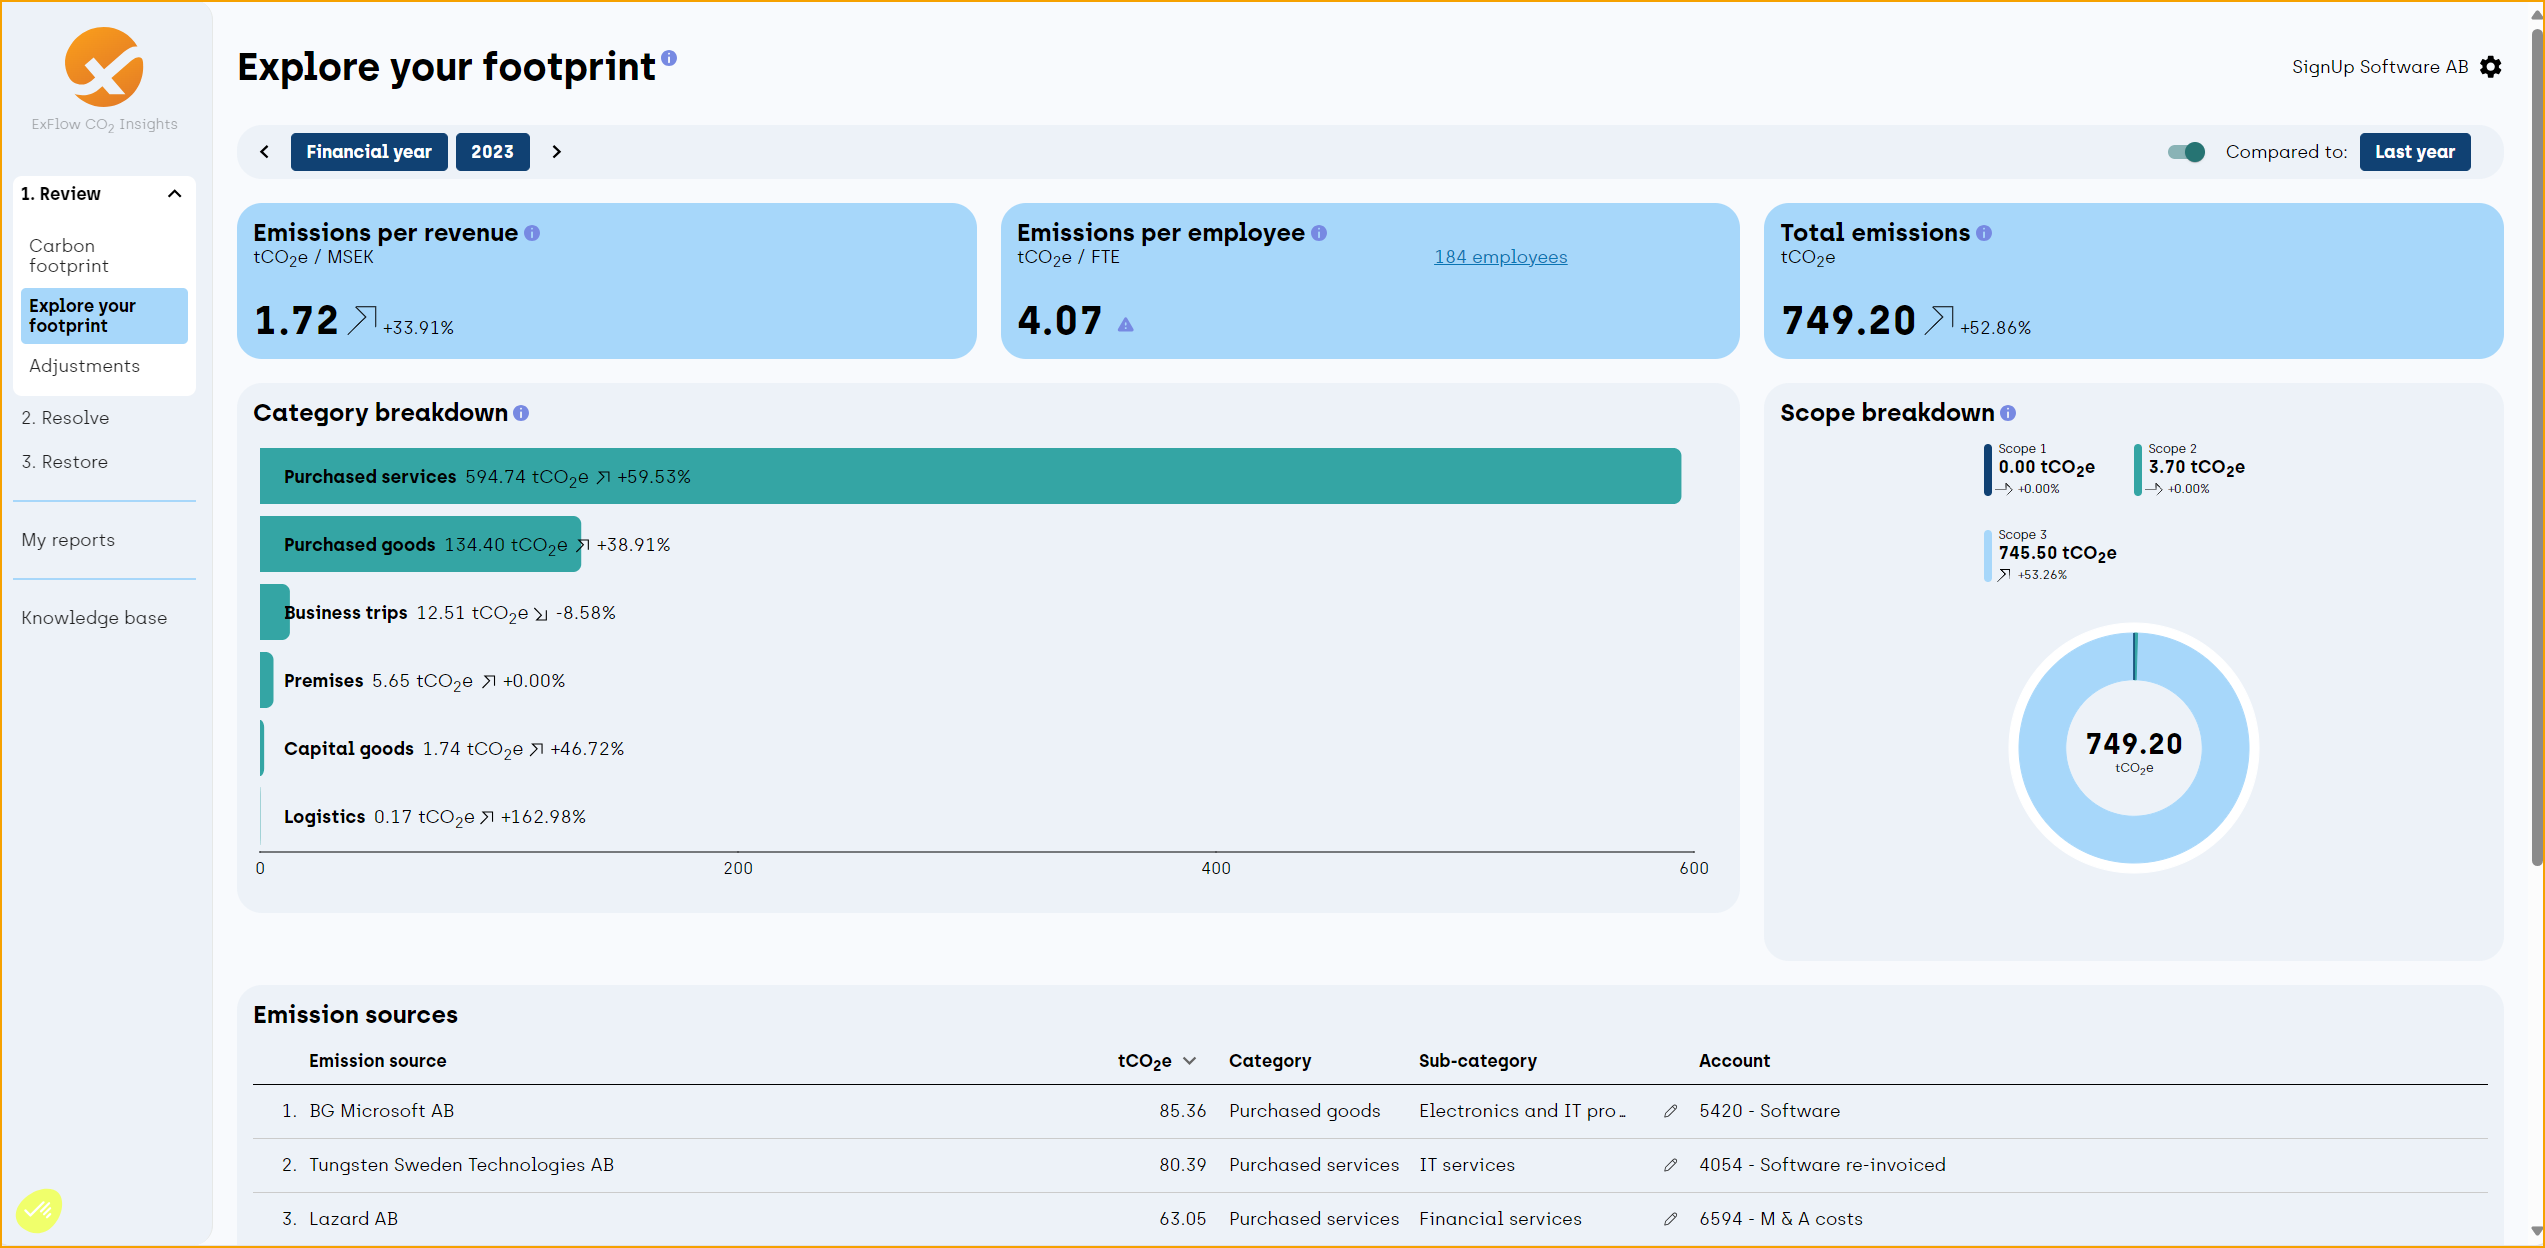
If some entries aren’t mapped correctly under Emission Sources, we can then utilize the pen and make necessary adjustments.
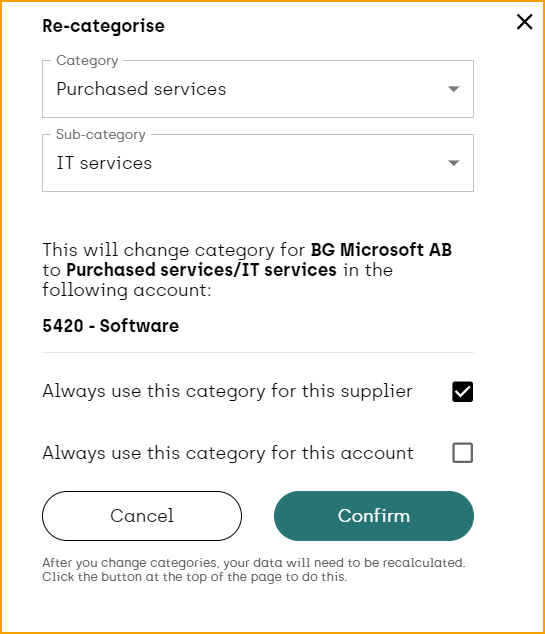
For instance, the Emission source ‘’BG Microsoft AB’’ has ‘’Category: Purchase goods’’, but we will need to change it to ‘’Category: Purchased services’’ and ‘’Sub-category: IT services’’ instead.
From here, it is also possible to choose to ‘’Always use this category for this supplier’’ or ‘’Always use this category for this account’’.
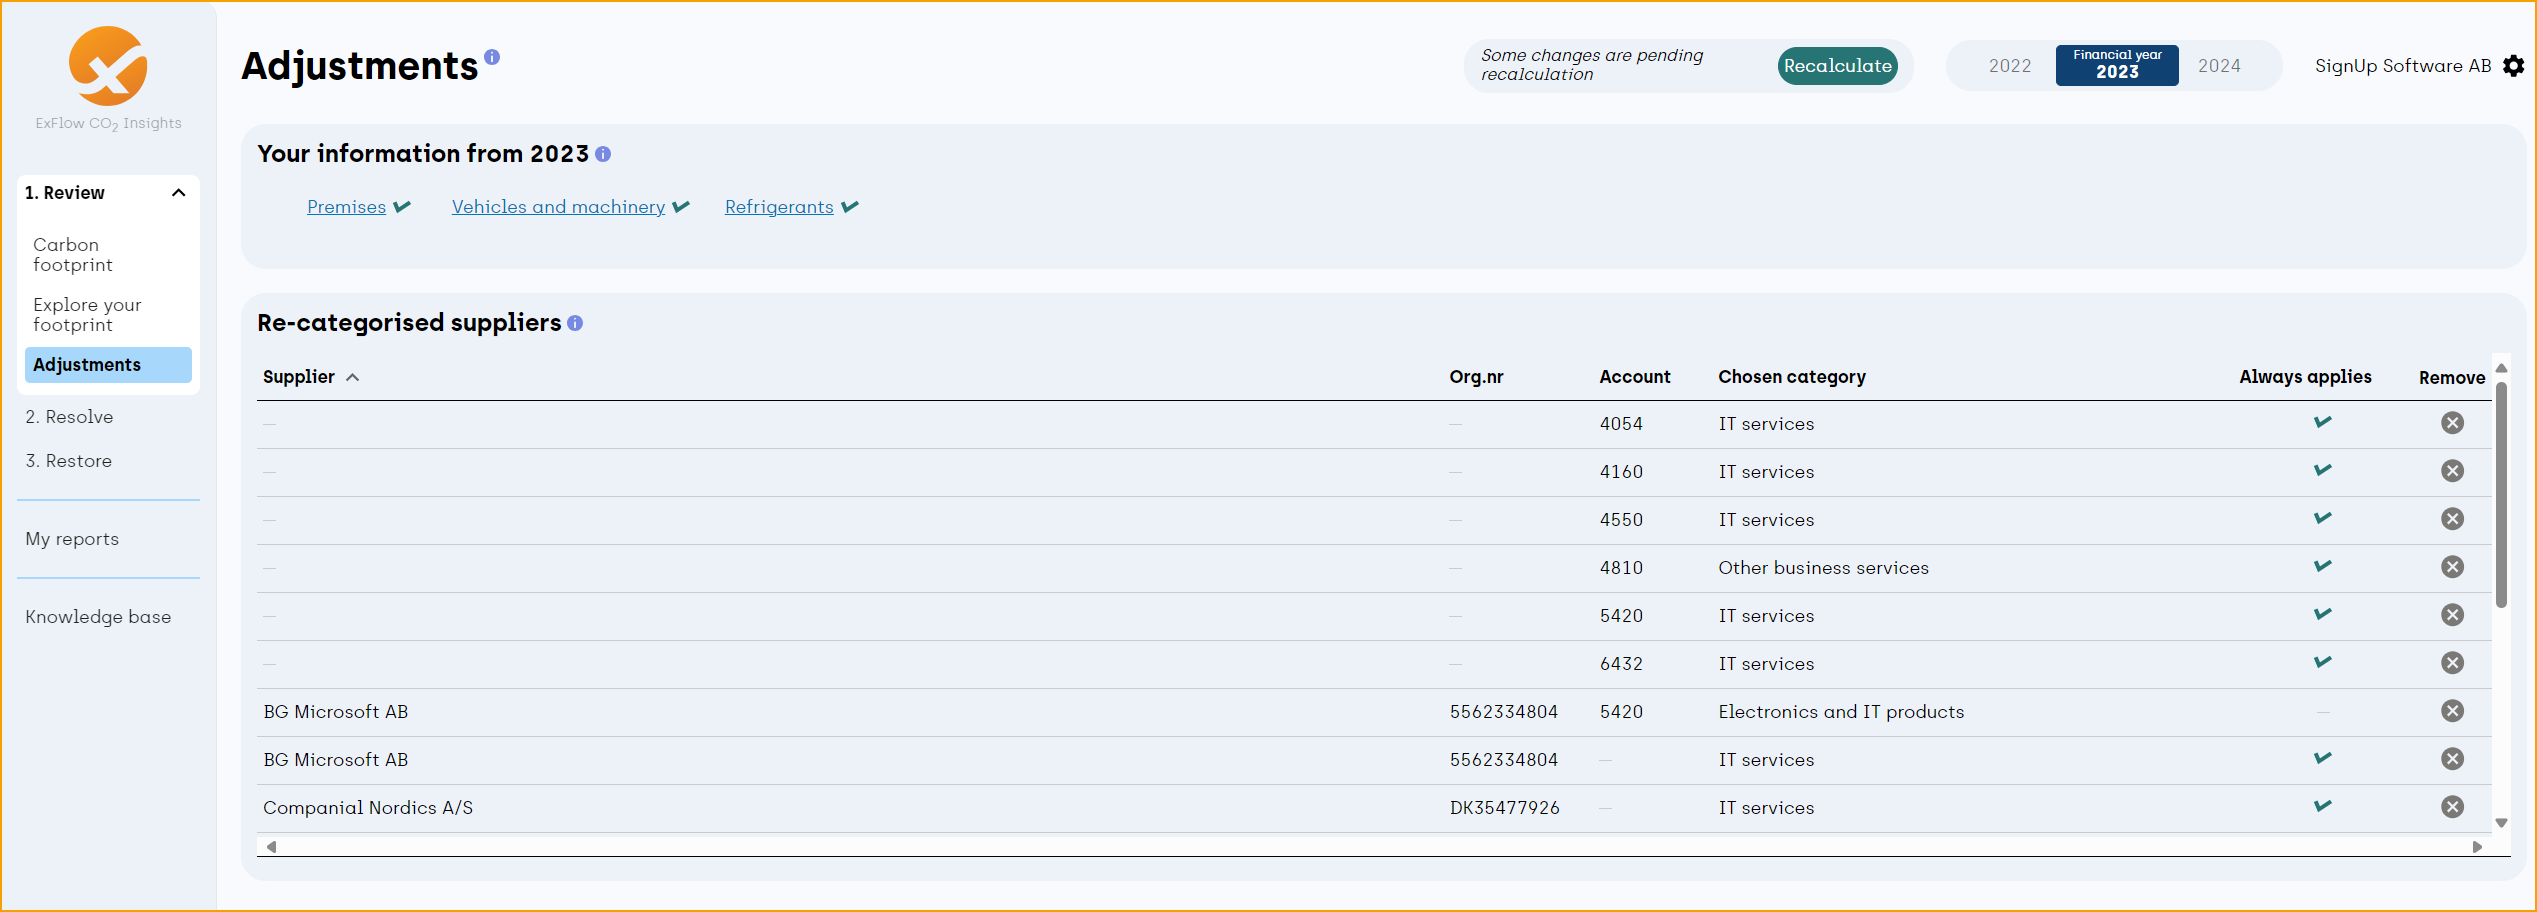
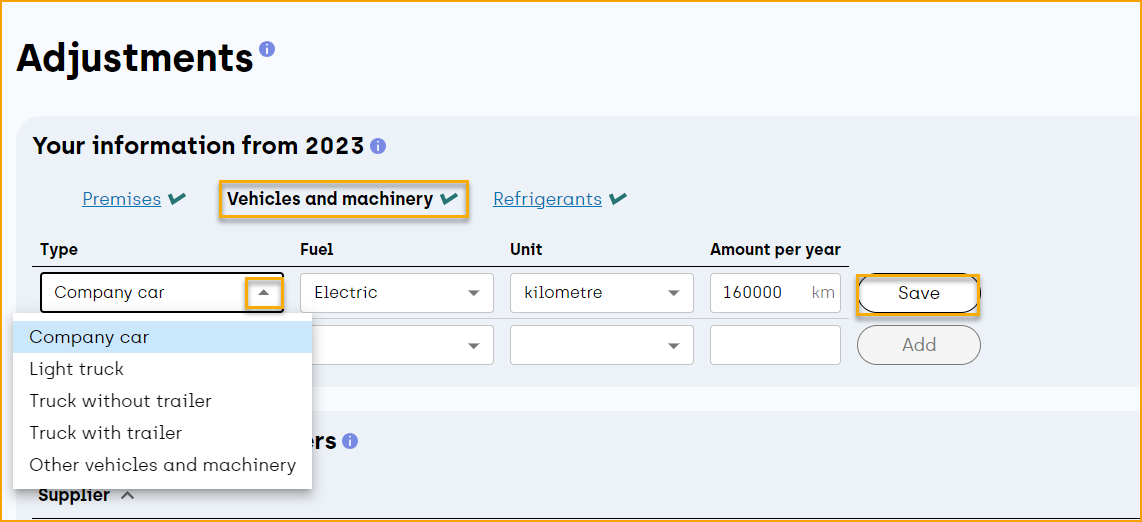
Go under Review and Adjustments to view already executed adjustments or edit current data for selected year to get a better calculation of the company’s emissions. It is possible to add or edit company premises, vehicles and machinery or refrigerants.
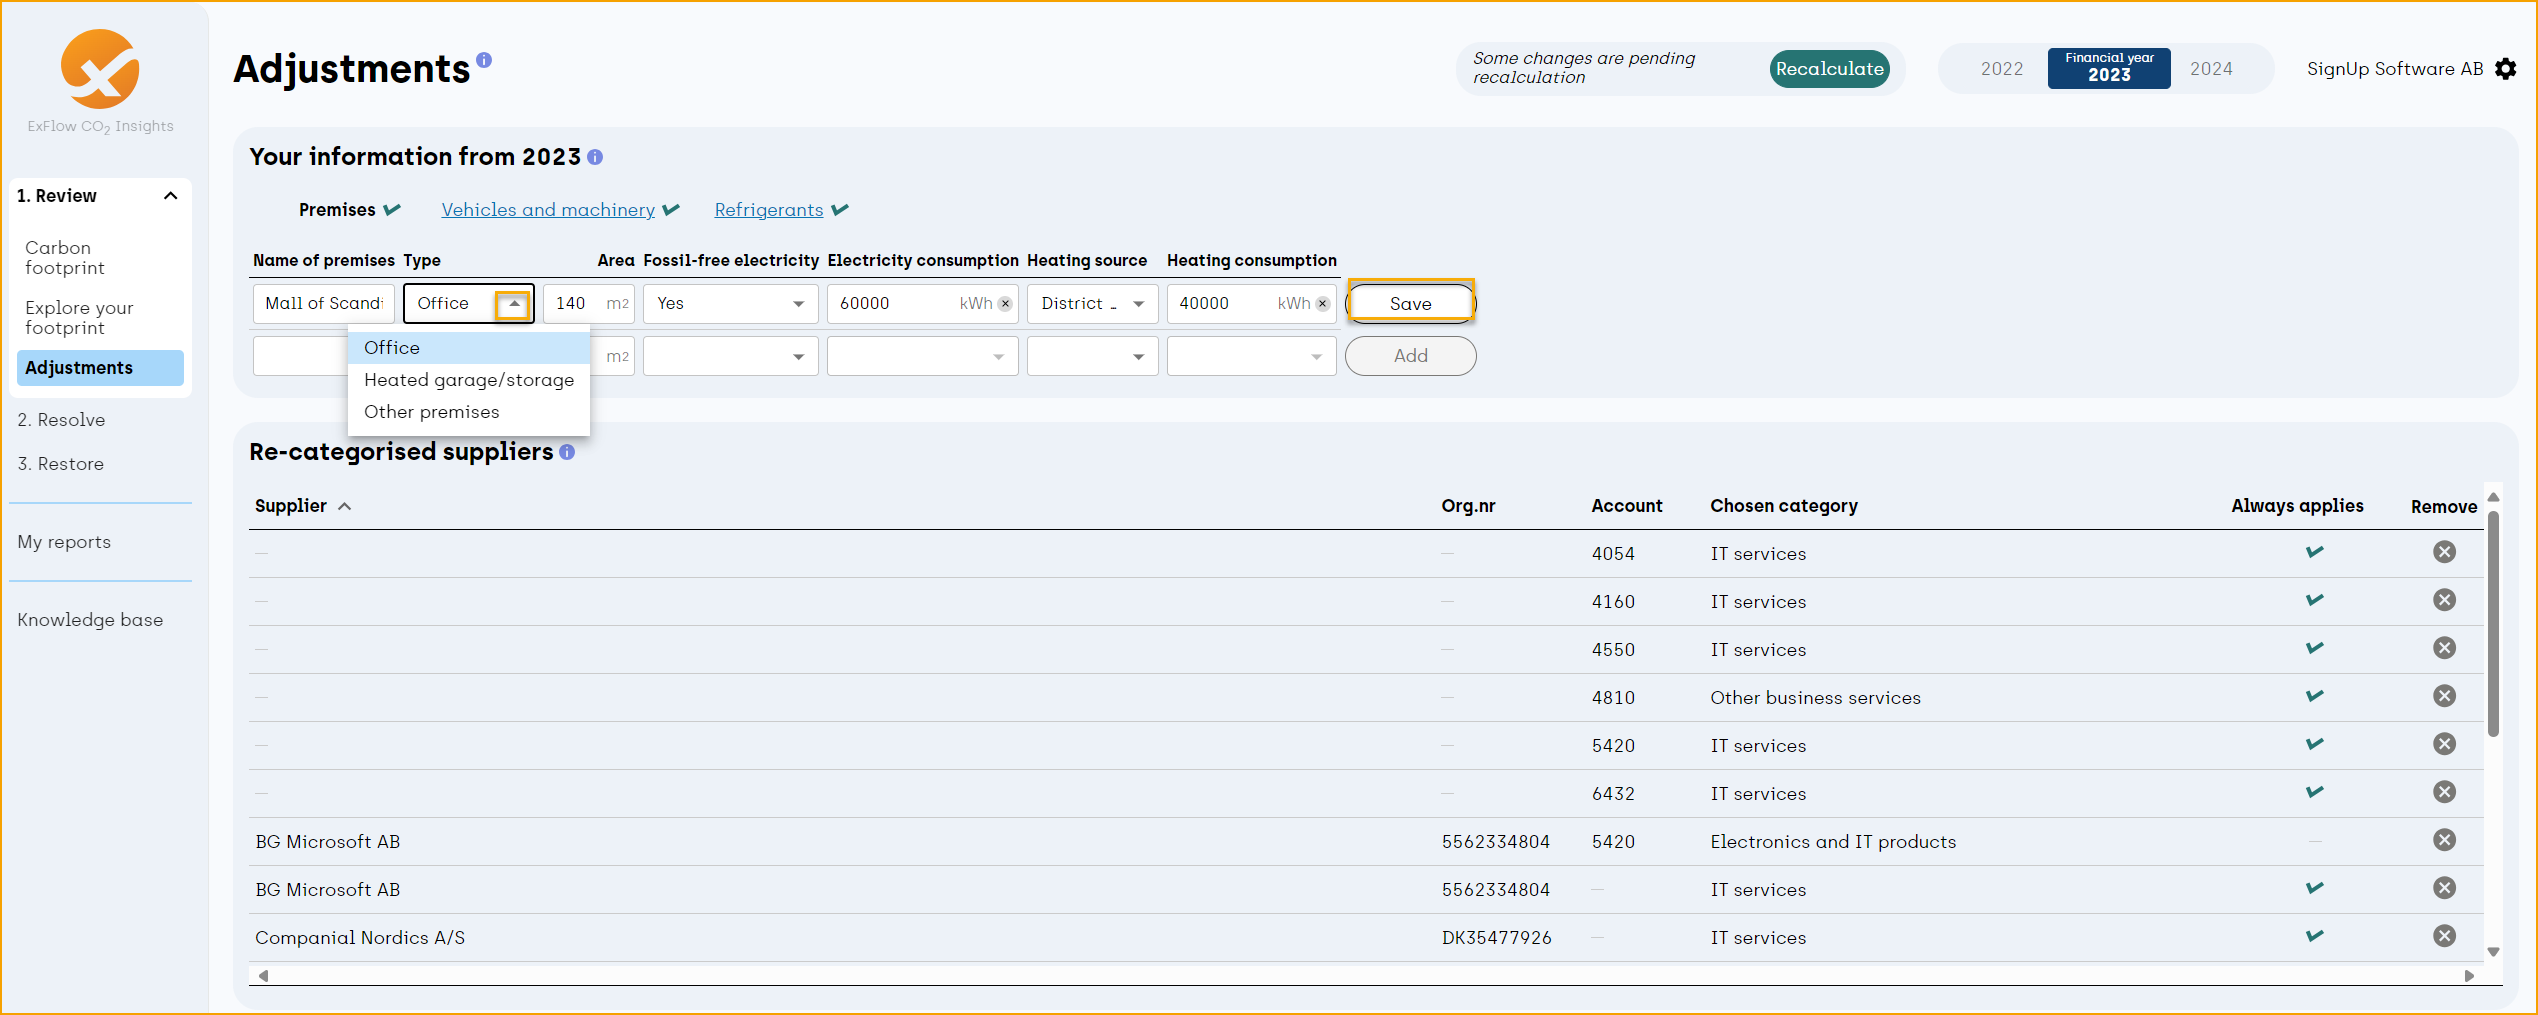
Under Premises, an office or heated garage can, for instance, be entered together with information about its area, electricity consumption, heating source and consumption.
Under vehicles and machinery, we can also add a company car or other trucks and enter information about the fuel, unit, and amount per year.
Adjustments can also be made for your company's refrigerants, just select the Type and its Amount.

Recalculate to finalize the changes to view updated data.

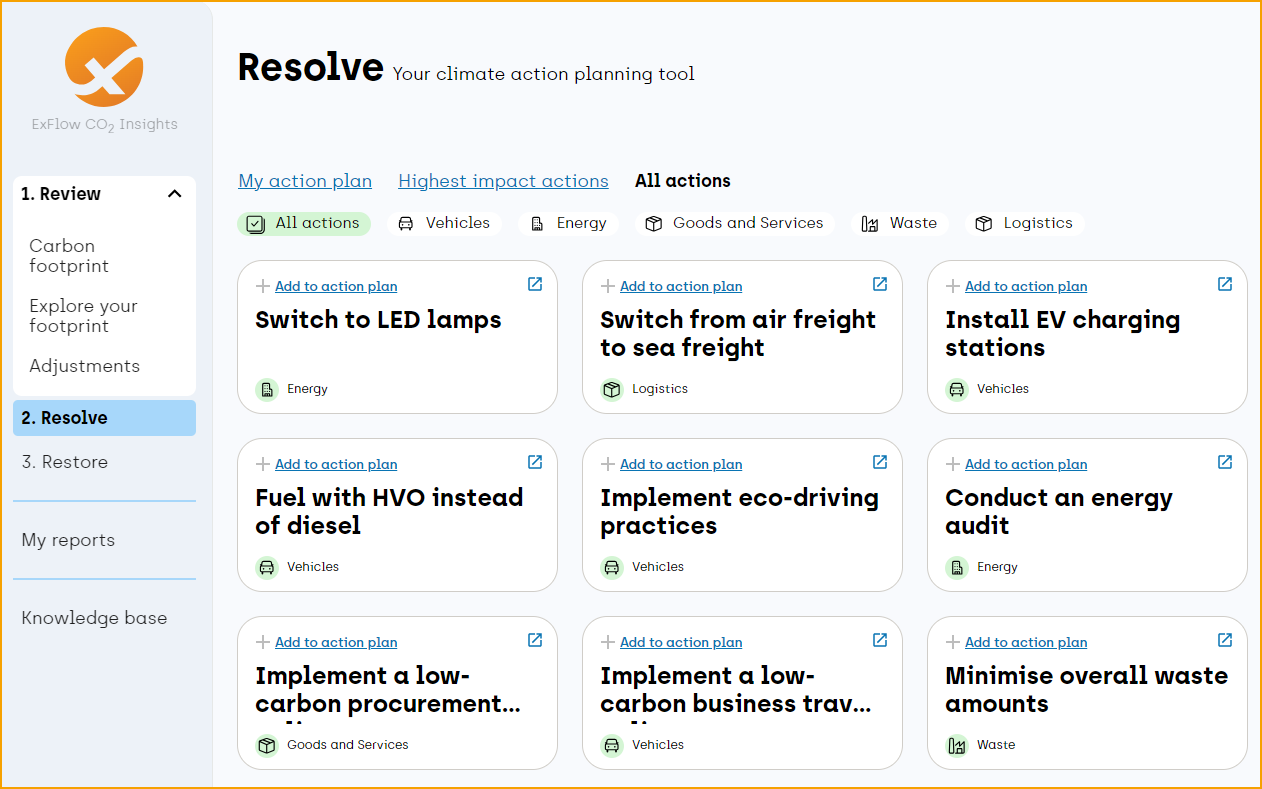
Take advantage of Resolve as your climate action planning tool where it’s possible to create different action plans.
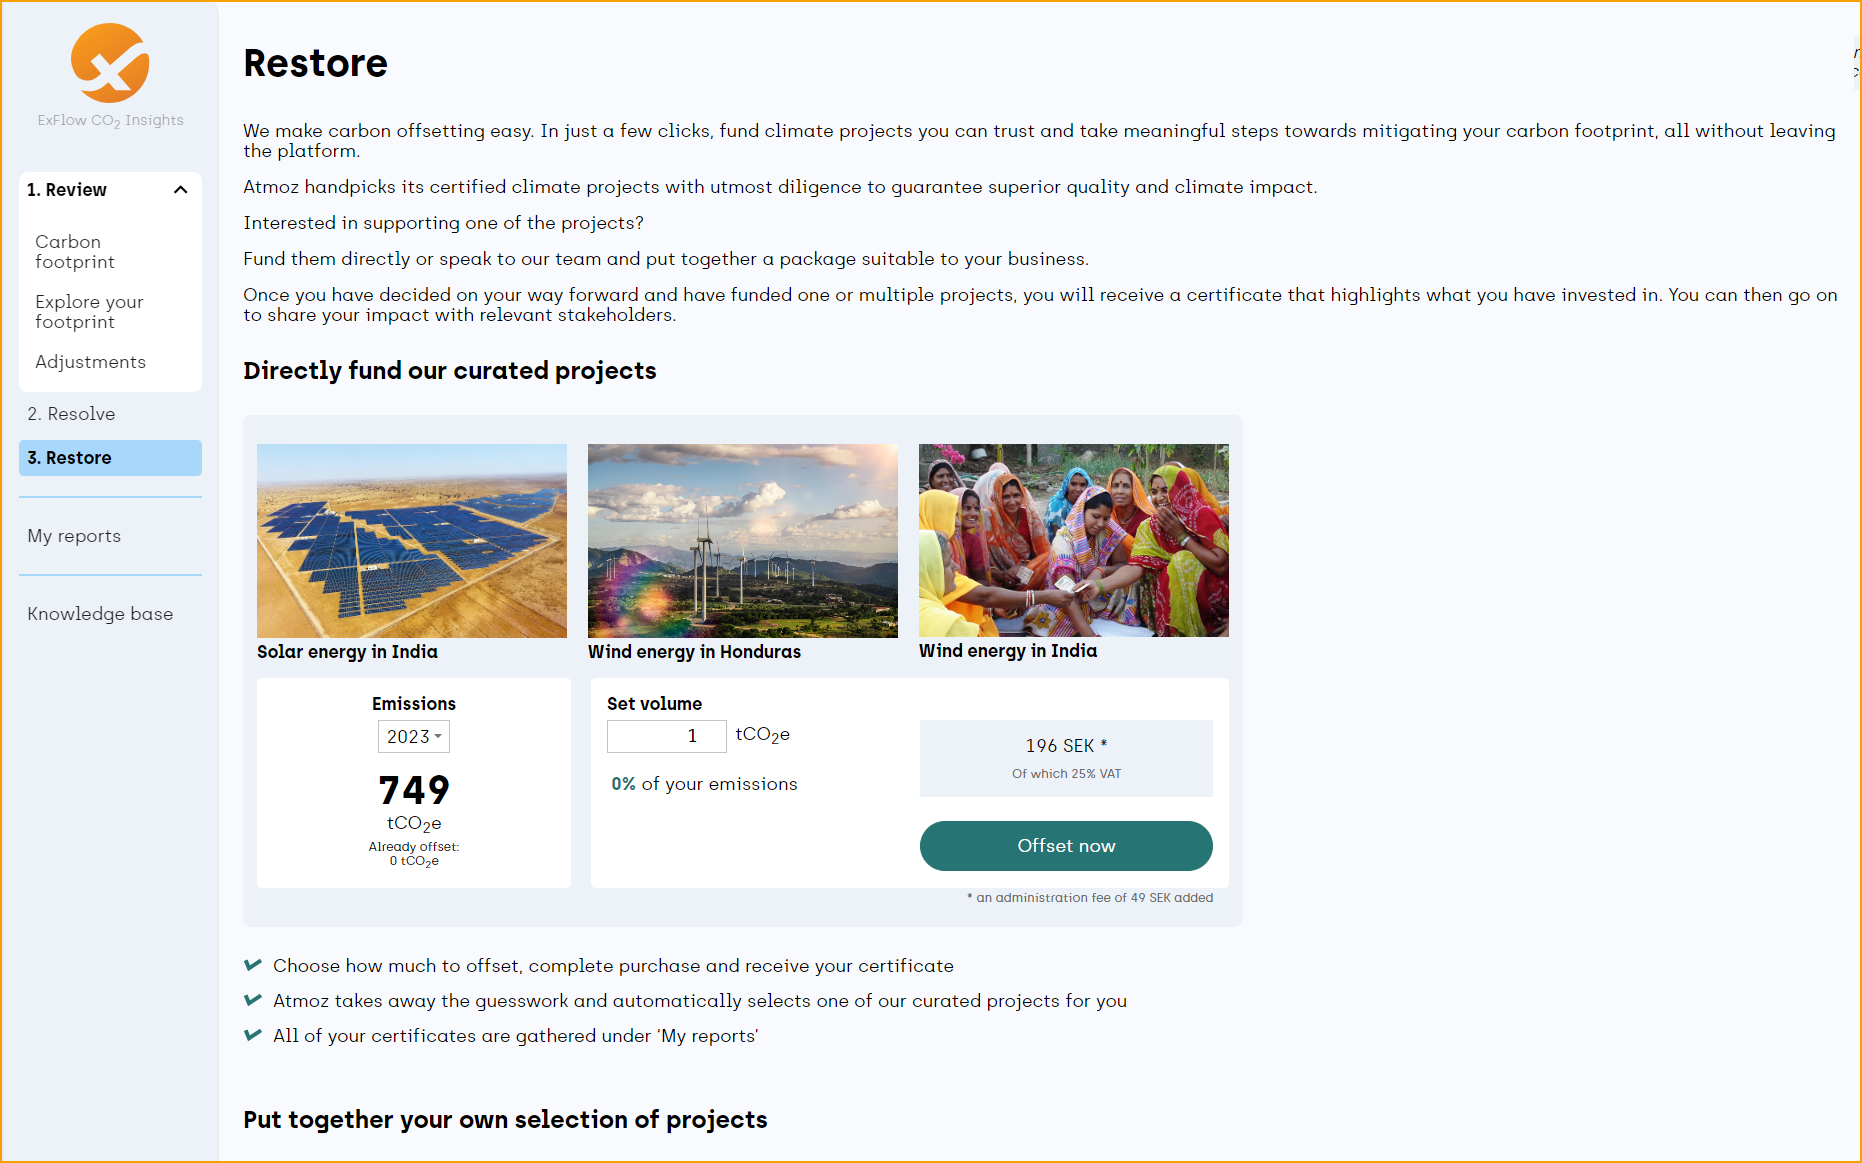
Visit the Restore section to find out how to make carbon offsetting easy and to fund climate trusted projects and to ease your carbon footprint.
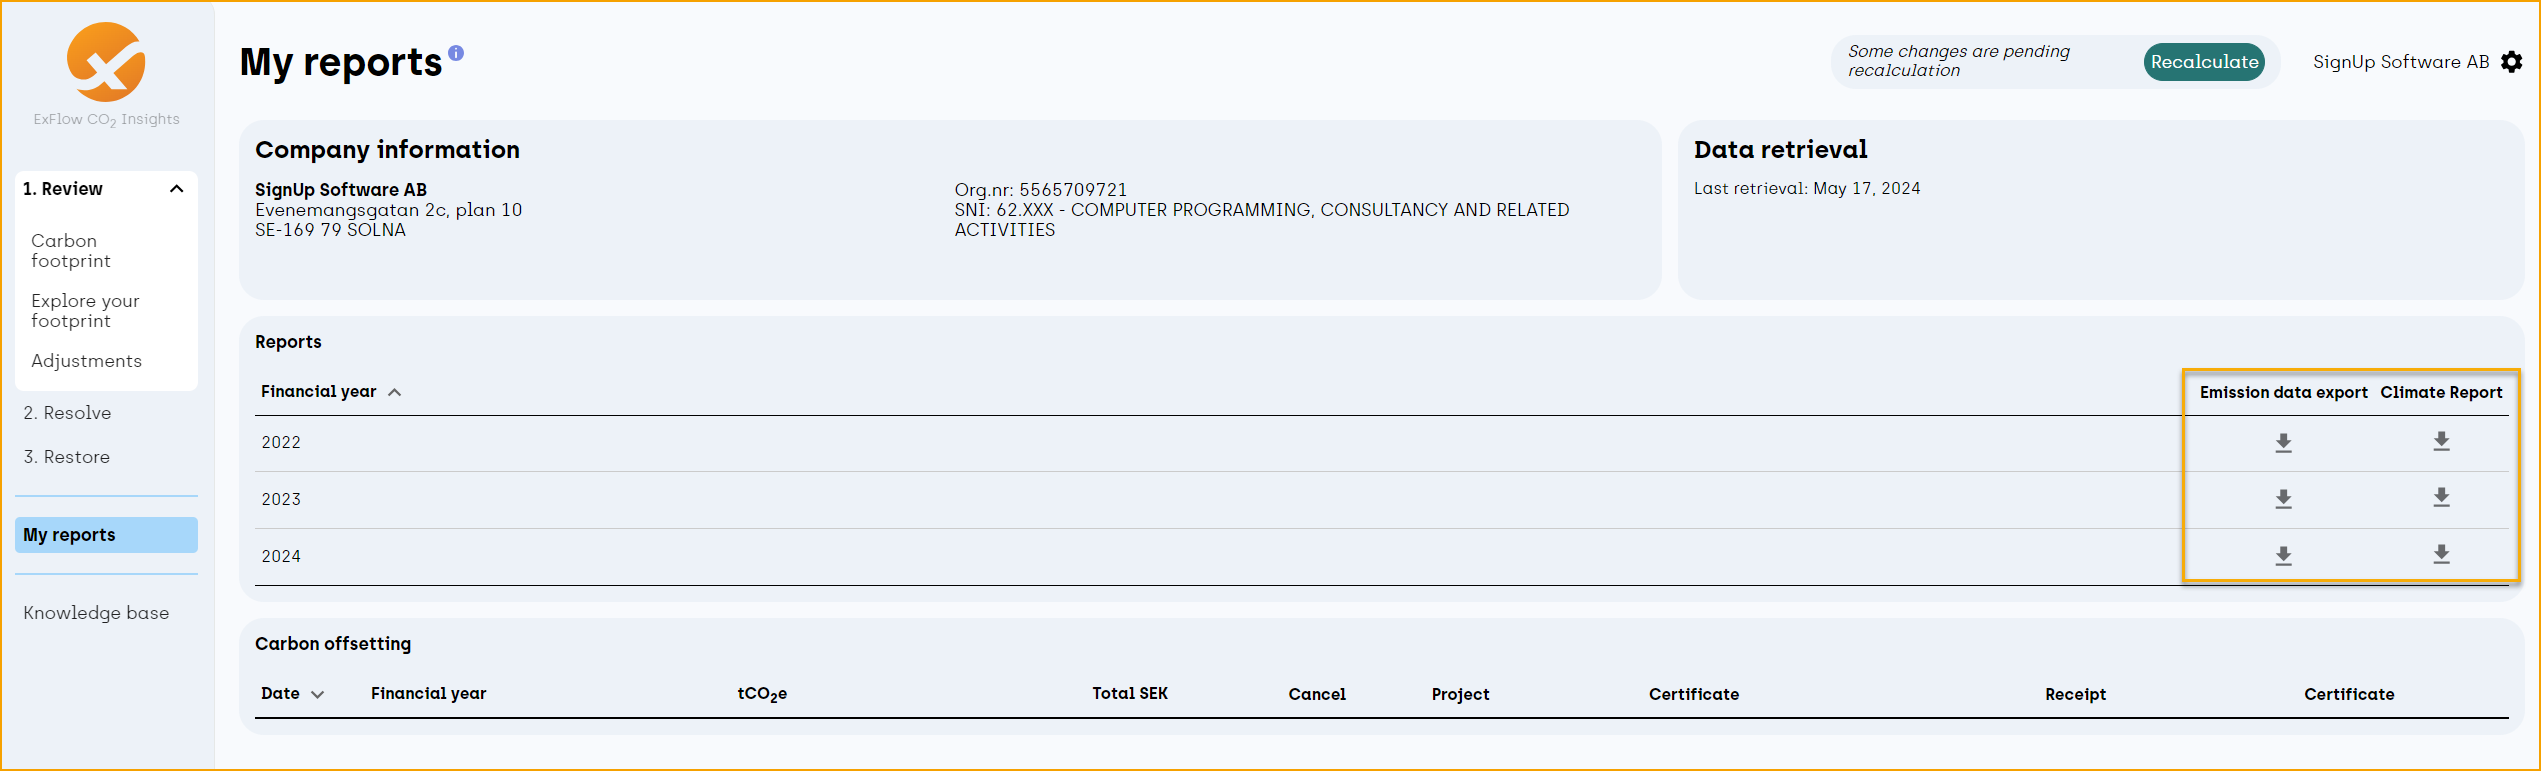
Download emission data or climate reports per financial year under ‘’My reports''. Moreover, view completed transactions of your carbon offsets.
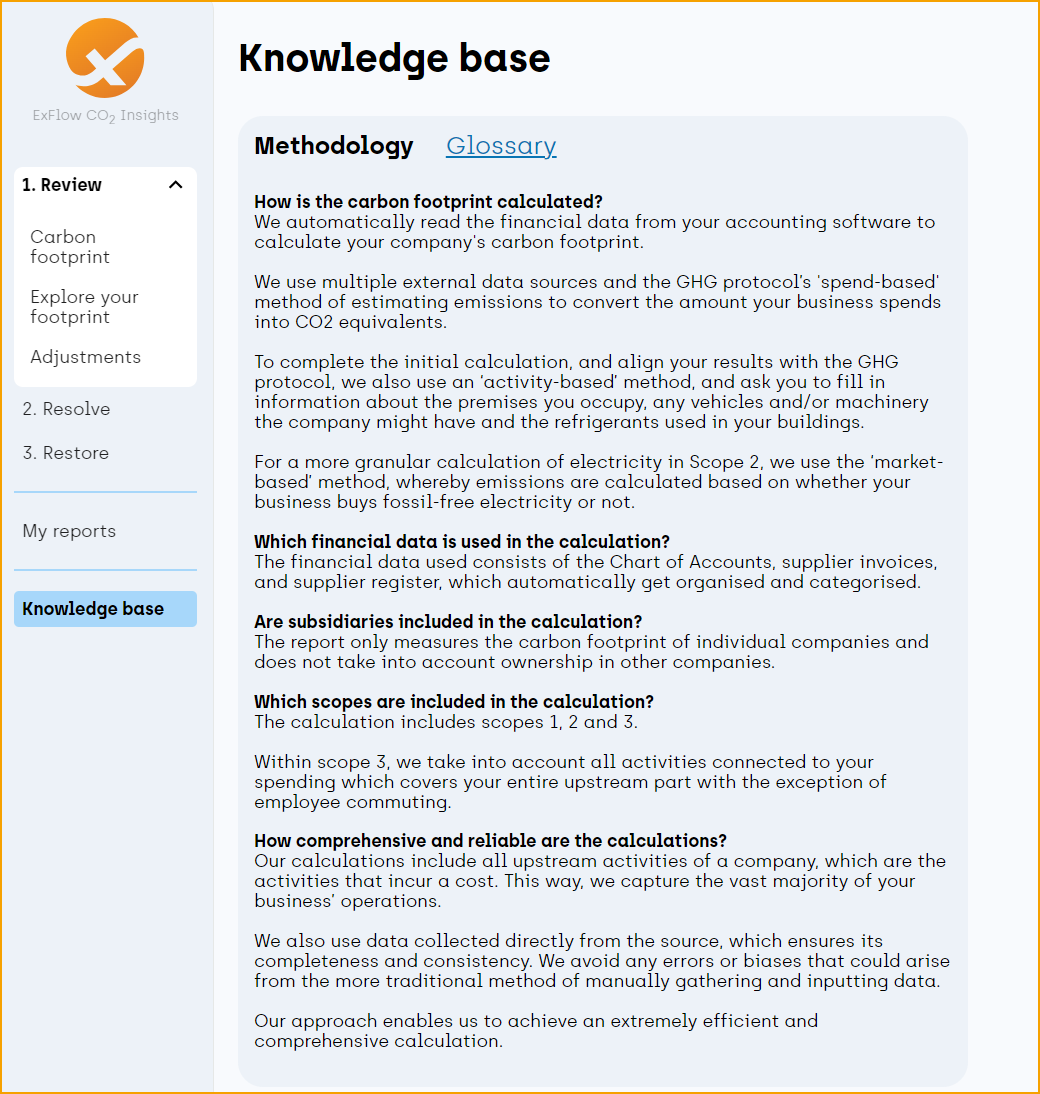
A general tip is also to utilize the Knowledge base section to read and learn more under Methodology and Glossary.