Get started with Travel & Expense
The administrator handles the setup and the users behind the scenes. Most of the work an administrator will have to do will be up-front, with things such as setting up the practical elements of Travel and Expense, as well as creating users for the submitters and approvers.
This section will assist with the setup of ExFlow Travel & Expense in Business Central.
Below is listed the necessary steps to set up:
-
Setup Wizard
-
Posting groups
-
Payment groups
-
Regions
-
Expense categories
-
Means of transport
-
Travel rates
To access the different views in this section, use the search field or the Travel and Expense overview in the top bar to navigate to the explore all view.
Setup Wizard
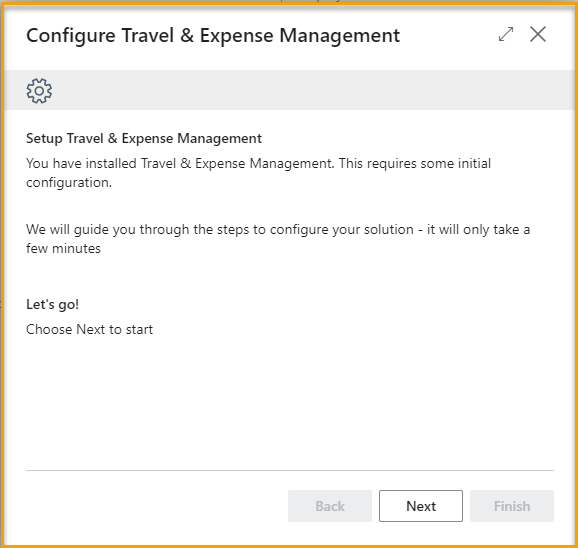
The setup wizard is designed to streamline the basic setup for ExFlow Travel & Expense. This user manual will guide users through the steps, ensuring the setup process is straightforward and easy to complete.
Go to: Travel & Expense overview --> Setup wizard
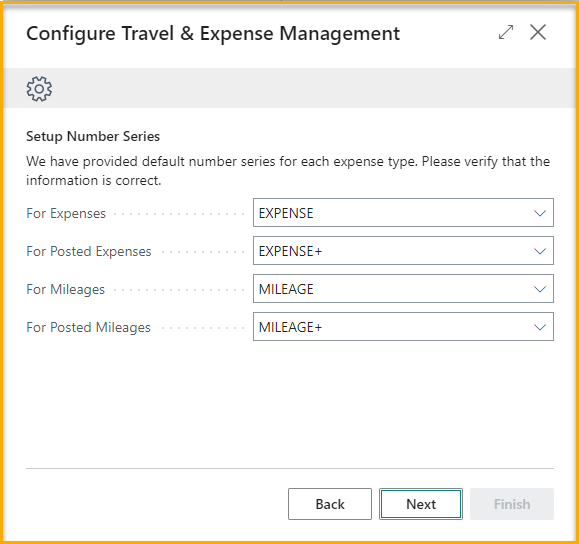
Setup number series
The wizard will suggest standard Business Central number series for expenses and mileage. Adjustments can be made during this setup.
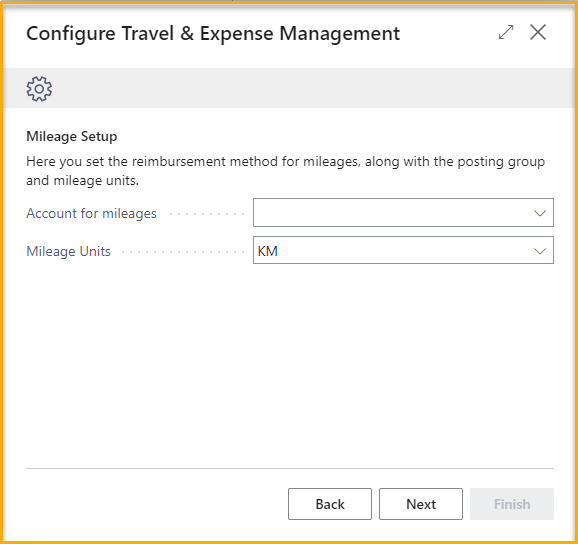
Mileage setup
Set the reimbursement method for mileage, the posting group, and the mileage unit.
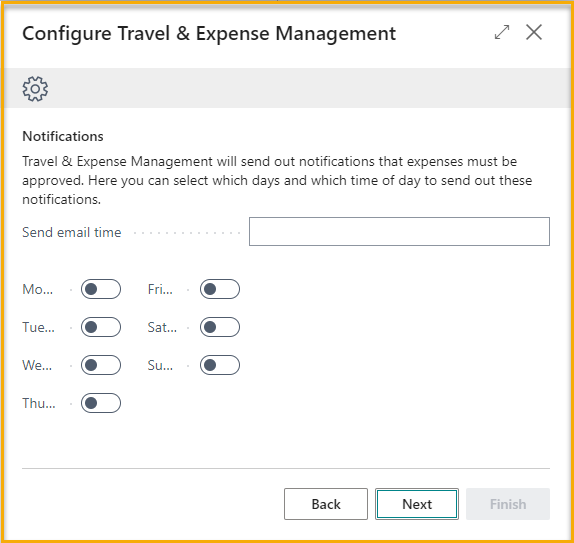
Notifications
Configure email reminders to keep users informed and prompt their attention for pending approvals.
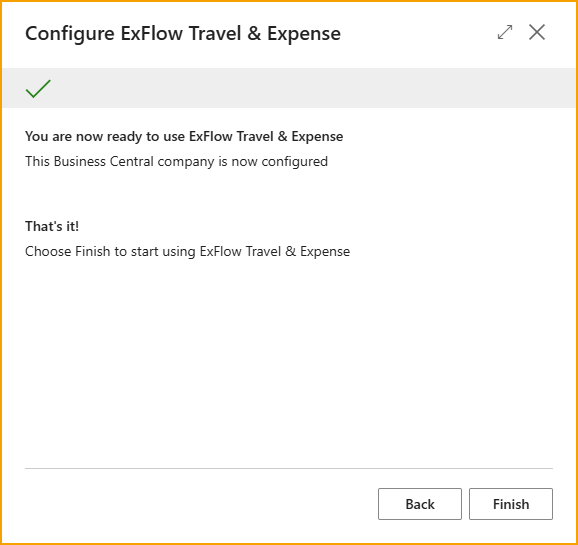
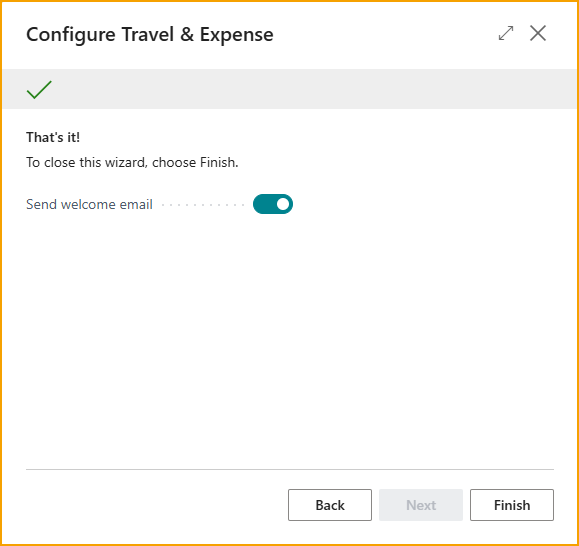
Finish
Congratulations! All the necessary information has been successfully provided to begin the setup according to preferences.
Posting Groups
Posting groups are essential classifications of expense types that allow bookkeepers to efficiently manage and organize financial data. When employees submit expenses through the app or the web portal, they must select an Expense Category, which corresponds to one of the predefined posting groups.
To facilitate accurate accounting, it is crucial to create appropriate posting groups that encompass various tax rates and general ledger accounts. For instance, Travel Rates will require specific posting groups for mileage expenses.
Please note that only the finance department has access to configure and manage these posting groups, ensuring that the process remains streamlined and secure for end-users of the app or web portal.
Go to: Travel & Expense --> Overview --> Posting Setup --> Posting Groups
New: To create a new posting group.
Code: This serves as a shorthand descriptor for the posting group.
For example, domestic food expenses could be labeled as "Food-dom, "international food expenses as "Food-int," or miscellaneous expenses as "Misc".
Description: Enter a description, e.g. "Food & beverage domestic", "Food & drink international", or "Miscellaneous".
G/L Account No.: Select or enter G/L Account No.
Gen. Bus. Posting Group: Select or enter Gen. Bus. Posting Group. This is Business Central standard.
Gen. Prod. Posting Group: Select or enter Gen. Prod. Posting Group. This is Business Central standard.
VAT Bus. Posting Group: Select or enter VAT Bus. Posting Group. This is Business Central standard.
VAT Prod. Posting Group: Select or enter VAT Prod. Posting Group. This is Business Central standard.
Job G/L account no.: Select or enter Job G/L account no., this is connected to the project module in Business Central standard.

Please note, that the wizard creates a posting group for Mileage.
Payment Groups
Like Posting Groups and common groups in Business Central, Payment Groups are used to map entities to G/L Accounts. This feature is particularly useful when managing multiple credit card types, each requiring distinct payment postings.
Typically, it's advisable to set up at least two Payment Groups: one for company credit card transactions and another for reimbursing employees. Note that only one Payment Group can be assigned per Employee type. For company credit cards, multiple Payment Groups can be established as needed. There is flexibility to configure a single Payment Group for each Credit Card Agreement or consolidate several agreements into one group, based on preferences.
Go to: Travel & Expense --> Overview- --> Posting Setup --> Payment Groups
New: Create a new Payment Group
Code: This serves as a shorthand descriptor for the payment group.
For example, "CC" for Credit card or "EMPLOYEE" for Employee
Description: Enter a description.
For example, "Credit card" or "Employee"
Bal. Account Type: Select a Bal. Account Type this is Business Central standard.
Bal. Account No.: Select a Bal. Account No. this is Business Central standard.

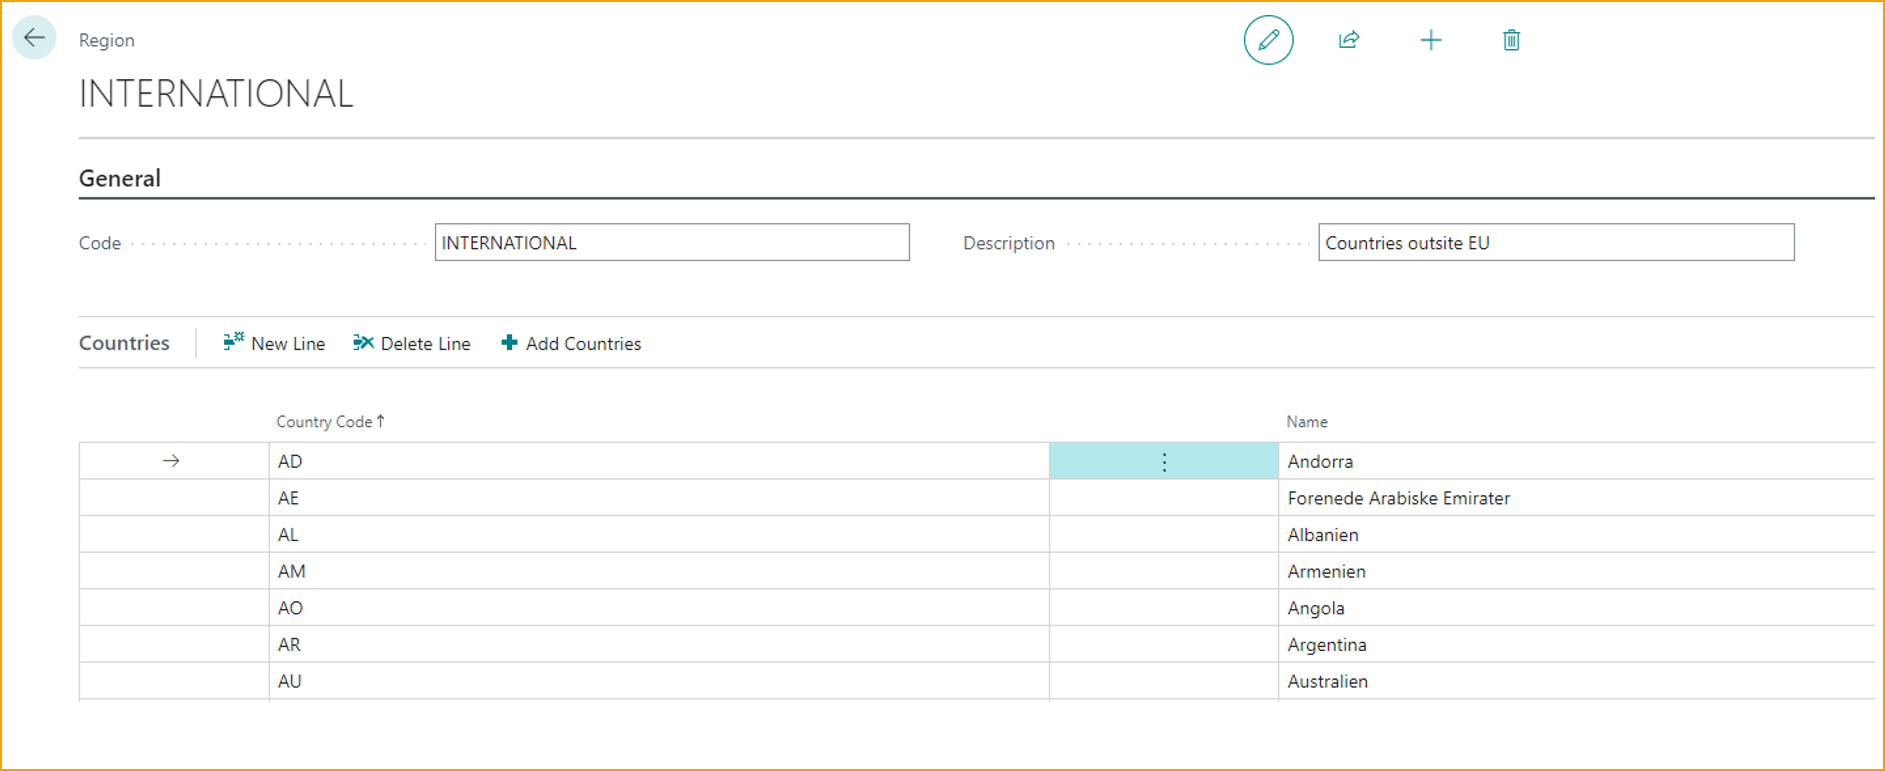
Regions
Regions contain collections of countries which is useful if a specific posting setup is needed per country collection. For example, this can be useful to prepare the different tax rates for the different regions.
Go to: Travel & Expense --> Overview --> Setup --> Regions
New: Create new Regions
Code: This serves as a shorthand descriptor for the Region.
Description: Enter a description for the region.
Add Countries: Select one or more Country Codes.
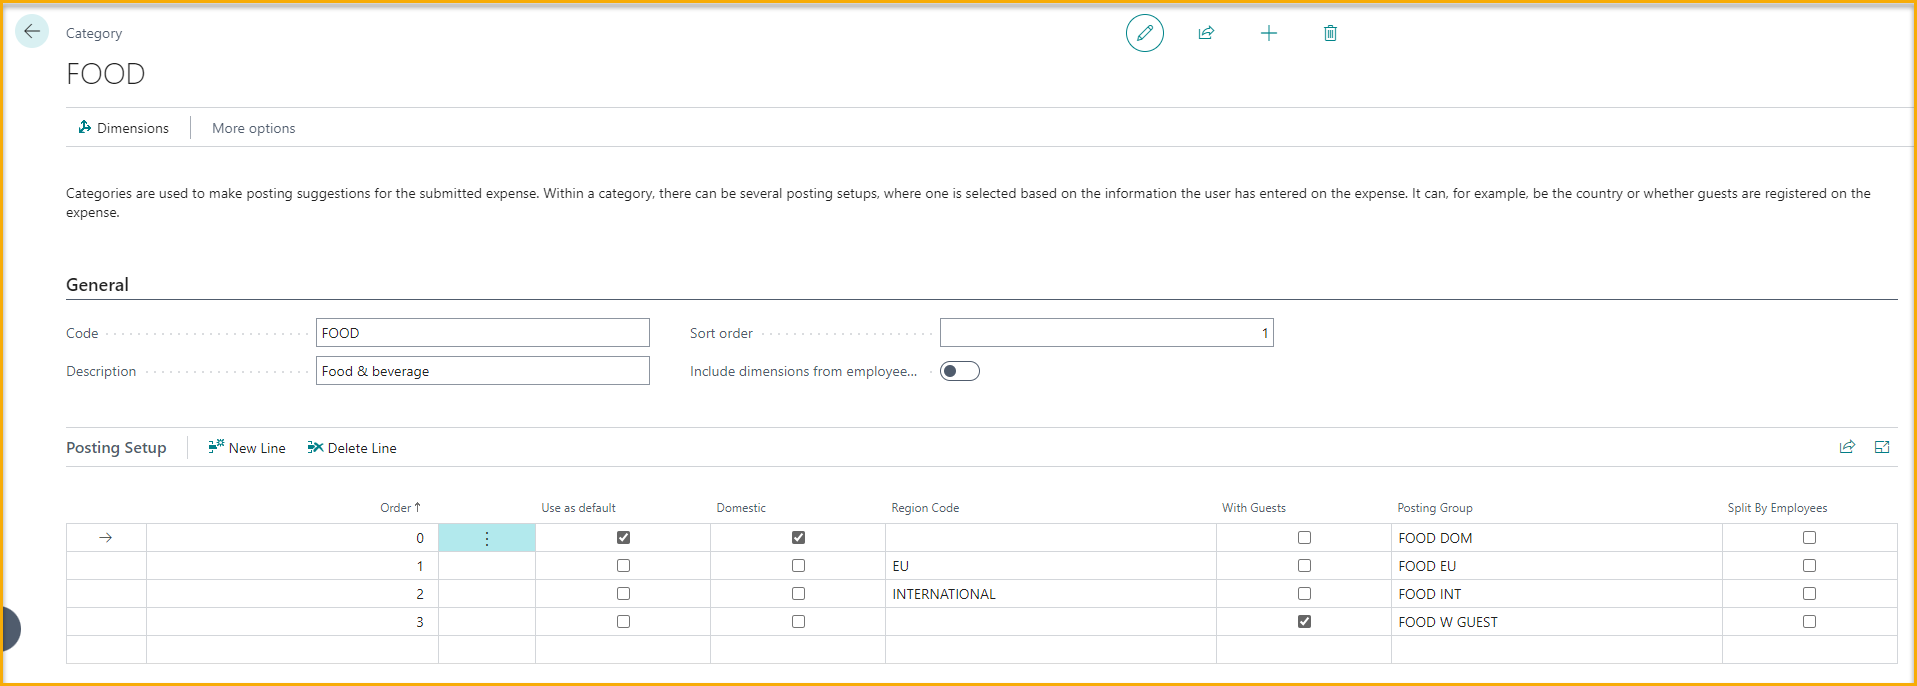
Expense Categories
To streamline expense registration for users, Expense Categories must be created. With these categories and a few additional variables, non-finance users can record expenses and provide the finance department with information on how the expenses should be posted.
The created Expense Categories will be visible to users on the web portal and mobile app when they are creating an expense. Users are required to select a category that best describes their purchase. Additionally, they can choose to split the expense with colleagues or add a guest, which will indicate how to post the expense.
For each Expense Category, multiple posting setups can be established, enabling the finance department to efficiently manage various expense scenarios.
Go to: Travel & Expense - Overview --> Posting Setup --> Expense Categories
New: Create new Expense Categories
Code: That shortly indicated what the category is for, for example: "Food"
Description: Enter a description of the category, for example "Food and beverage". Keep in mind that this description will be visible to users on the app or web portal.
Next, configure the posting setup for the specific category.
Priority: When multiple posting setups exist, the system determines which one to use based on Priority numbers. The posting setup with the highest priority number will be applied by the system if none of the setups precisely match the expense registration.
Domestic: If the posting setup is only relevant when the expense location is own country.
Region Codes: If the posting setup is relevant when the expense is location outside own country, select one of regions created previously.
With Guests: If the setup requires the user to add guest, tick off with guests.
Posting Groups: Select one of the Posting Groups created previously.
Split By Employees: If the setup requires the expense to be split between employees, tick off Split by Employees.
Repeat the above steps for as many categories and setups as required. The more comprehensive your approach to creating categories and setups, the simpler it will be for your financial department to process expenses.
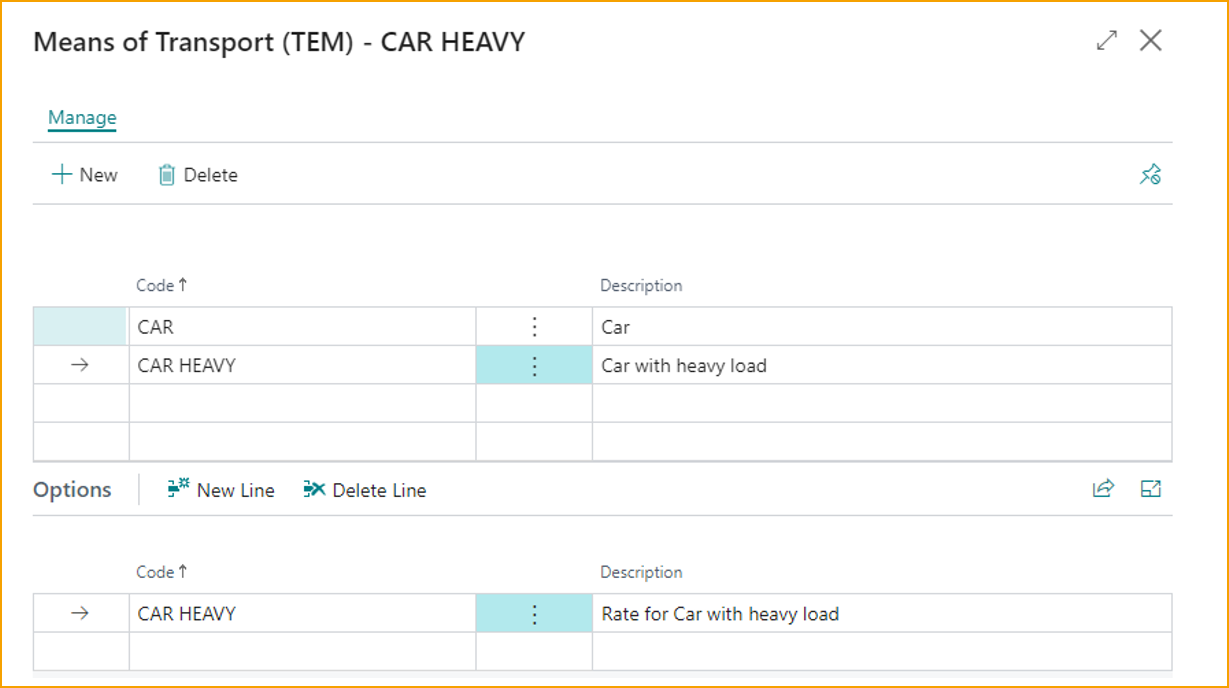
Means of transport
In certain countries, different reimbursement rates apply based on the mode of transportation. For example, rates vary between cars, cars with trailers, and cars carrying heavy loads. When configuring Means of Transport, specify the transportation type. If the reimbursement rate is consistent for certain types, it is only necessary to set up one type.
Go to: Travel & Expense - Overview --> Mileage Setup --> Means of transport
New: Create a new Means of transport
Code: That shortly indicated what the type of transport is for, for example: "Car".
Description: Enter the description of transportation type.
Travel rates
Travel rates allow setting the reimbursement rate for an employee based on a specific trip.
Individual employees can have different rates. A rate without an employee number specified is a general rate that is used as a default rate.

Go to: Travel & Expense - Overview --> Mileage Setup --> Travel rates
New: Create new travel rate.
Option: Select the Means of transport created previously.
Employee No.: If no employee number is specified, the rate will be considered a general rate.
Starting Date: Use this option if a rate needs to change at a specific point
Starting from: Example: If there are different rate rules depending on the number of miles or kilometers the employee has driven.
Rate: The rate for the specific rule.
It is important to set up the reimbursement handler in Setup (TEM).
Go to: Setup (TEM) --> Mileage
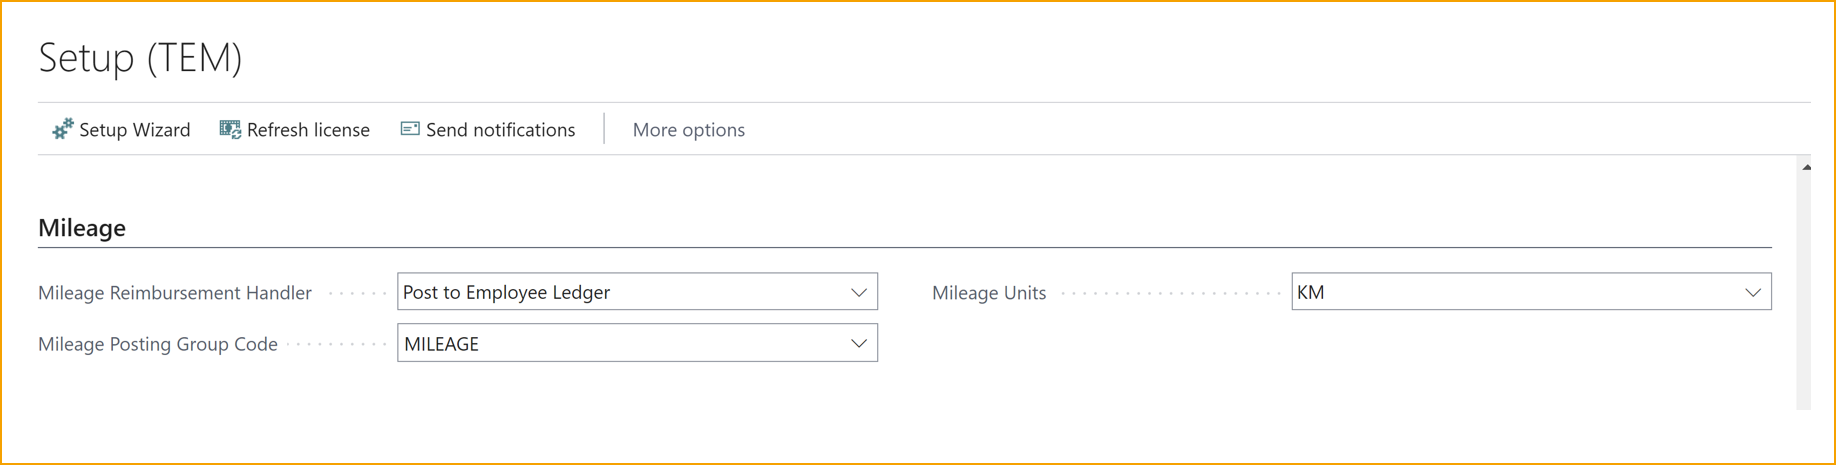
Mileage Reimbursement Handler: If the reimbursement should be handled via Business Central select Post to Employee Ledger, if the reimbursement is handled in the payroll system select Export to XML.
Setup Users
Creating a AppsForDynamics365 user
To access the AppsForDynamics365 portal and use the ExFlow Travel & Expense app, each user must have a created user account. This login is shared across companies.
Every user requiring access to the AppsForDynamics365 portal must be set up as an AppsForDynamics365 user. The AppsForDynamics365 user extends the Business Central employee by making sure that settings set on the Employee are also enforced on the AppsForDynamics365 portal.
Go to: AppsForDynamics365 logins
There are two options available to create a new user.
-
Create logins for users: Import users from BC users.
-
New: If the user isn't created as a Business Central user, manually inter the user credentials.

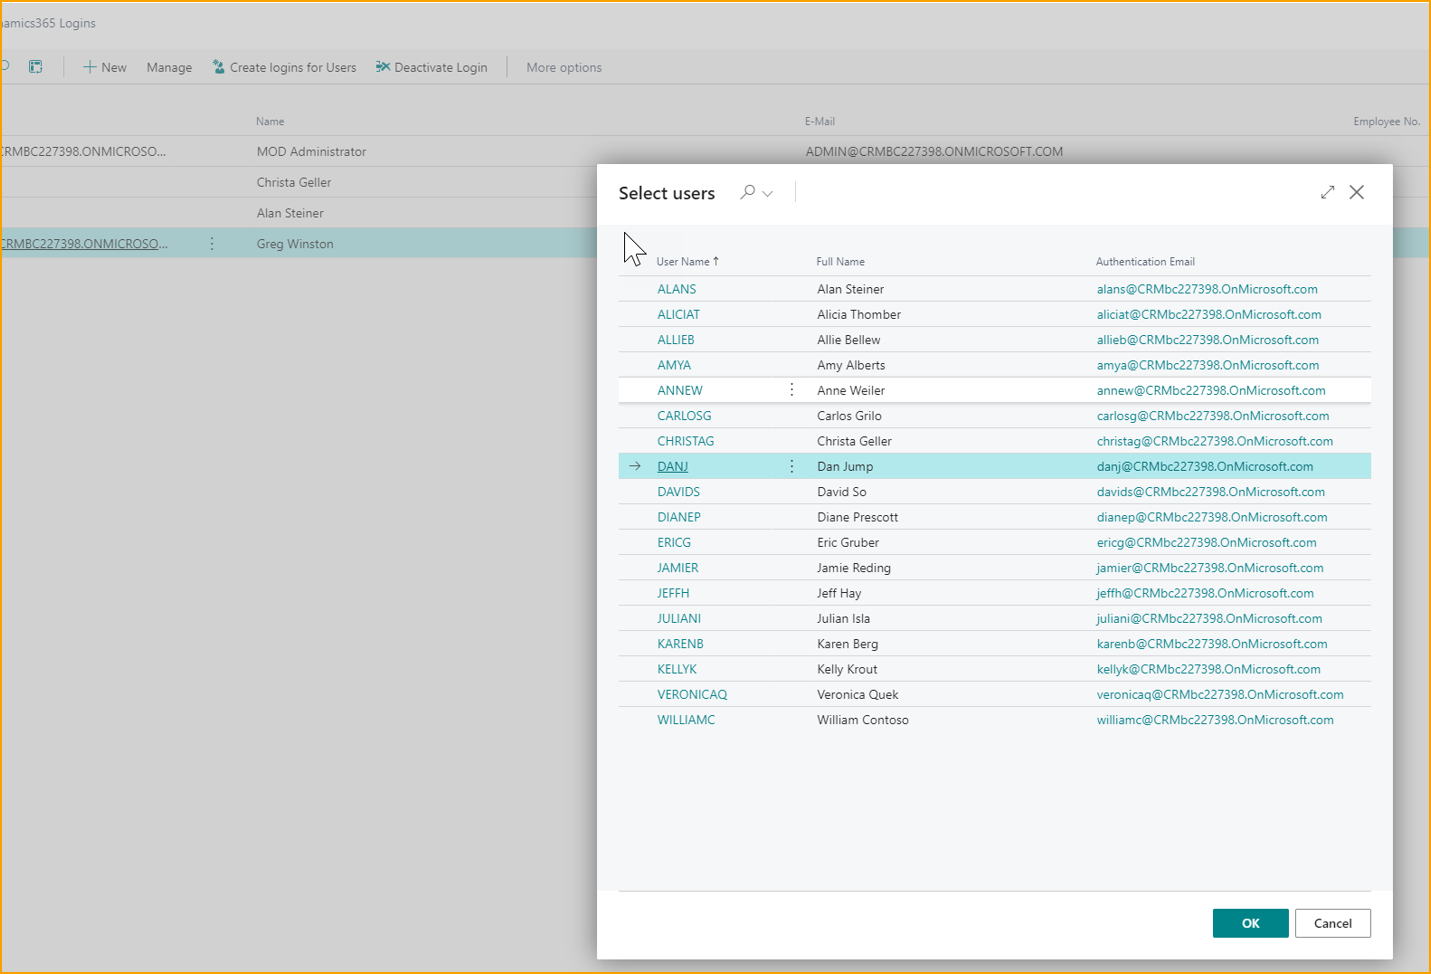
Create with a Business Central user
Create logins for users: Select the user(s) from the list.
Create the user manually
Click on New
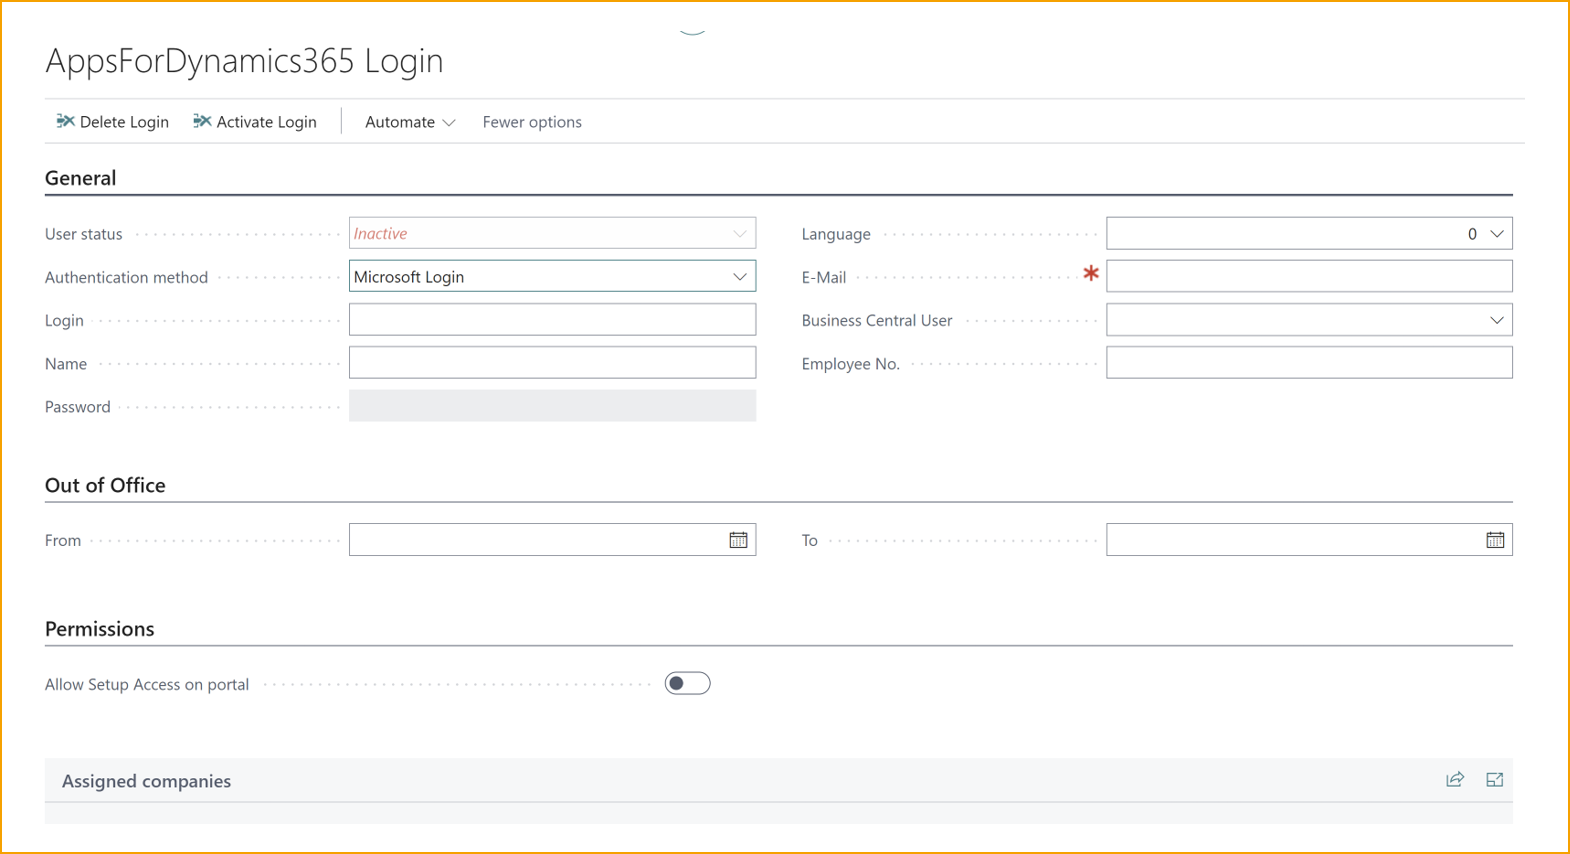
| AppsForDynamics365 Login | |
|---|---|
| User status | Indicates whether the user is active or inactive |
| Authentication method | Chose the authentication method for the specific user. Microsoft login User/password |
| Login: | User ID that user will use to sign in to the portal |
| Name: | The full name of the employee |
| Password: | The password the user uses to login to the portal. (Only if "user/password" is selected) |
| Language: | The intended language for the user to use. |
| E-mail: | The user's email address. This is used for notification. |
| Business Central User: | Select the Business Central user that this user should be attached to. |
| Employee number: | This is the employee number from Business Central associated with the user. It will be automatically filled out when the Configure for TEM is run from the Employee card in Business Central. |
Mapping the employee to AppsForDynamics365
To complete the user setup, it is necessary to map the Business Central Employee to the AppsForDynamics365 user.
Go to: Employee
Select a specific employee from the list to grant access to AppsForDynamics365 Portal.
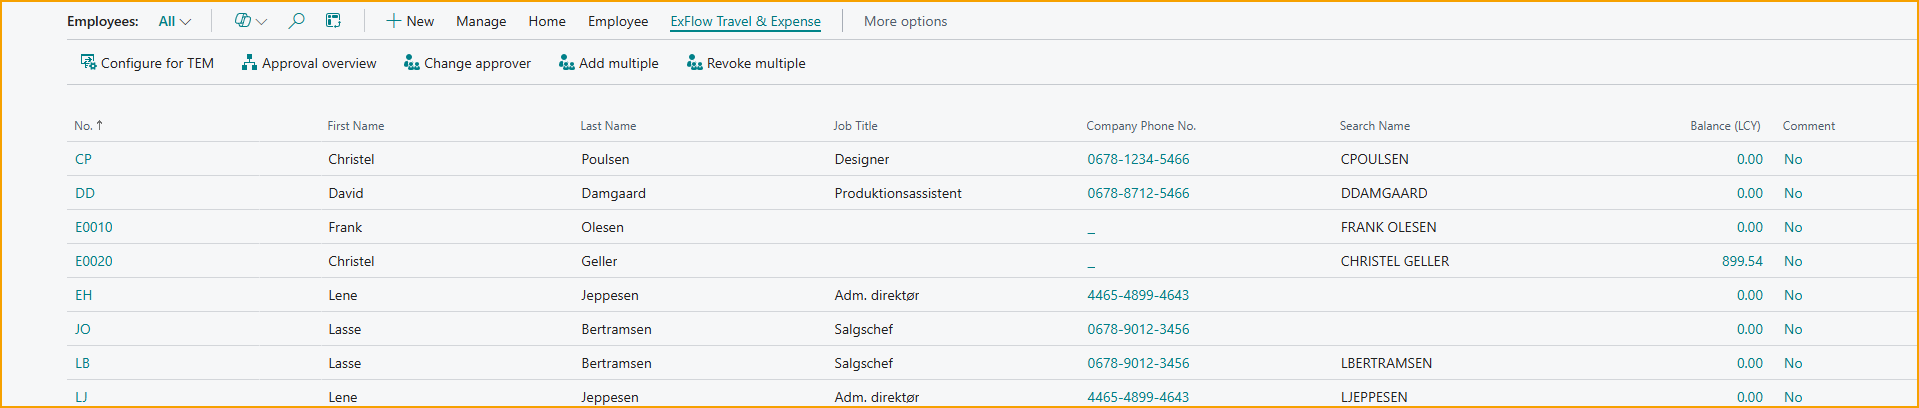
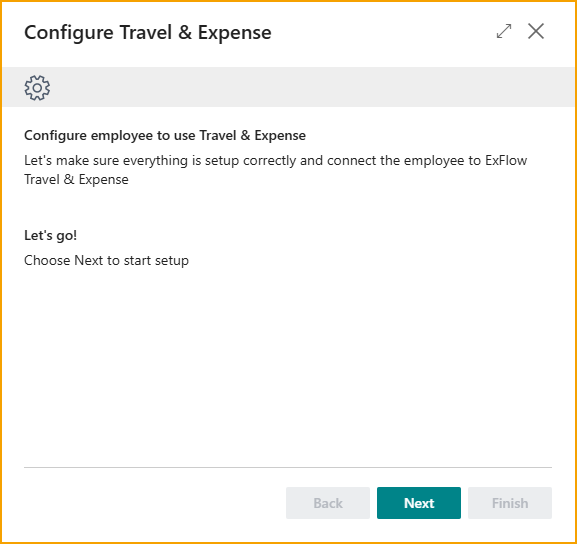
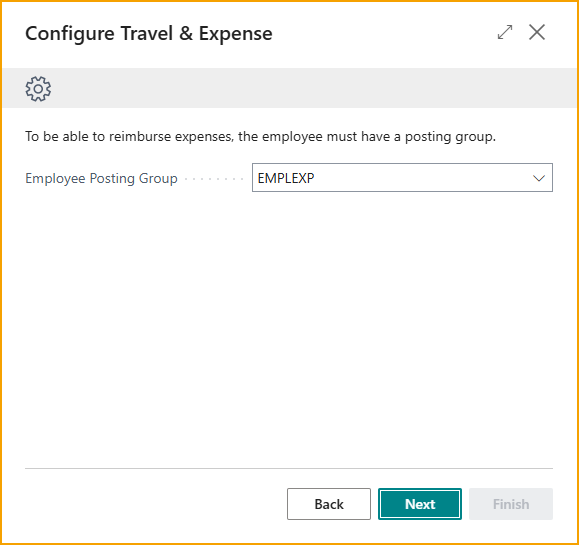
Configure ExFlow Travel & Expense
Click on: ExFlow Travel & Expense --> Configure for TEM
Follow the wizard:
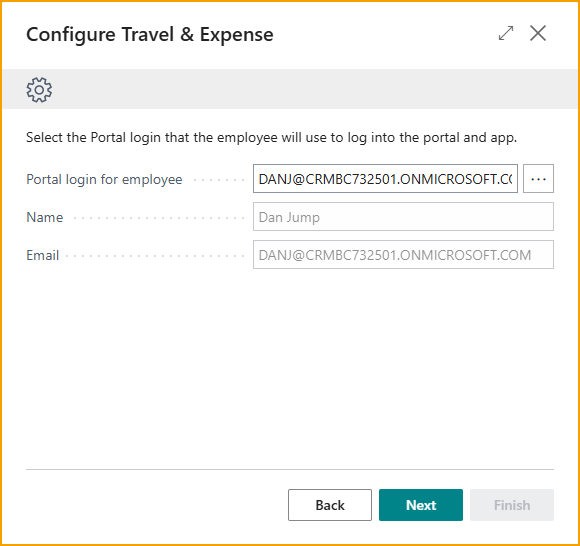
Click on the three dots and find the employee in AppsForDynamics365 Login
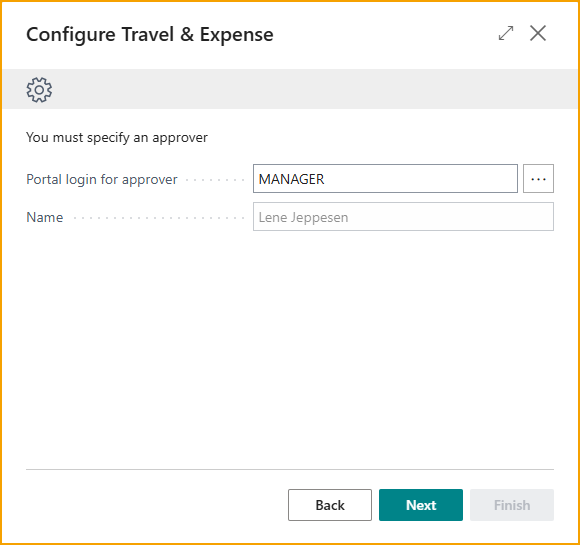
Click on the three dots and find the manager in AppsForDynamics365 Login
Setup Credit Card
Credit card agreements are useful tools for automatically matching expenses with the appropriate credit card statements when they are received. Once set up, this will save the bookkeeping department time and can be further enhanced by using the Automatic transaction import feature.
Agreements
Go to: Travel & Expense - Overview --> Company Cards --> Agreements
New: Create a new agreement.

| Agreements | |
|---|---|
| Code: | Enter a code for the agreement, which should be a shorthand descriptor to allow easy identification. |
| Description: | Enter a description of the agreement. |
| Card Brand: | Select a Card Brand from the list. |
| Payment Group: | Select Payment Group from those previously created. |
| Card transactions: | Select the method for the import of credit card transactions |
| Manual input/file import: | Select this option if the transaction will be typed in manually or import with an excel file. |
| From Bank Statement: | Credit card transactions are imported for the Bank Statement in Business Central. |
| From Bank Reconciliation: | Credit card transactions are imported for the Bank Reconciliation in Business Central. |
| Automatic from SEB card: | Credit card transactions are imported from SEB card integration. |
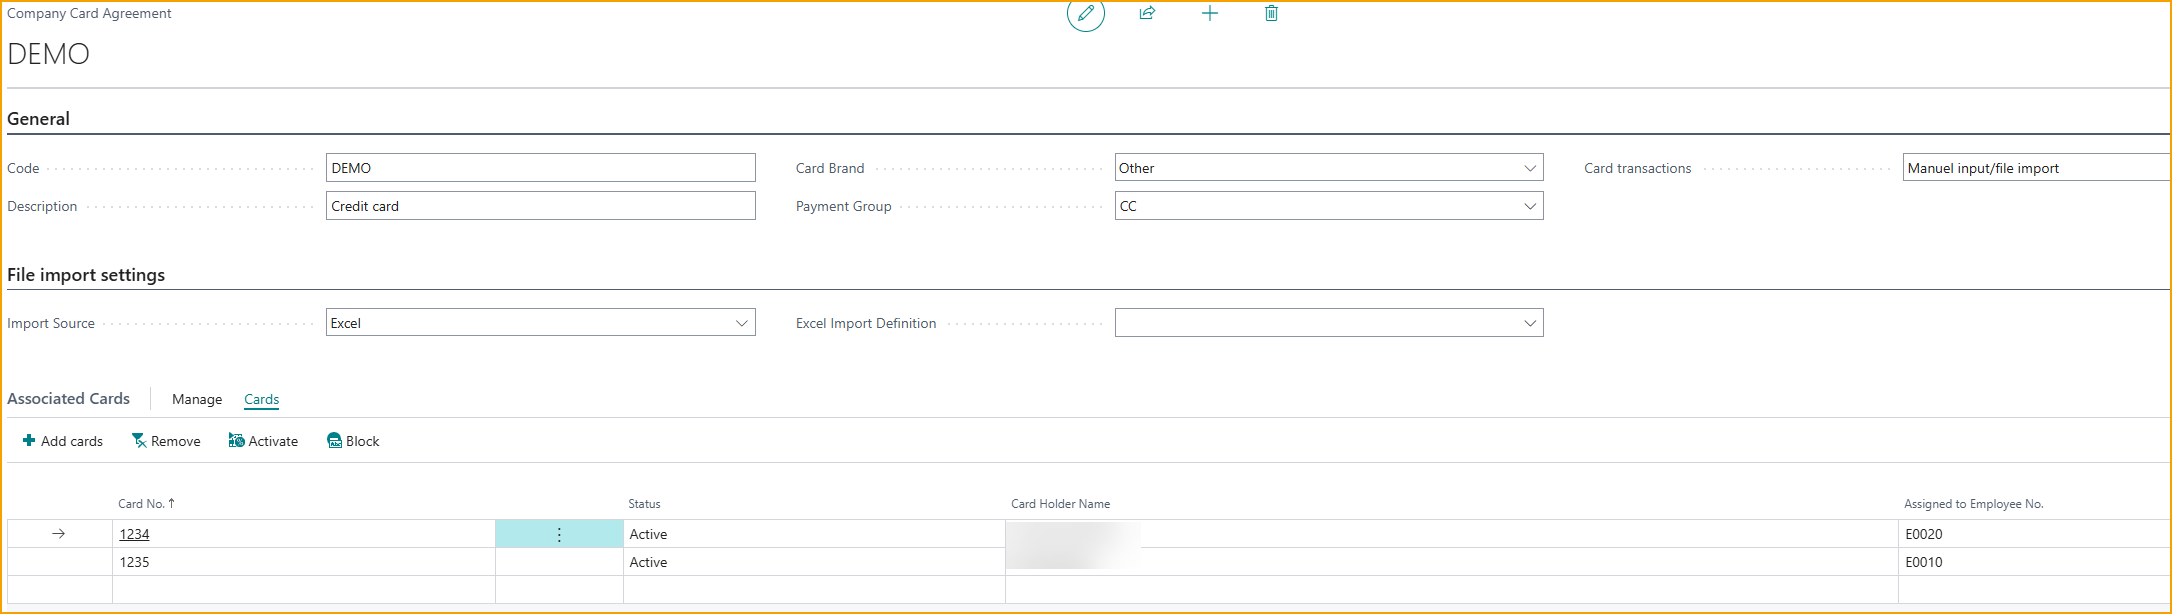
This is a list of all the credit cards associated with this specific agreement. From here, multiple cards from Company Credit Cards can be associated with this specific Credit Card Agreement.
Under Associated cards --> Cards --> Add cards
Select specific credit card. To select multiple cards at once click on a credit card line and press Shift+arrow down on keyboard --> OK.
Company credit cards
By opening the Company Credit Cards view, all cards created automatically from transactions or manually entered will be visible. From this view, there are two options to create new credit card:
-
Automatic Transaction Import: If this feature is set up, company credit cards will be automatically created based on the card number and cardholder name from the transactions.
-
Manual Entry If the automatic import is not preferred, Company Credit Cards can be created manually.
Create new Credit Card manually
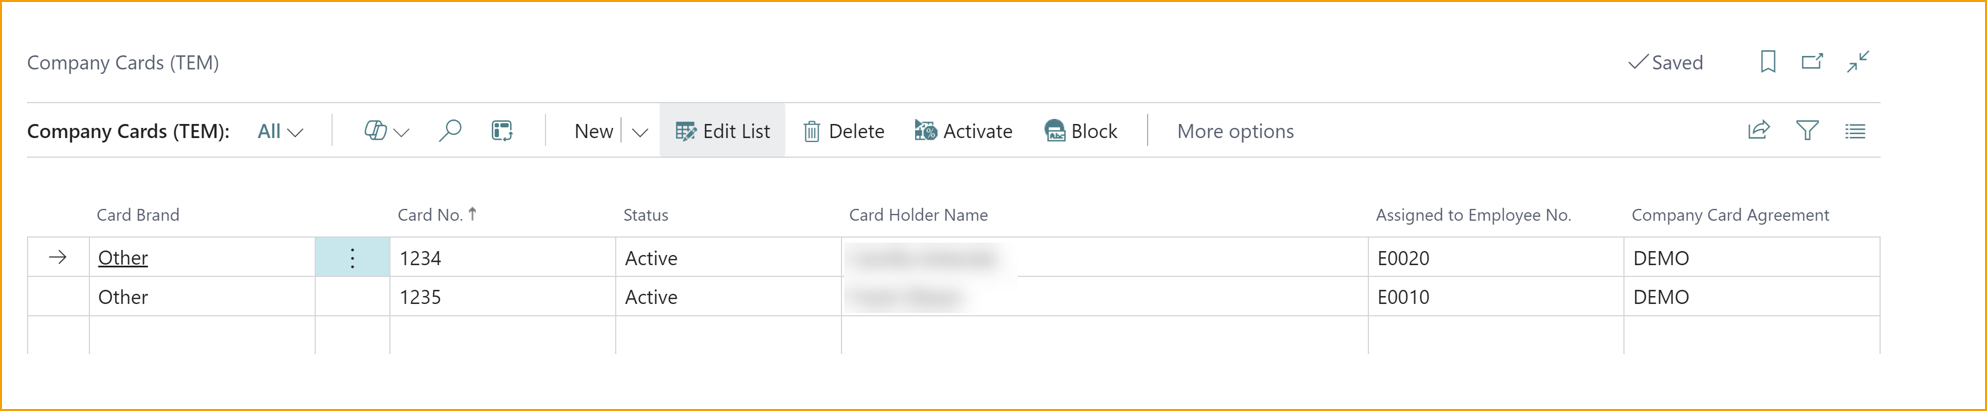
Go to: Company Credit Cards (TEM)
New: Create a new card
| Company Cards (TEM) | |
|---|---|
| Card No.: | Enter the card number. |
| Card Holder Name: | Enter the name of the person who uses the card. |
| Assigned to Employee No.: | Select the employee from the list. |
| Credit Card Agreement: | Select the appropriate agreement for the company card. |
The Company Credit Card has been registered, but it must be activated before it can be used.
Activate Credit Card
For a credit card to be granted the status Active the card must have been assigned a credit card agreement and an employee.
Select a Company Credit Card from the list and Activate. The Company Credit Card has now been activated.
Suggest Card Associations
If one or more Company Credit Cards have not been associated with an Employee this feature will guide, you through which cards and employees the system wants to match.
Go to: Company Cards --> New
Excel Import definitions
Map Excel files to enable the import of credit card transactions, which can then be sent to the cardholders for processing.
Go to: Excel import definition (TEM)
New: Create a new import definition

| Excel Import Definition | |
|---|---|
| Code: | Define a code for the import definition |
| Description: | Enter a description for the import definition |
| Header line before transactions: | Enable if there are header lines in the Excel file. |
| Caption for first Header column: | Type in the row number where the transactions lines start from. |
| Date order: | Choose the date format the file have |
| Payment is shown as a negative amount: | If the amount in the file is negative, enable this parameter. |
Map fields to Excel columns
In this section, specify which columns in the Excel file should map to the fields in ExFlow Travel & Expense.
Example, if the card number is placed in column D in the Excel file type in D in the field Card number.

| Map fields to Excel columns | |
|---|---|
| Card number: | Define the column for Credit card number. |
| Card holder: | Define the column for Card holder. |
| Transaction Date: | Define the column for transaction date. |
| Transaction amount: | Define the column for transaction amount. |
| Currency: | Define the column for currency, not mandatory. |
| Billing amount: | Define the column for billing amount. |
| Description: | Define the column for transaction description. |
| Country: | Define the column for country, not mandatory. |
| MCC: | Define the column for MCC, not mandatory. |
| MCC description: | Define the column for MCC description, not mandatory. |
| Unique reference: | Define the column for unique reference, not mandatory. |
| Invoice no: | Define the column for invoice no., not mandatory. |
Setup Per Diems
Per Diems are daily allowances provided to employees to cover day-to-day expenses incurred during business travel. They simplify the process of expense tracking by offering a fixed amount.
Setup
Calculation rules are configured in the Per Diem Setup page (only available in the Pro edition)
Go to: Setup --> Change calculation rule
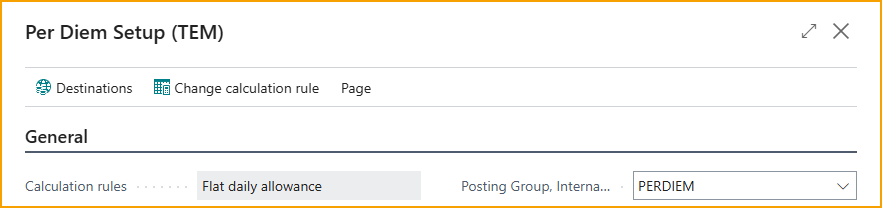
Select the calculation rule.
Go to: Change Per Diem Calculation rule
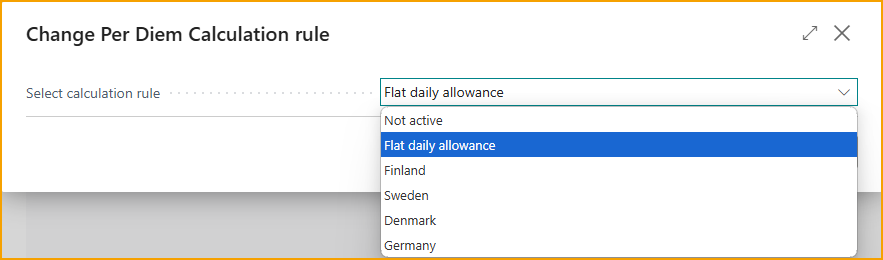
Rules for calculating per diems vary by country, and currently, we support these calculation rule sets: Swedish, Finnish, Denmark, Germany and a general “flat daily rate” rule. Depending on the selected rule, different settings will be available for configuration.