Approve, Reject or Hold an invoice line
- Click the link provided by email, and you will be directed to the "My vendor invoices" workspace.
- Click on the box to the right "All my invoices to approve" (The latest will be shown first).
- Select the invoices you wish to approve, by using the filter symbol to the left
 - you will see a list of all the invoices with you for approval.
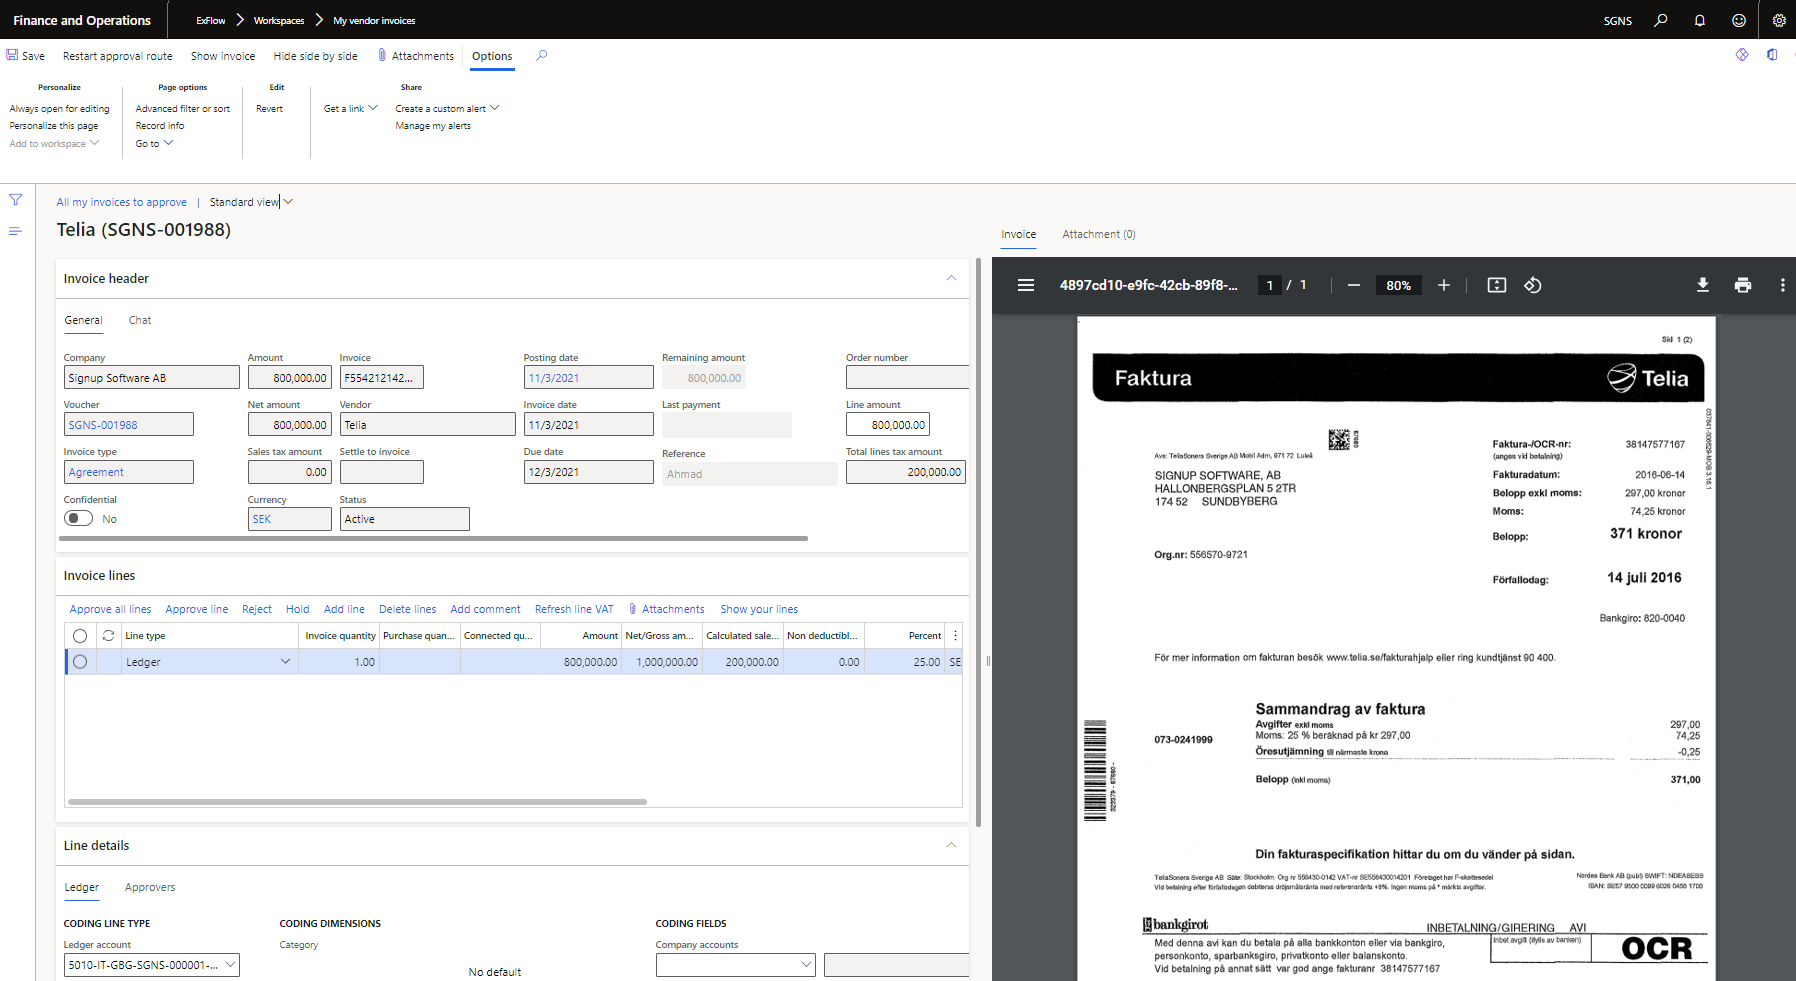
- Select the line where you are currently the approver.
- Click (Approve/Reject/On Hold, etc.)
Split lines
- Click the link provided by email, and you will be directed to the "My vendor invoices" workspace.
- Click on the box to the right "All my invoices to approve" (The latest will be shown first).
- Select the invoice/s you wish to approve.
- Change the amount in the already existing line
- Click Add line. (The remaining amount will be automatically calculated)
- For the new line, populate the Main account and financial dimensions, then add approvers.
Add one or more new approvers
- Click the link provided by email, and you will be directed to the "My vendor invoices" workspace.
- Click on the box to the right "All my invoices to approve" (The latest will be shown first).
- Select the invoice/s you wish to approve, by using the filter symbol to the left - you will see a list of all the invoices you have to approve.
- Line details -> select the "APPROVERS" tab.
- Click the "Add approver" button on the invoice lines.
- From the drop-down list, choose the appropriate approver.
- Repeat steps 5 and 6 to add further approver/s.