Get Started
Introduction
The ExFlow Get Started Wizard is designed to streamline the initial setup process and get users up and running with ExFlow quickly and efficiently. This user manual will guide through the step-by-step process of using the wizard to configure ExFlow according to the organization's specific needs.
By completing the ExFlow Get Started Wizard, a fully functioning setup of ExFlow will be provided, tailored to the company specific requirements. Users will be able to import invoices, automate approval suggestions based on attributes or roles, and experience the time-saving benefits of ExFlow's intelligent coding and approval assignment.
This user manual will provide detailed instructions, helpful tips, and insights to ensure a smooth and successful configuration process. It is recommended to read each section carefully, follow the steps sequentially, and feel free to refer to this manual whenever assistance is needed.
Prerequisites
Before running the ExFlow Get Started Wizard, there are a few prerequisites that need to be completed. Follow these initial steps to ensure a smooth setup process:
Visit the Microsoft AppSource marketplace and locate the ExFlow extension as a Free Trial
Enter company details and select which tenant to install ExFlow in and what language. Once the installation is completed, obtain the ExFlow license key from your authorized ExFlow Partner.
License
It is essential to have the ExFlow extension installed, and the license key available to proceed with the ExFlow Get Started Wizard.
Once these initial steps are completed, one can proceed to run the Get Started Wizard.
License for new installations
The license handling for completely new BC Online installations can be handled via License Provider for Pilot Program customers.
Copy Setup from another company
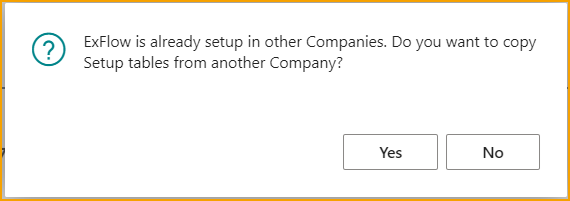
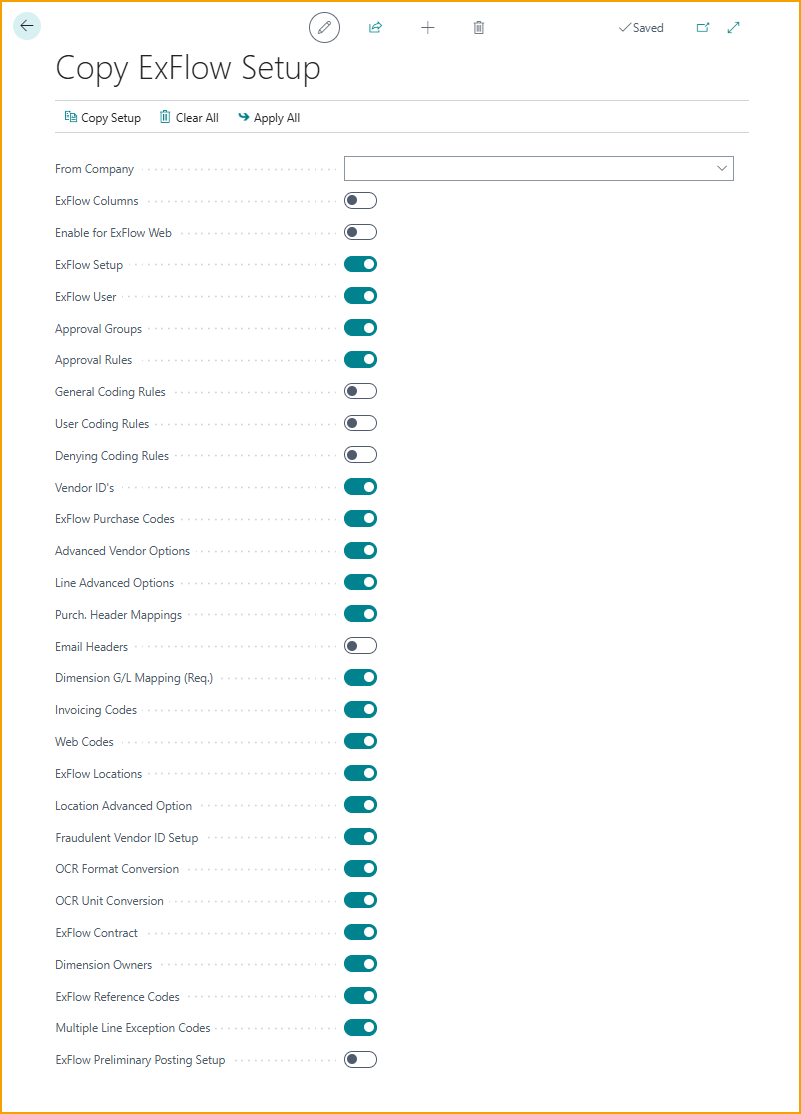
If ExFlow have been previously installed and configured in other companies within the same tenant, it is possible to utilize the option to copy the ExFlow setup.
This feature is particularly valuable when there is a need to apply the same or similar configuration settings to the new company.
Get Started Wizard
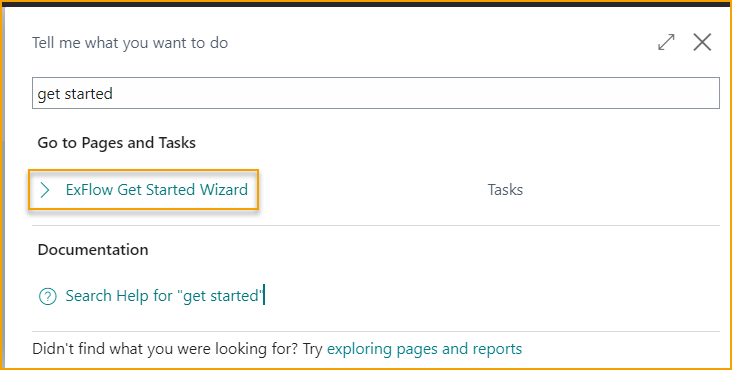
Search for ExFlow Get Started Wizard:
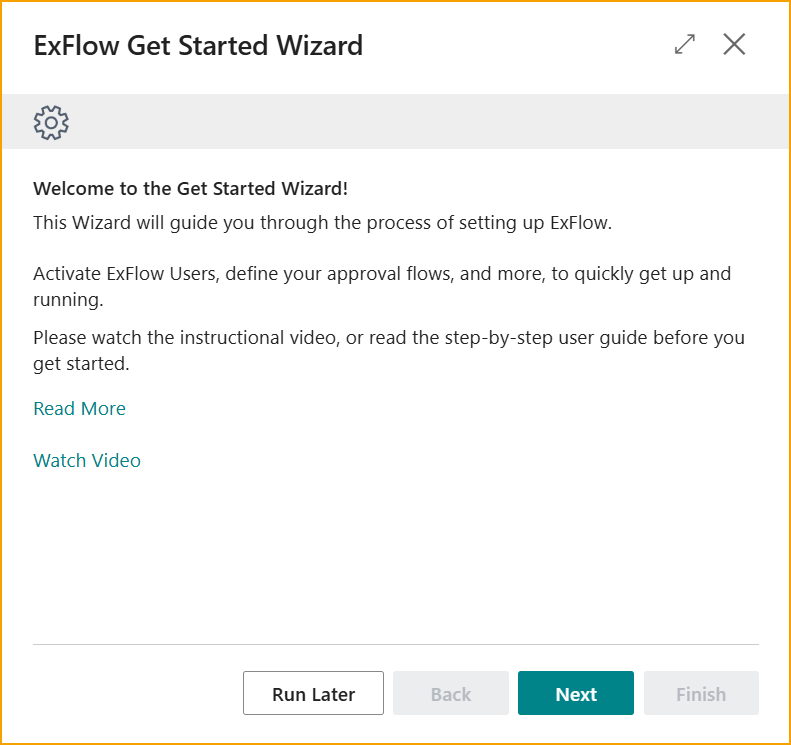
Firstly, utilize the comprehensive video tutorial that walks through each step of the wizard, explaining the process in a visual and engaging manner. Simply click on the Watch Video link to access it and follow along with the instructions.
Secondly, we have prepared a detailed step-by-step guide that provides written instructions on executing the wizard. This guide offers clear explanations and helpful tips to ensure a smooth and successful setup experience.
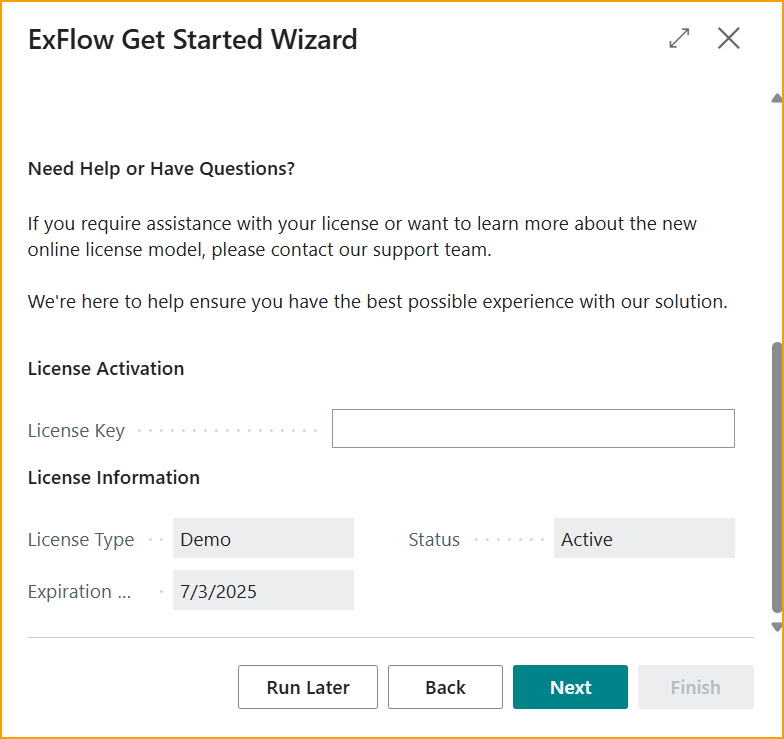
License Activation
This step will provide information about the License Model and it's activation.
Enter the provided License Key and click on ''Next'' to proceed.
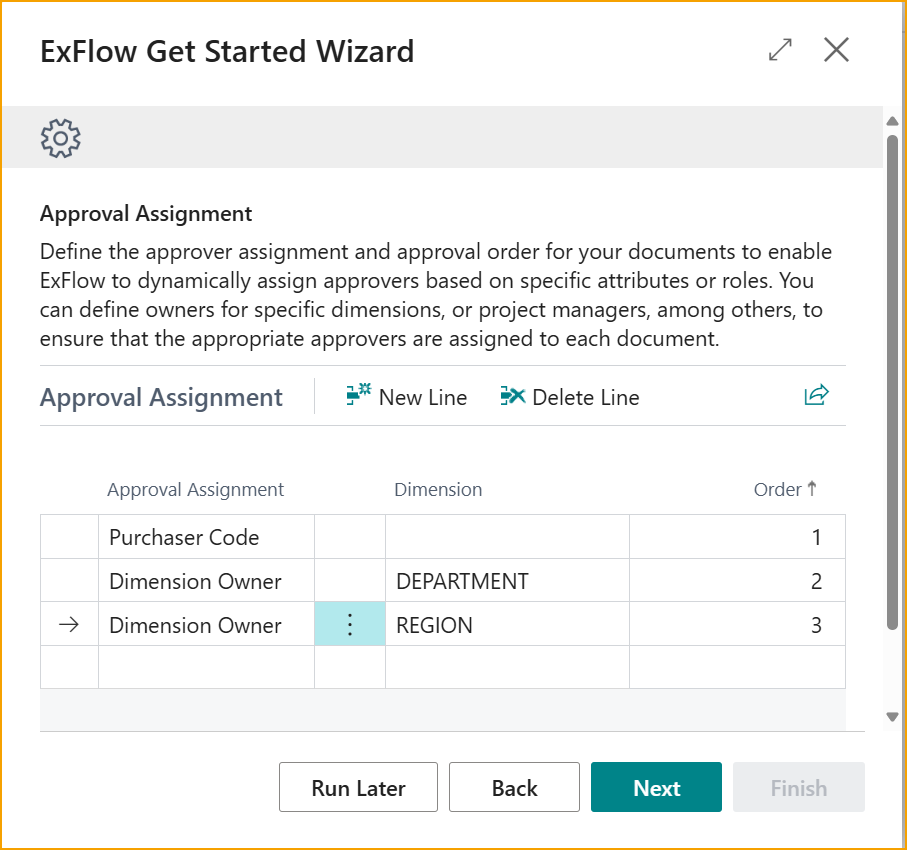
Approval Assignment
Define the approval assignment and approval order for incoming documents. The approval assignment determines how ExFlow dynamically assigns approvers to the documents based on specific attributes or values found on the document.
As an illustration, consider the following example that outlines the desired order of approvers for a document:
- Purchaser
- Dimension owner of the Department dimension
- Dimension owner of the Region dimension
In this scenario, the approver assignment for a document will follow the specified sequence. First, the purchaser will be assigned as the initial approver. Next, the dimension owner of the Department dimension will review the document. Finally, the dimension owner of the Region dimension will provide their approval.
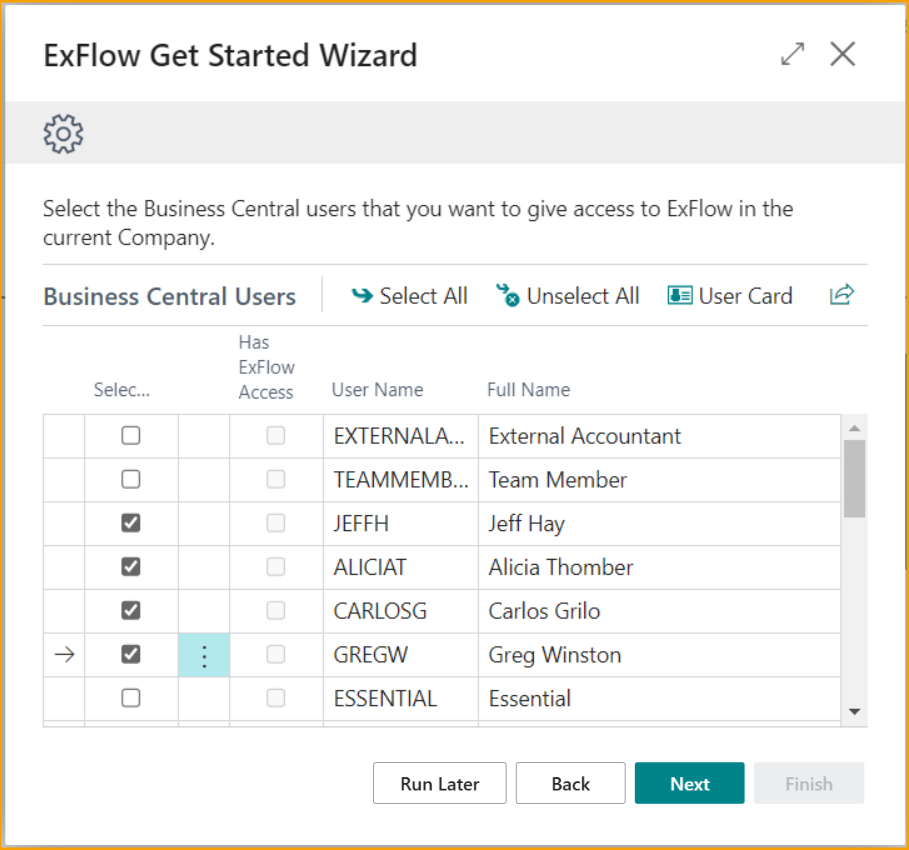
Create Users
Create ExFlow users based on a selection of users from your Business Central environment. The ExFlow Get Started Wizard simplifies the process of adding users to ExFlow and ensures that the appropriate information such as User name, Full name, and Email address are assigned.
Updates or modifications on existing ExFlow users should be executed from “ExFlow Users”. This ensures centralized control and consistency in user management.
It’s important to note that the user executing the Get Started Wizard will be created as an ExFlow Admin User. This grants them administrative ExFlow privileges within the current company.
ExFlow Users
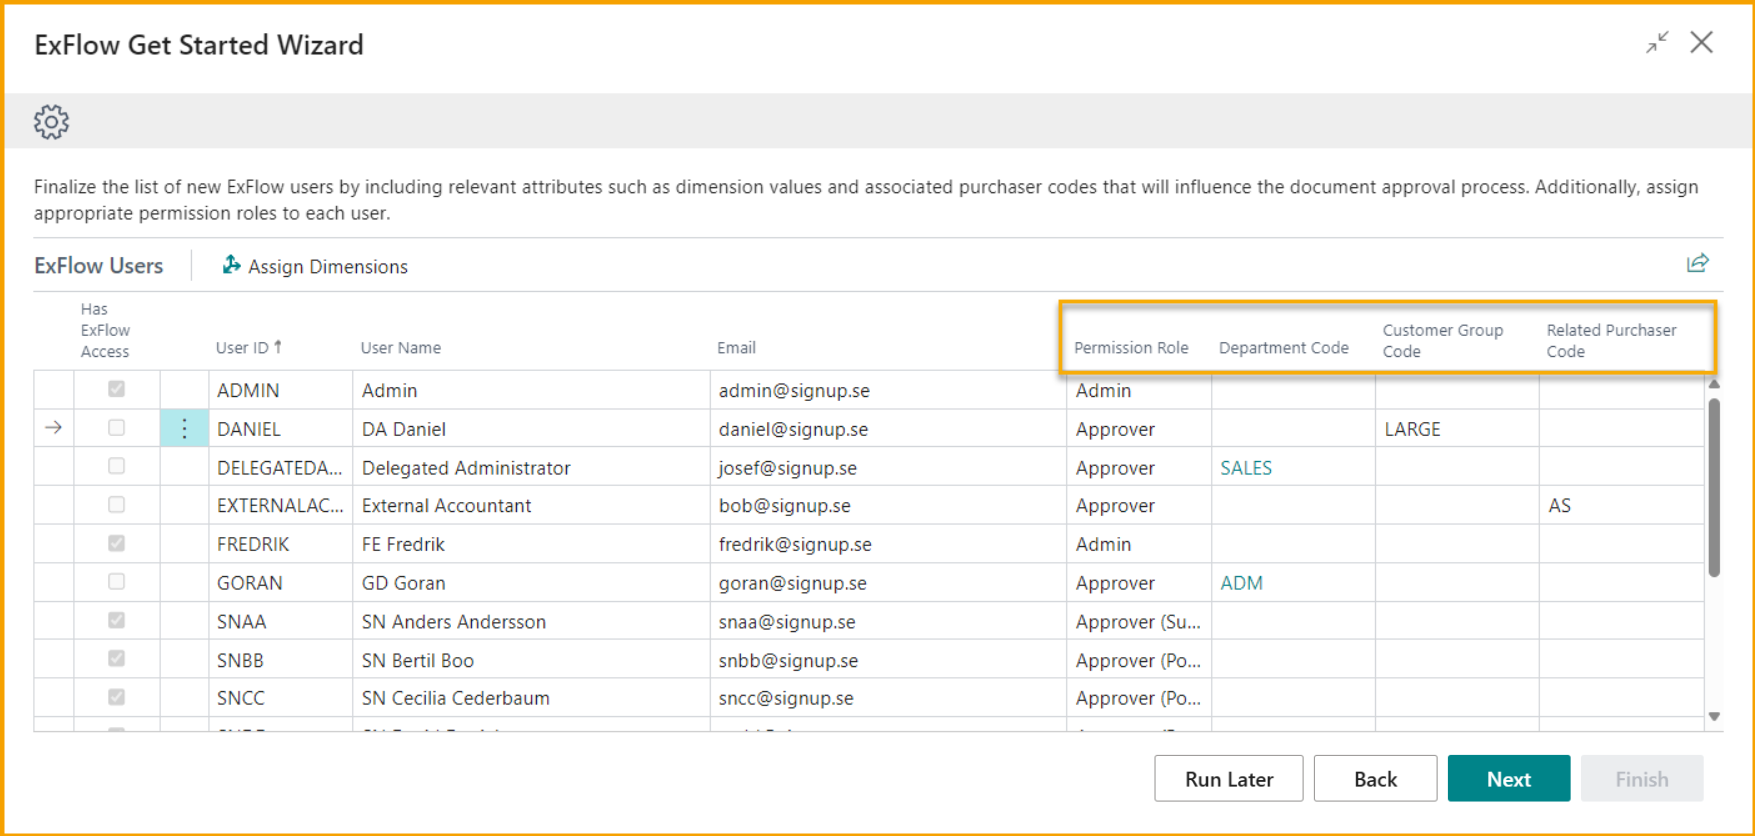
Complete the setup of ExFlow users by finalizing their attributes, email addresses, and permission roles.
It is important to accurately assign dimension values, purchaser codes, and other relevant attributes to each user based on the specifications previously defined in the approval assignment.
Permission Roles
• Approver: Participates in the approval process without coding change capabilities.
• Approver (Power): Has the capability to make coding changes during the approval process, based on defined Coding Rules.
• Approver (Super): Can make coding changes, search, and view all invoices within the company.
• Admin: Intended for administrators in ExFlow Web, providing access to setup.
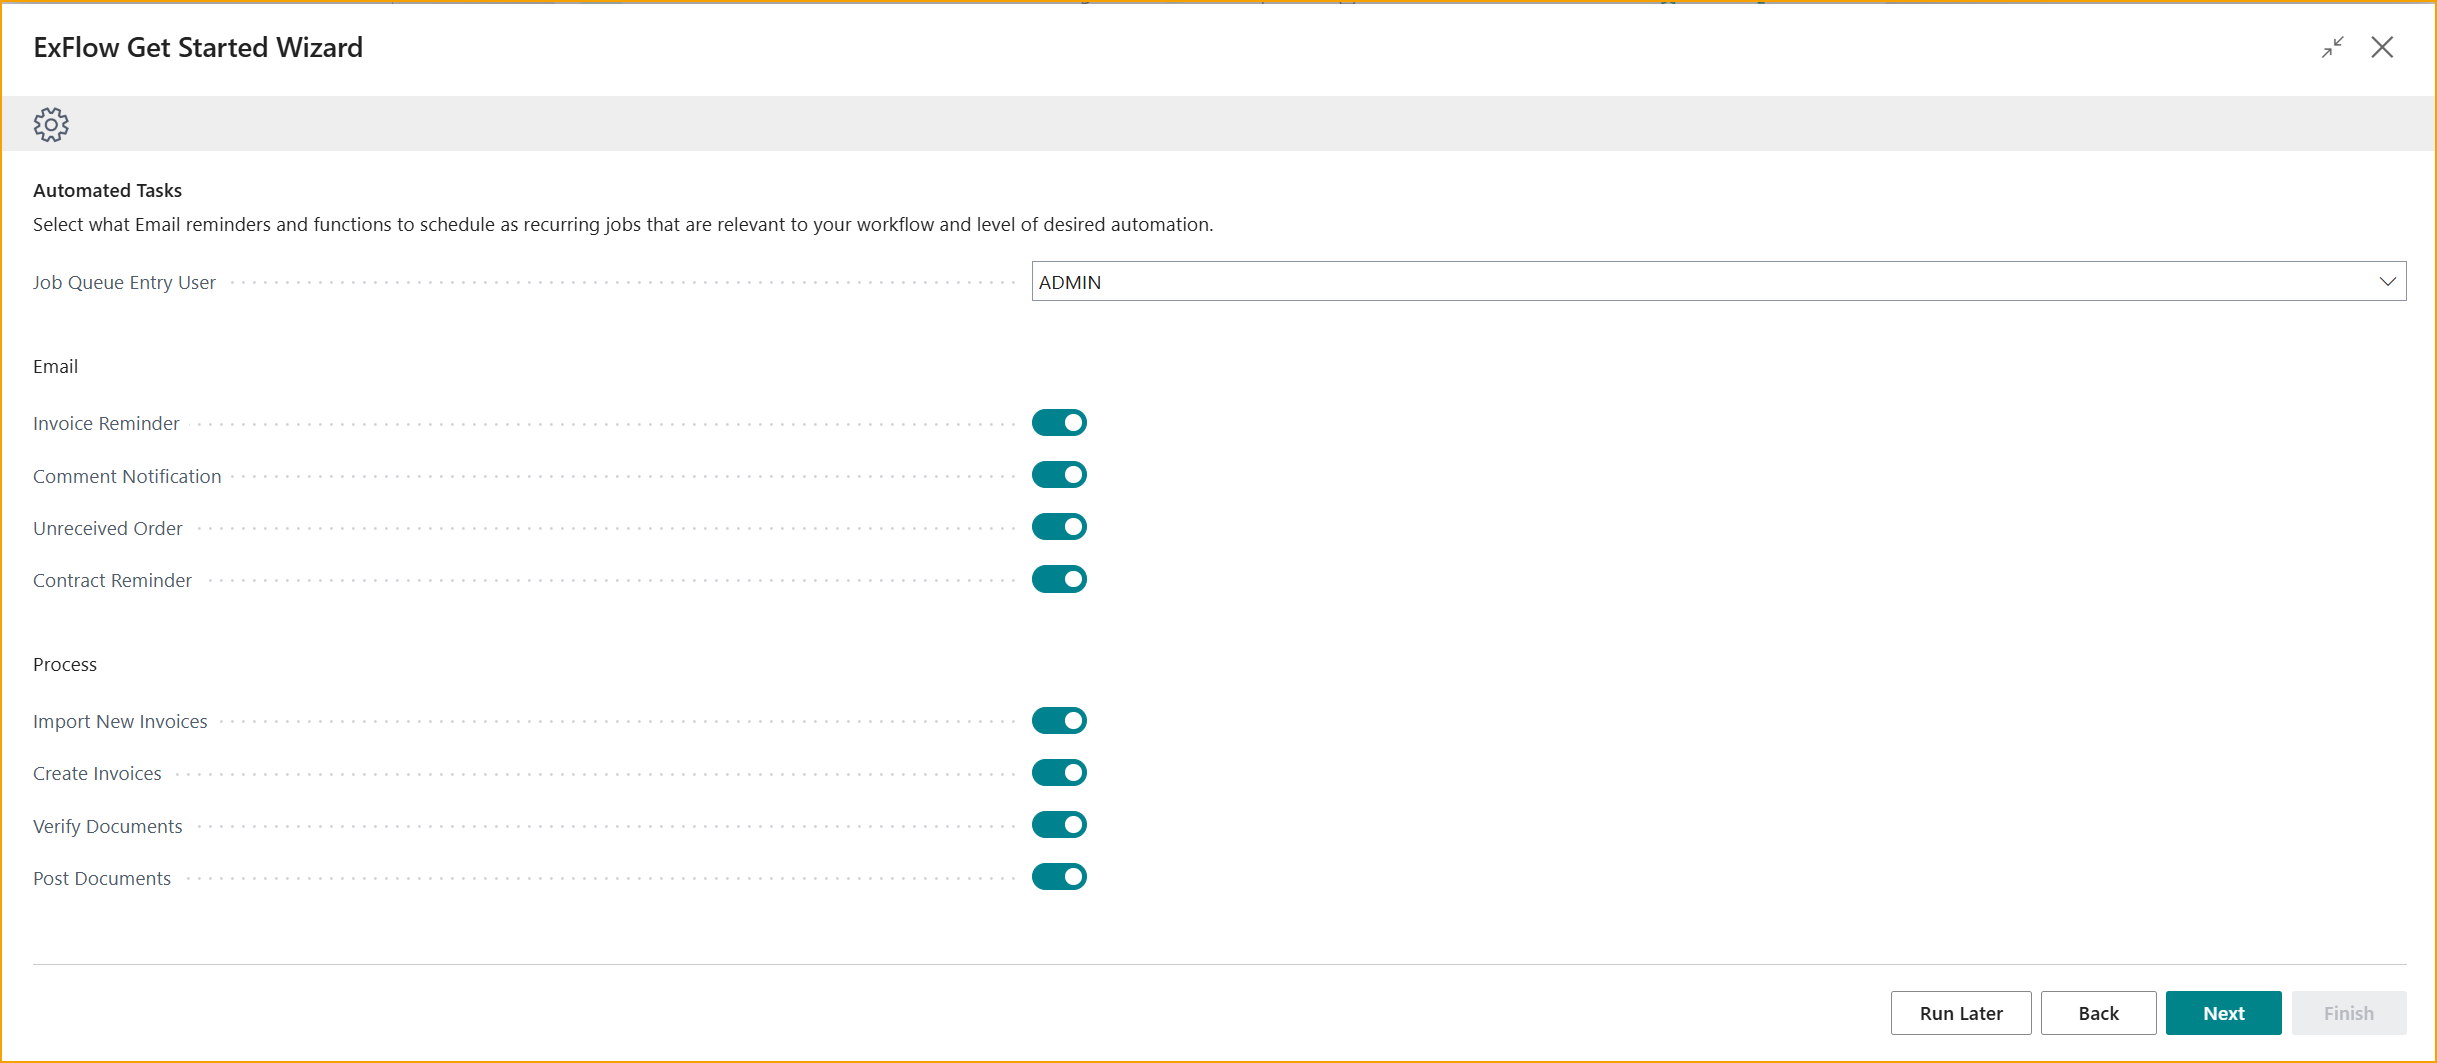
Automated Tasks
Enter a specific Job Queue Entry User that will be used to run the scheduled jobs, if needed. The user must have the necessary permissions to perform the tasks that the jobs will execute.
Select and schedule the necessary processes and email reminders to automate your invoice workflow process. By setting up recurring jobs, one can ensure that essential tasks such as importing invoices, creating, or posting them, and other relevant processes are performed automatically at specified intervals.
Additionally, configure email reminders to keep users informed and prompt their attention for pending approvals, approaching deadlines, or any other important events within the workflow. Enhance communication and ensure a smooth flow of invoice processing by leveraging email notifications:
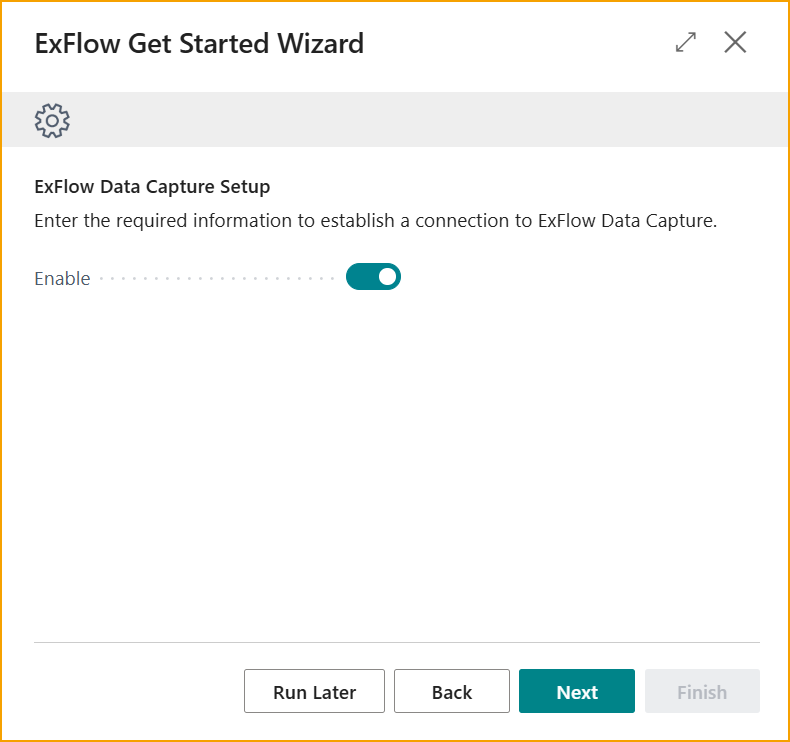
ExFlow Data Capture
This step is relevant for customers who utilize ExFlow Data Capture as their OCR solution. If ExFlow Data Capture is not in use, this step can be skipped.
Establishing a connection to ExFlow Data Capture is essential to enable a integration between ExFlow and the OCR solution. This connection allows ExFlow to import invoices from the designated company and upload master data, such as vendor information, to the ExFlow Data Capture environment.
Click Enable to enter OCR Service Setup where necessary information needs to be entered.
To initiate the connection, you will need the following information provided by Truvio:
- User Name: The username associated with your ExFlow Data Capture account.
- Password: The password associated with your ExFlow Data Capture account.
- Authorization Key: A unique key provided by Truvio that grants access to your specific ExFlow Data Capture environment.
- OCR Doc. Template: The OCR document template that defines the layout and structure of invoices for extraction and processing.
Click close to get back to the Get Started Wizard.
Schedule the synchronization of master data and check the ''Enabled''- box to permit synchronization between ExFlow and ExFlow Data Capture.
The synchronization of vendors from Business Central to ExFlow Data Capture will be scheduled to run every 10 minutes.
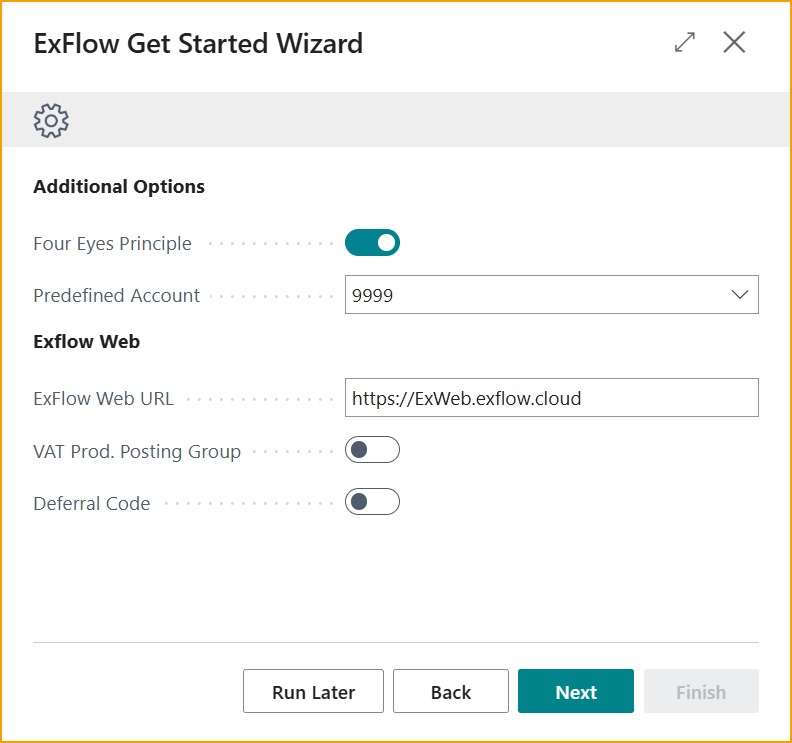
Additional Options
Configure additional options according to your specific requirements, you can further optimize and tailor ExFlow to suit your organization's needs.
• Four Eyes Principle: Activate this feature to require approval from at least two individuals before a document can be posted. This extra layer of control ensures accuracy and minimizes errors in your financial processes.
• Predefined Account: Simplify invoice coding for new vendors by setting up a predefined account. ExFlow will automatically suggest this account if no specific account has been defined on a vendor level.
Additionally, ExFlow utilizes your Posted Purchase Invoice history in Business Central to suggest the most probable coding for efficient invoice processing.
• URL to ExFlow Web: Provide the URL to your ExFlow Web, granting easy access for approvers to review and approve invoices. The user-friendly web interface offers a convenient and efficient way to manage the approval process.
• Activate Additional Columns for ExFlow Web: Enhance the ExFlow Web interface by activating additional columns, such as VAT Prod Posting Group and Deferral Code.
Once you have made your selections and finalized the additional options, you are ready to complete the ExFlow Get Started Wizard and enjoy the full benefits of ExFlow in your business operations.
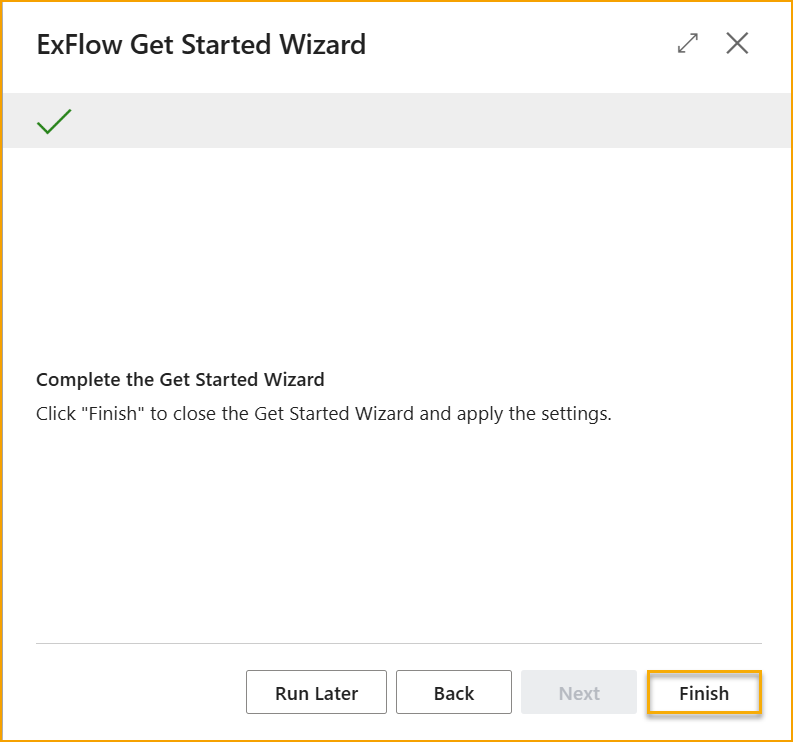
Finish
Congratulations! You have successfully provided all the necessary information to initiate the setup according to your preferences.
Click the "Finish" button to finalize the configuration and initiate the ExFlow setup based on your selections.
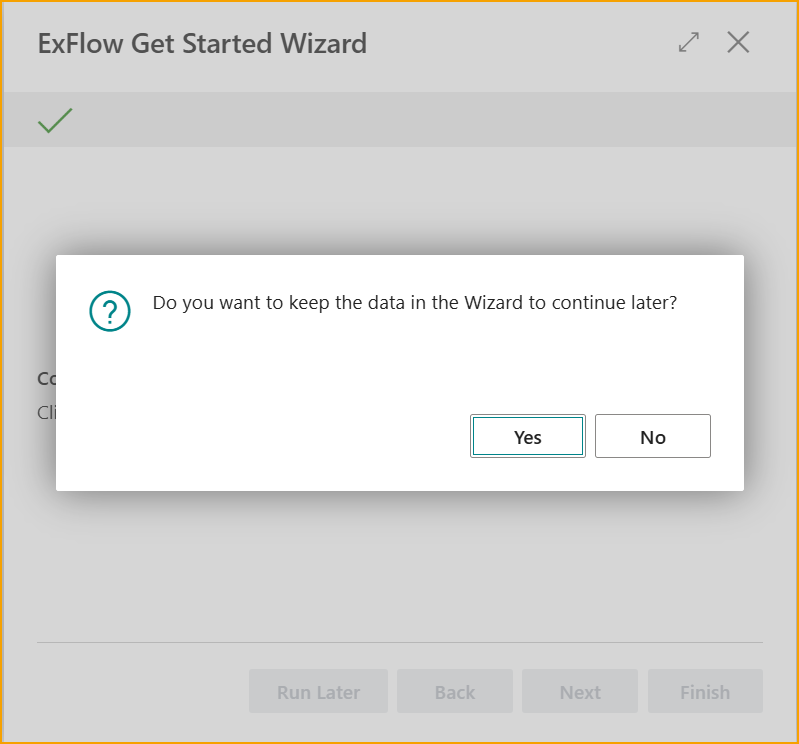
Other
If you exit the wizard at any point, don't worry! The system will prompt you with option: Run Later, to save your entered data, allowing you to continue from where you left off at a later time.
This way, you can conveniently pick up the setup process right where you left it without losing any progress or having to start from scratch.
ExFlow Data Capture Accounts
ExFlow Data Capture Accounts is used to establish a connection to ExFlow Data Capture (EDC) for the importation of interpreted invoices and uploading of vendor master data from Business Central (if OCR Service Setup is not in use).
This configuration process can be completed either during the initial setup using the Get Started Wizard or manually.
Configuration Steps
Navigate to ExFlow Data Capture Accounts to access the configuration.
Click on New to initiate a new connection.
Give the connection a proper Code and choose connection Type:
- Purchase is for Purchase Invoices
- Sales is for Sales Orders
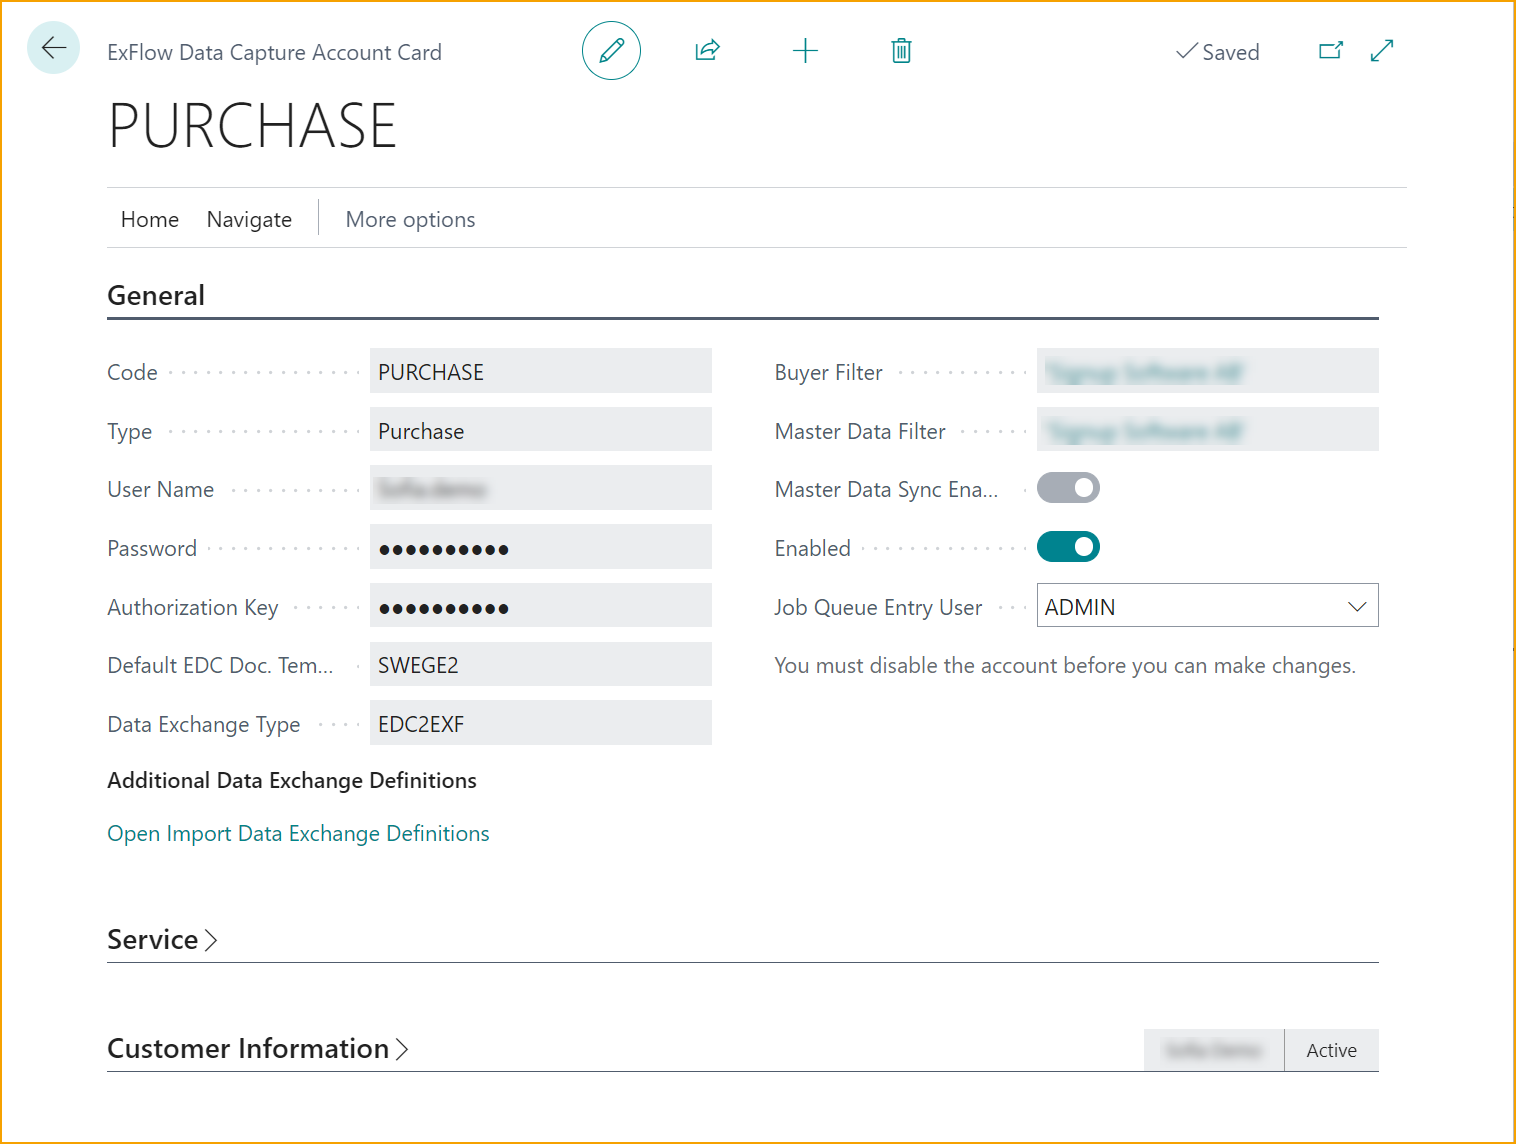
Connection Details
To complete the connection, ensure you have the following connection details to establish a connection to EDC. These are provided by Truvio or your trusted Business Central Partner.
- User Name
- Password
- Authorization Key
Default EDC Doc. Templates Choose the document template used for interpretation by EDC.
Data Exchange Type Choose the “EDC2EXF” which is the default Exchange Type used for EDC.
Company Selection: Unlike the "OCR Service Setup" the ExFlow Data Capture Accounts configuration allows the use of the same credentials across all companies within Business Central.
This is due to the user account having access to all companies in EDC.
Important: Select the correct Company as Buyer and Master Data-filter during configuration to ensure the connection is established with the intended company.

Finalizing Configuration
Verify the entered details before finalizing the configuration process.
Activate Master Data Sync to enable upload of Vendor master data.
Finally activate “enable” and accept any prompt messages.
Test the connection to ensure successful integration between Business Central and ExFlow Data Capture.
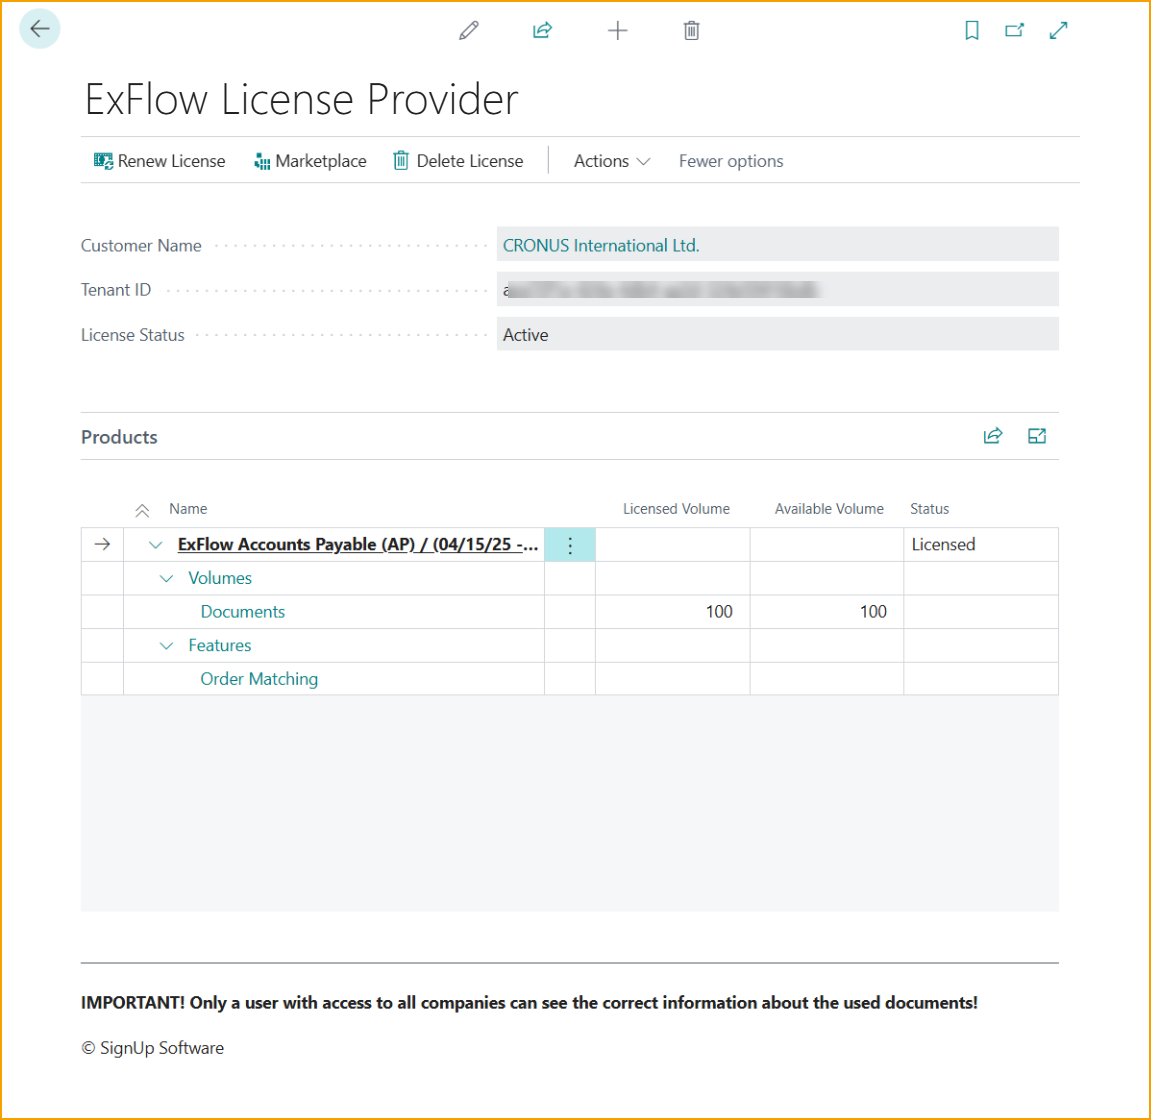
License Provider
Go to: ExFlow License Provider
New customers and installations can use ExFlow License Provider.
The new License Provider tool has been updated to offer more granular control over Truvio Applications and their individual features.
License Provider also improves visibility into licensed products and simplifies tracking of document volumes in applications like ExFlow AP.
When a license is activated, the licensed product(s) will be displayed:
| License Provider menu | |
|---|---|
| SignUp | Create a new customer registration (option will be hidden when license is activated) |
| Activate License | Create a new instance activation (option will be hidden when license is activated) |
| Renew License | Manual renew the license manually, whenever needed. REn it will be handled automatically. |
| Marketplace | Link to Marketplace |
| Delete License | Remove license |
ExFlow Feature Management
Go to: ExFlow Feature Management
ExFlow Feature Management allows users and developers to control when new and bigger features are enabled.
ExFlow Feature Management works with License Provider and will only allow a feature to be enabled if an appropriate license is available for the app and/or feature.
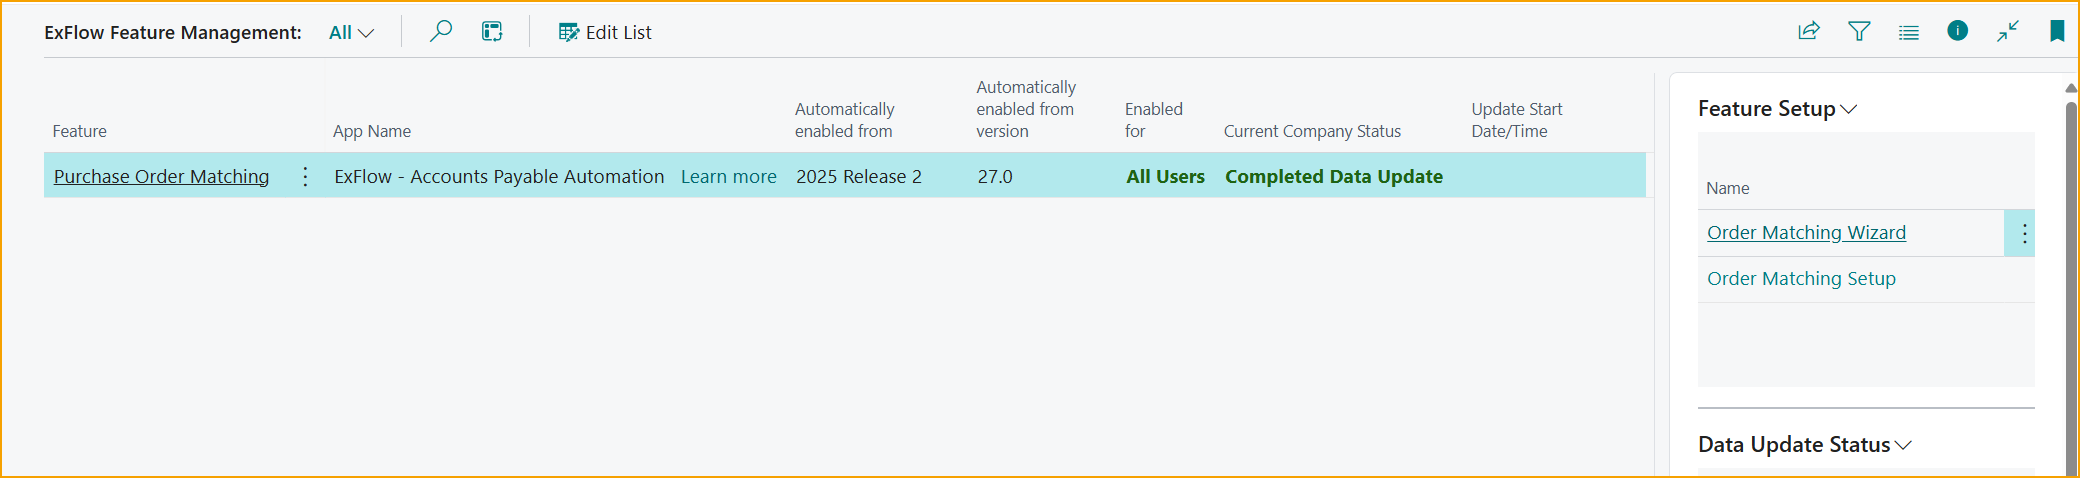
Order Matching Wizards
What to get started with your order matched documents as well? Great!
Find and utilize our Order Matching Wizards for an easy and seamless setup for handling your order matched documents.
The wizards are visible depending if customers are have the license activated through ExFlow License Activation or License Provider
Purchase Order Matching Wizard
This wizard is visible for current Customers using original order matching functionality. This wizard will be visible if the license key is activated via ExFlow License Activation.
Read more about this under section Purchase Order Matching Process
New Order Matching Wizard
The New Order Matching Wizard will be visible if License Provider is used and the New Order Matching functionality is enabled via ExFlow Feature Management.
Please note: This feature will be enabled for all companies. When disabled, it will be disabled for all companies as well.
Read more about this under section New Order Matching Experience